Time flies when you’re eating doughnuts.

September 9, 2014. That was the date of my last post. Since then, I’ve just been lying poolside doing absolutely nothing with my life. No projects. Nothing. Just pure relaxation and margaritas.

Right.

I took a break from blogging/social media when I started my full-time day job and focused on trying to find some semblance of balance in my personal and work life. During that time, I started hitting the gym a few nights a week to blow off some steam and try to fit into some decent work clothes. Regular workouts, coupled with an eating schedule that didn’t involve devouring frozen cookie dough throughout the day, helped me to drop a few dozen pounds.

BEFORE-AFTER

Work has become more consistent now (and I have some exciting news to share about that soon), the house projects are back on the docket and I finally feel ready to dive headfirst (back) into blogging and sharing some of the fun things we’ve been working on. In addition to my usual renovation ridiculousness, I’m going to be adding some health and nutrition content, fashion/beauty posts, honest product reviews and some tasty recipes. If you haven’t already, feel free to follow along on Instagram (@elephant_buffet).

Let’s do this.

Advertisement

Welcome To Our New Pantry

Oh, hi there!  Do I know you?  Have we met?  Oh, right…. way back in December we spoke about fancy wreaths and crafts and such.  Then I kinda bailed for about eight or nine months.  But let’s not talk about that.  No use living in the past.  Today, I’d like to introduce you to my new best friend.  She’s practical and good-looking.  Two very important qualities in a bestie in my opinion.

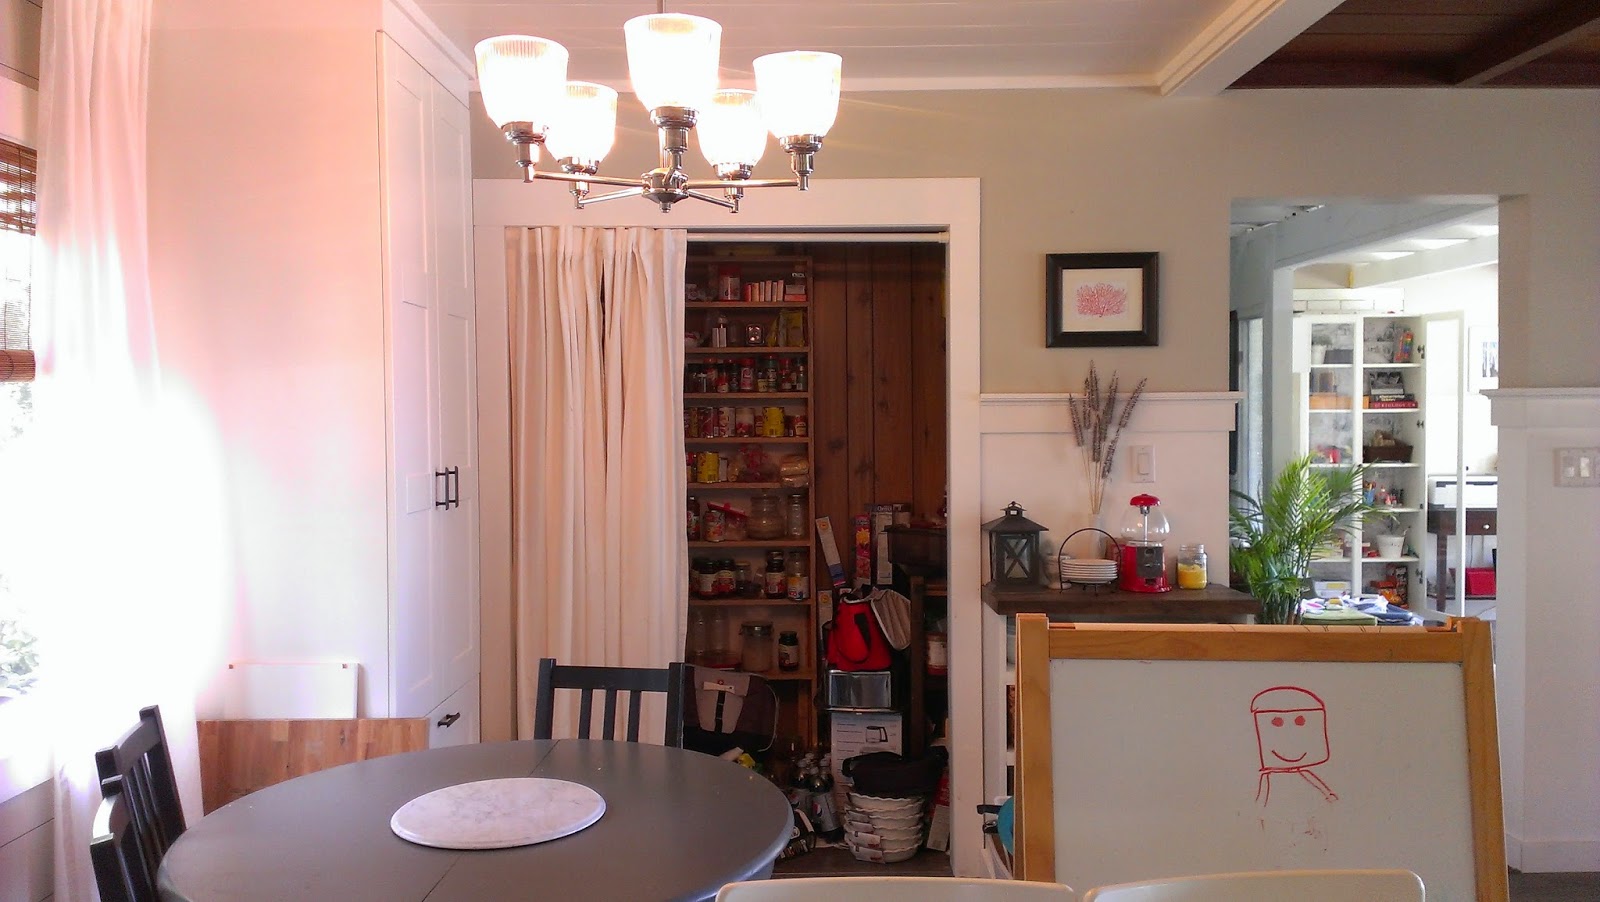
Ladies and gentlemen (?), let me introduce you to my pantry:

Whenever I walk past I hear Stevie Wonder singing softly in the background.  Yes, Mr. Wonder.  She’s totes lovely.

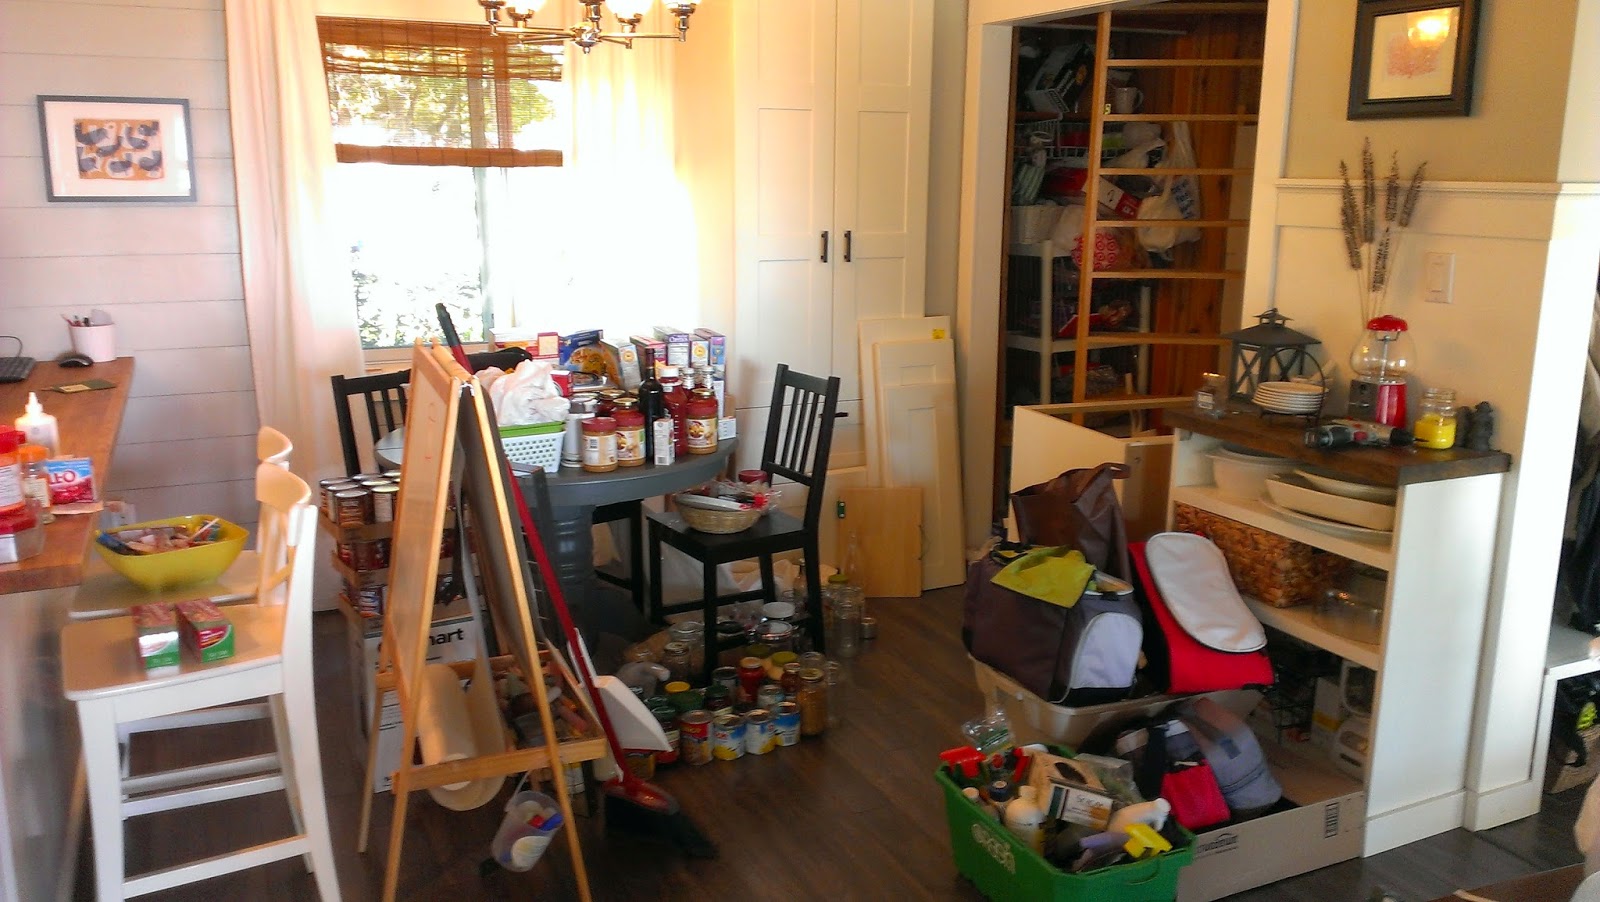
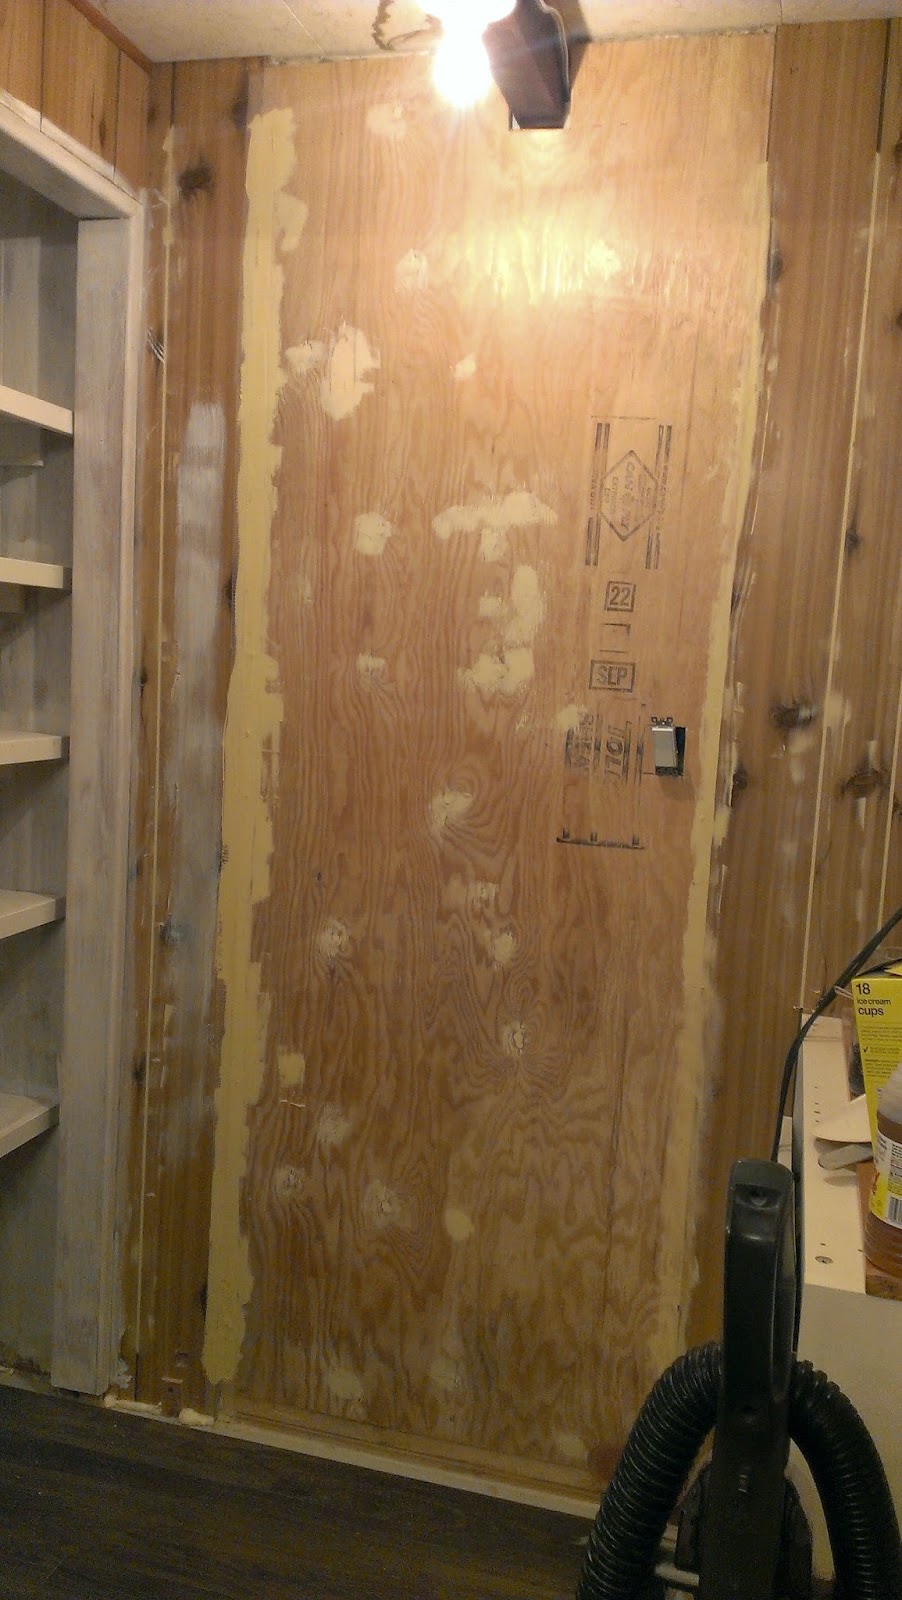
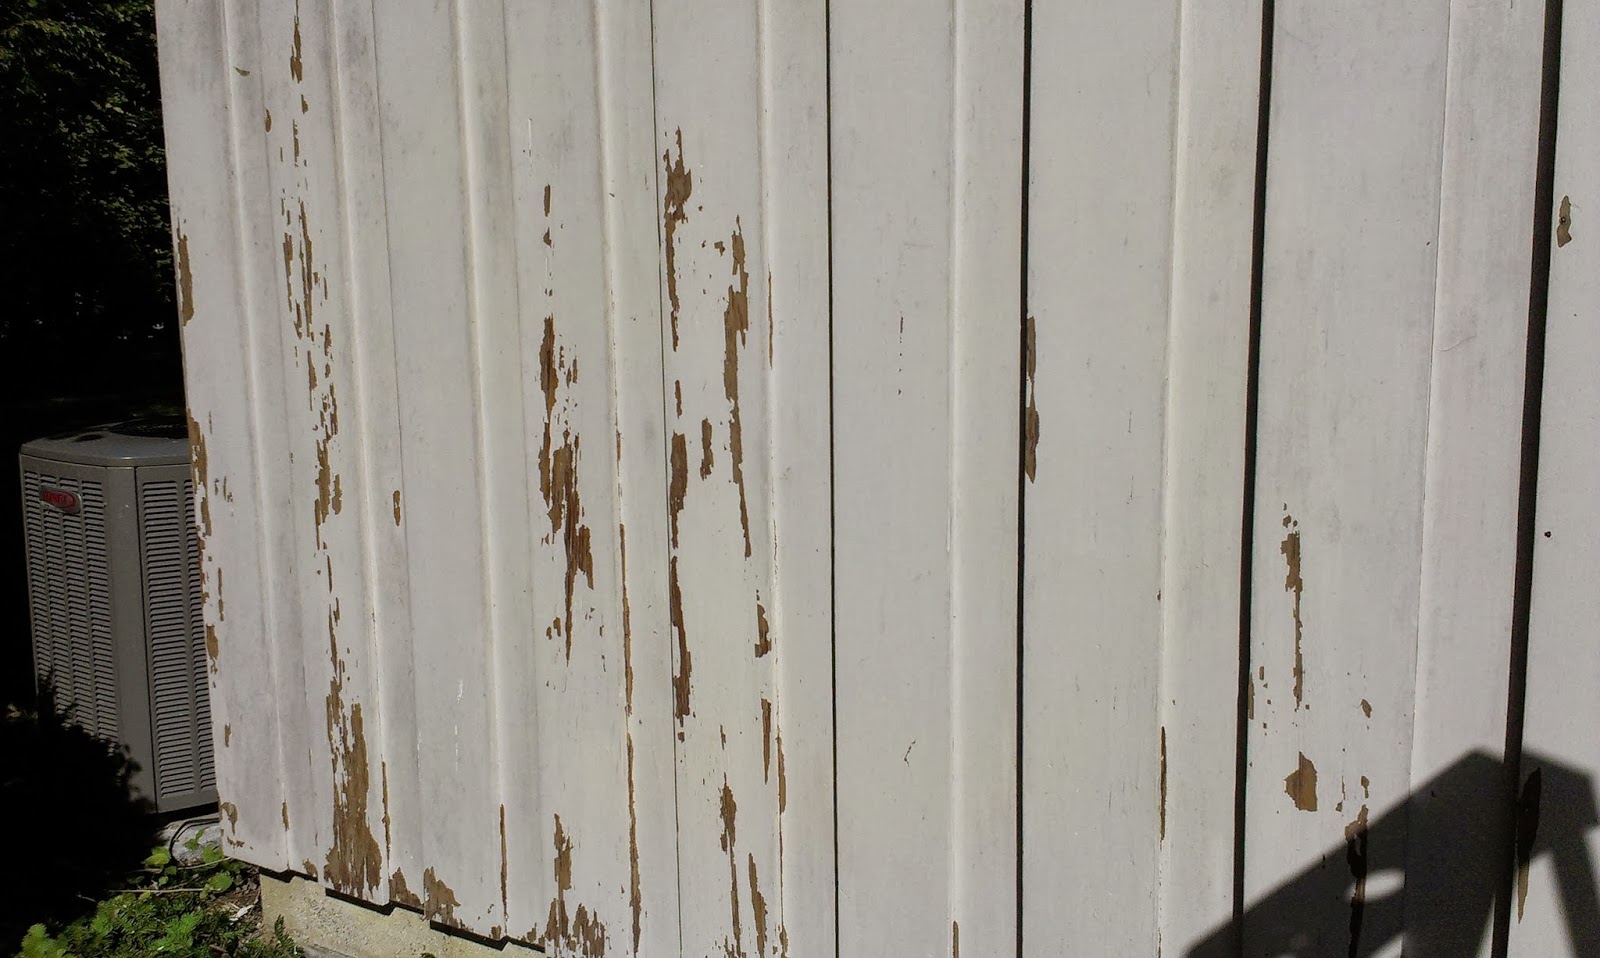
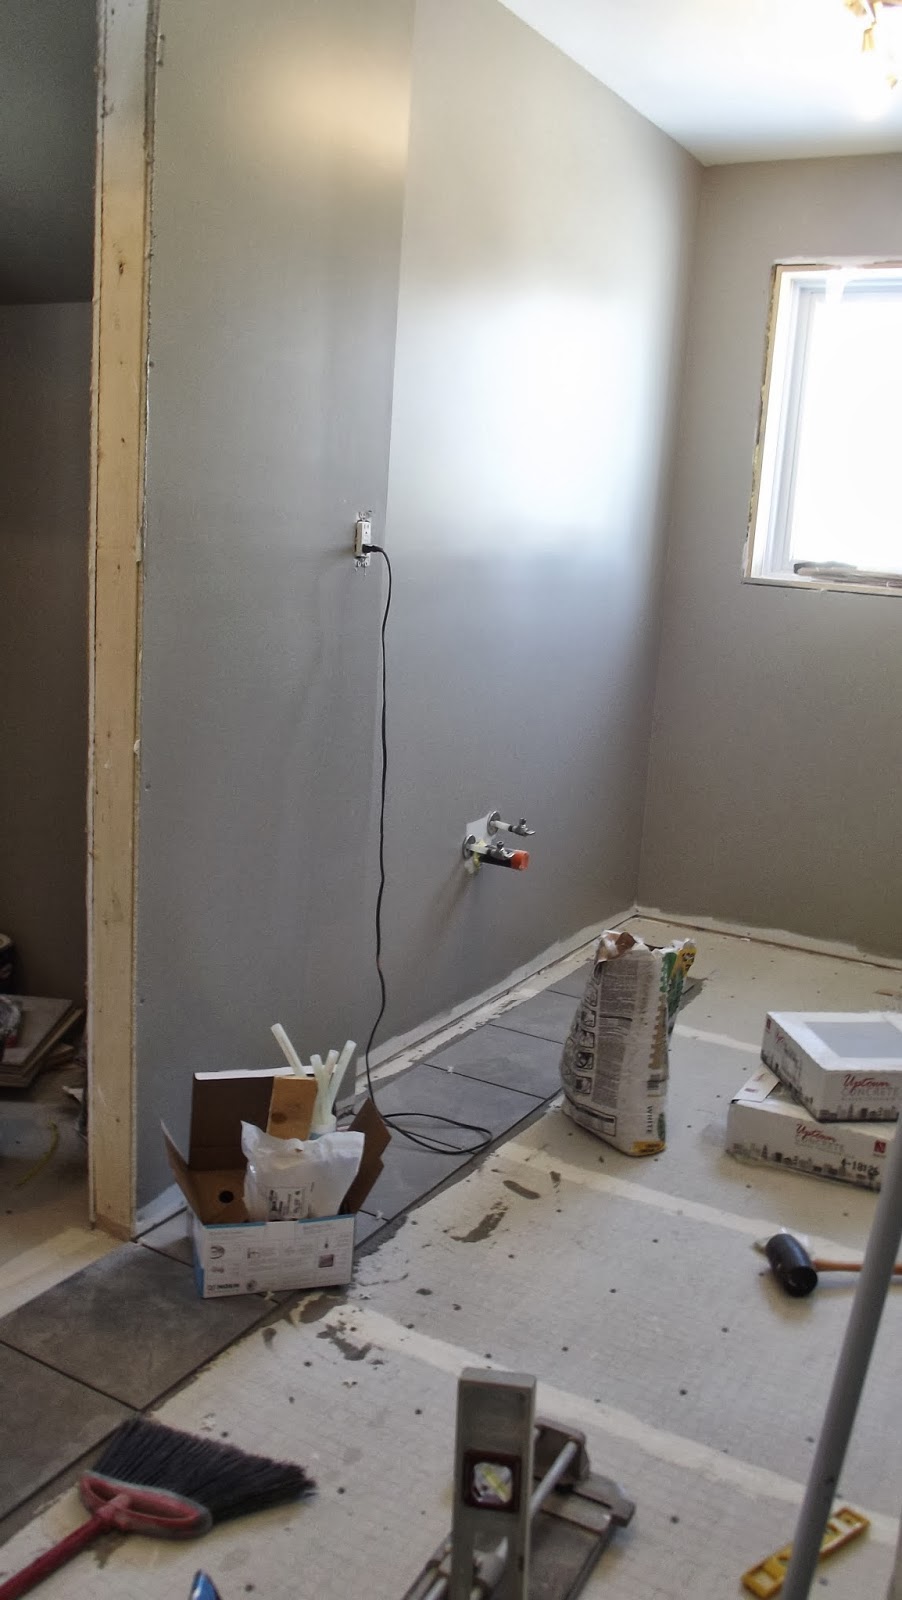
No ‘reveal’ post would be complete without a horrific ‘before’.

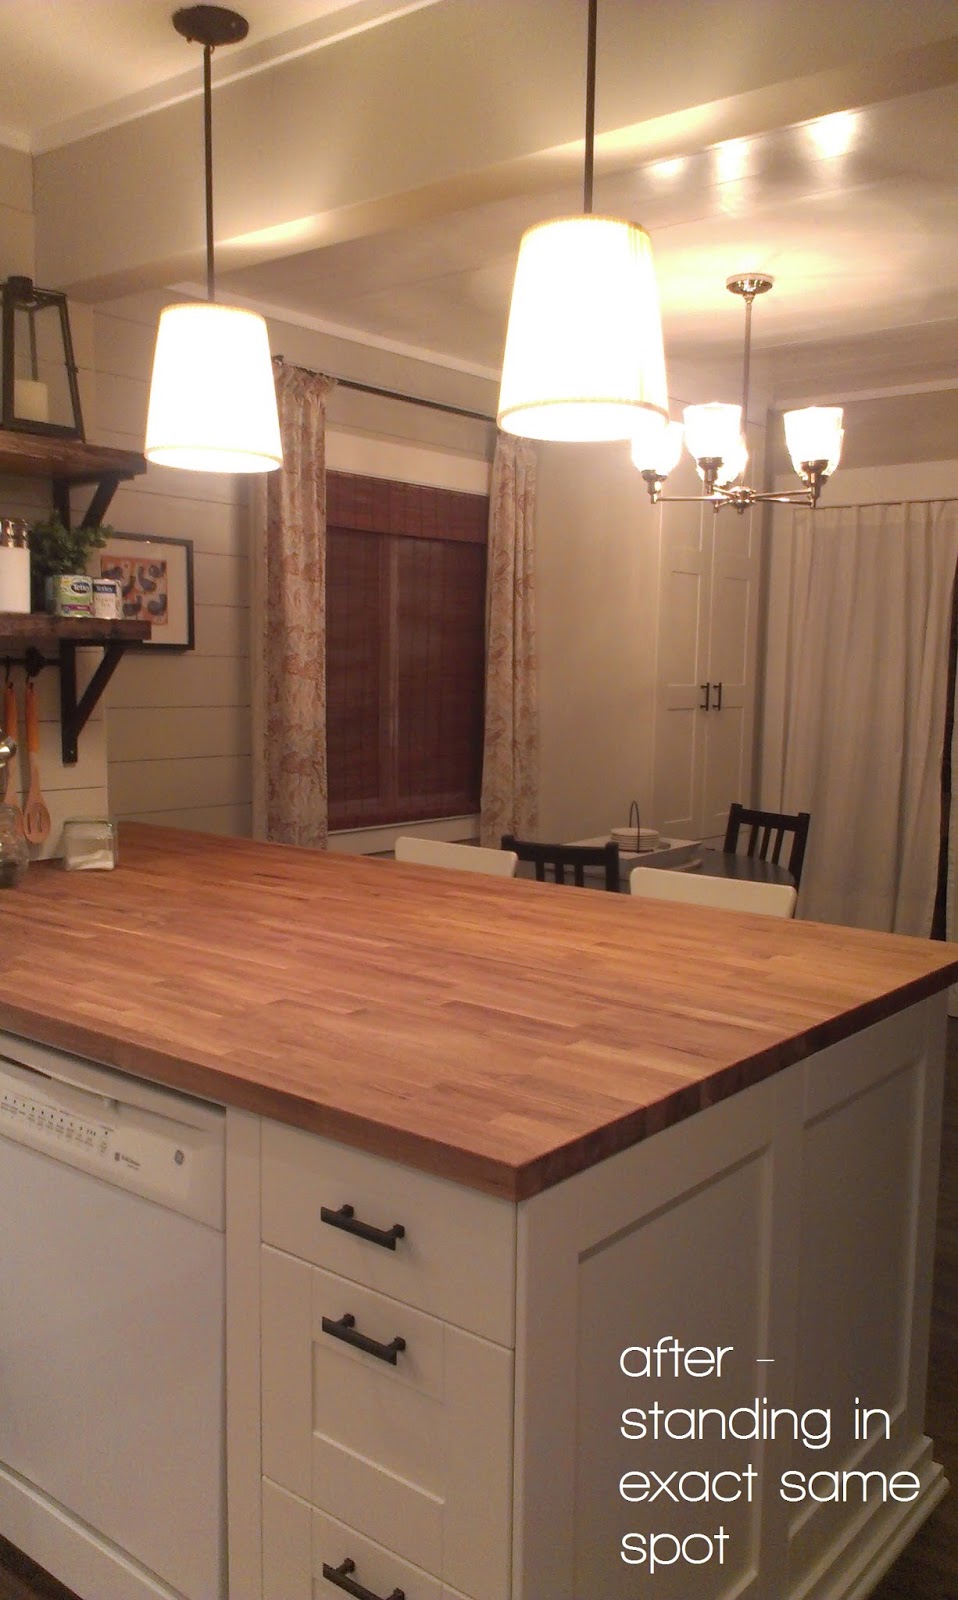
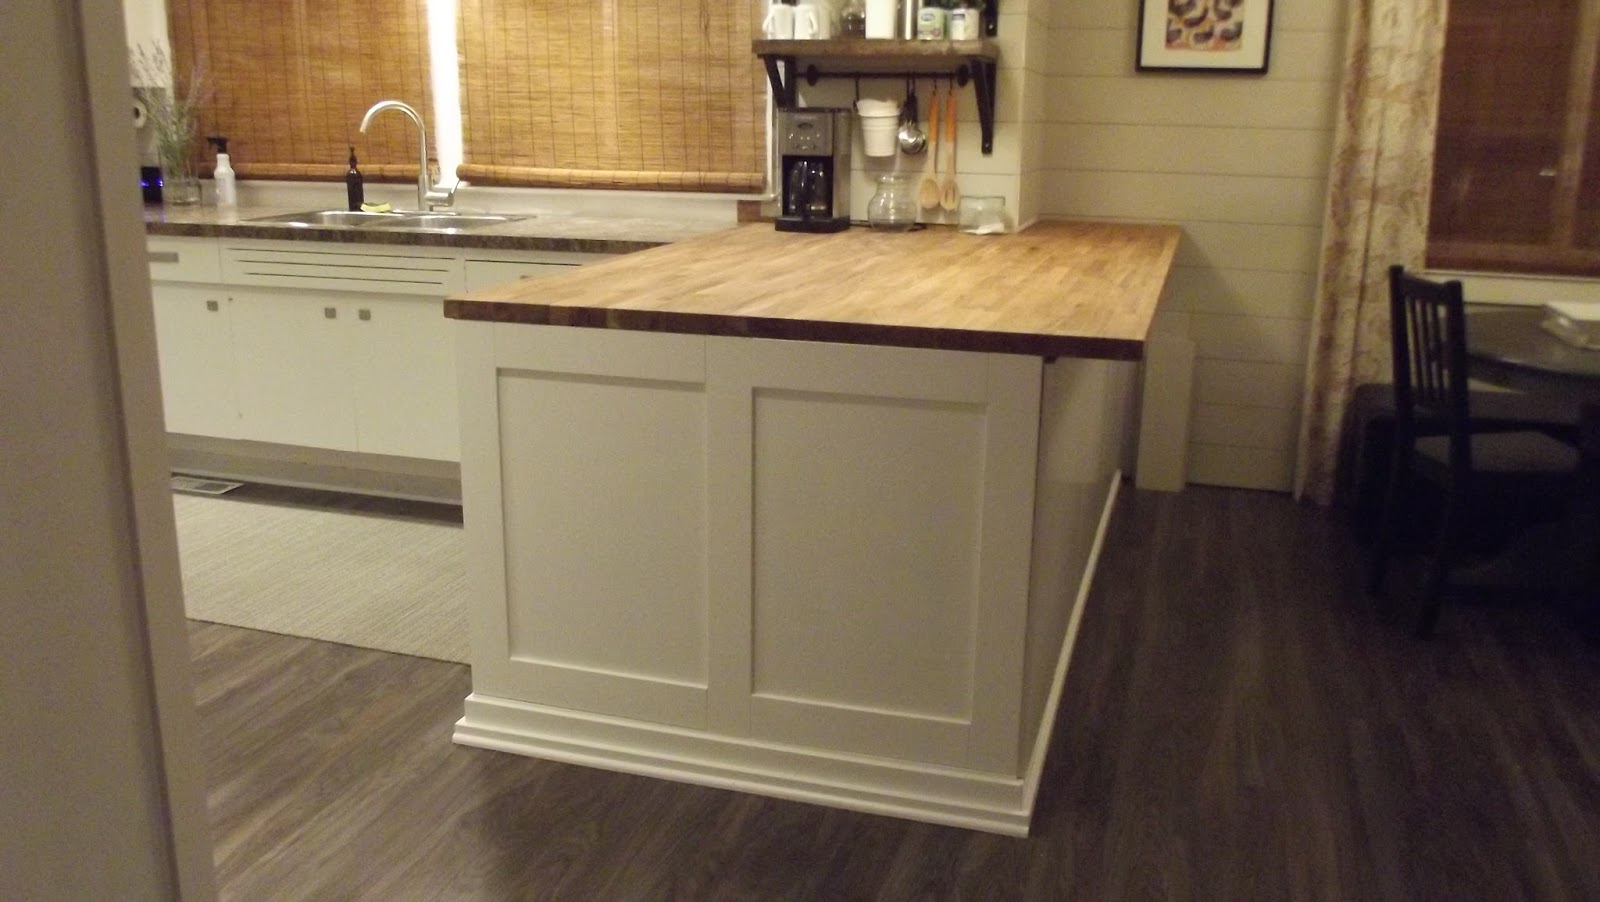
Ummm…. yeah.  I originally didn’t want to show this photo.  It’s full-on Hoarders, I know.  The funny part is that this was only concealed from my kitchen by a a pair of curtains I temporarily (for a year) hung.

People would come over and sit in the kitchen and casually ask what was in there and I’d break into a cold sweat.  It was like the scene from the Wizard of Oz – “Pay no attention to that man behind the curtain!”   What curtain?  I don’t see anything!  Here! Have more coffee!  Some quinoa salad or something!  Look!  Elvis!

The WORST part was when the boys had friends over.  For some reason, every kid that entered my house insisted on playing hide and seek in that damn pantry.  They’d go running for the curtain not realizing that they were about to run right smack into twelve bottles of ketchup on the floor and six ceramic pie plates I bought on clearance for future Christmas gifts.  Ha.  Joke’s on them.  That’ll learn ’em.

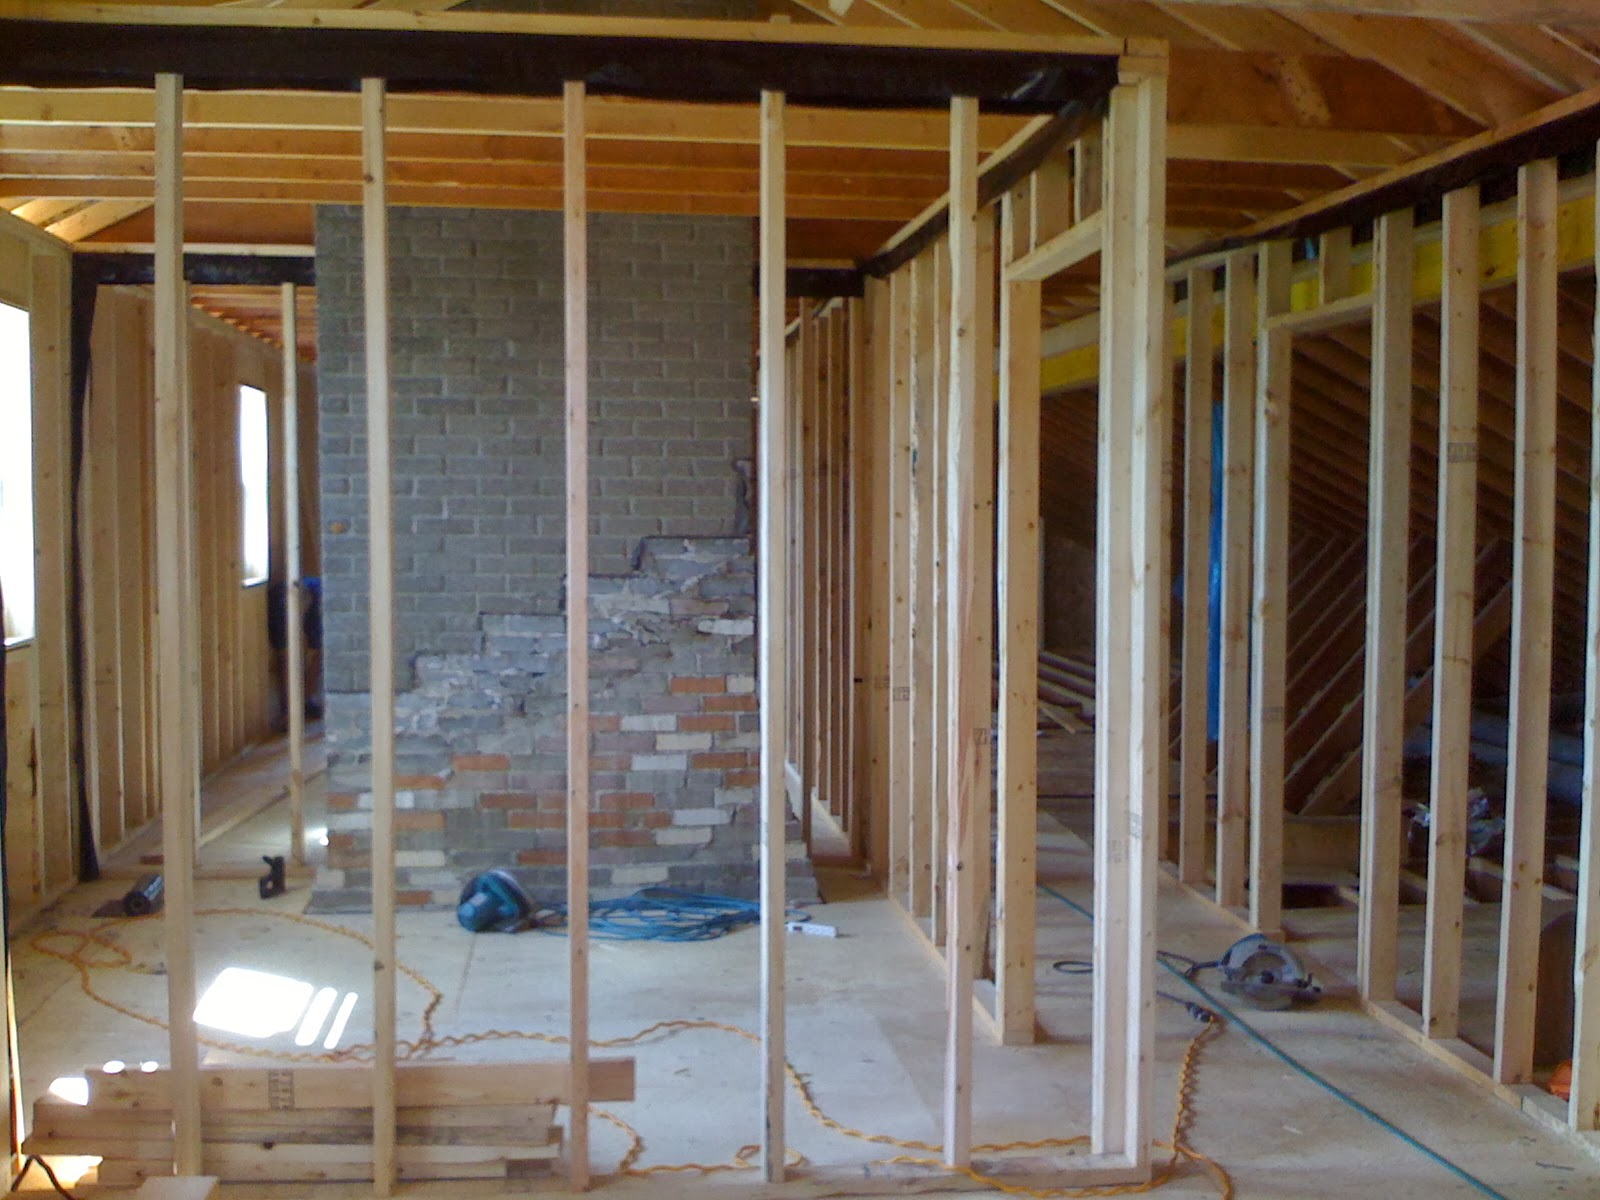
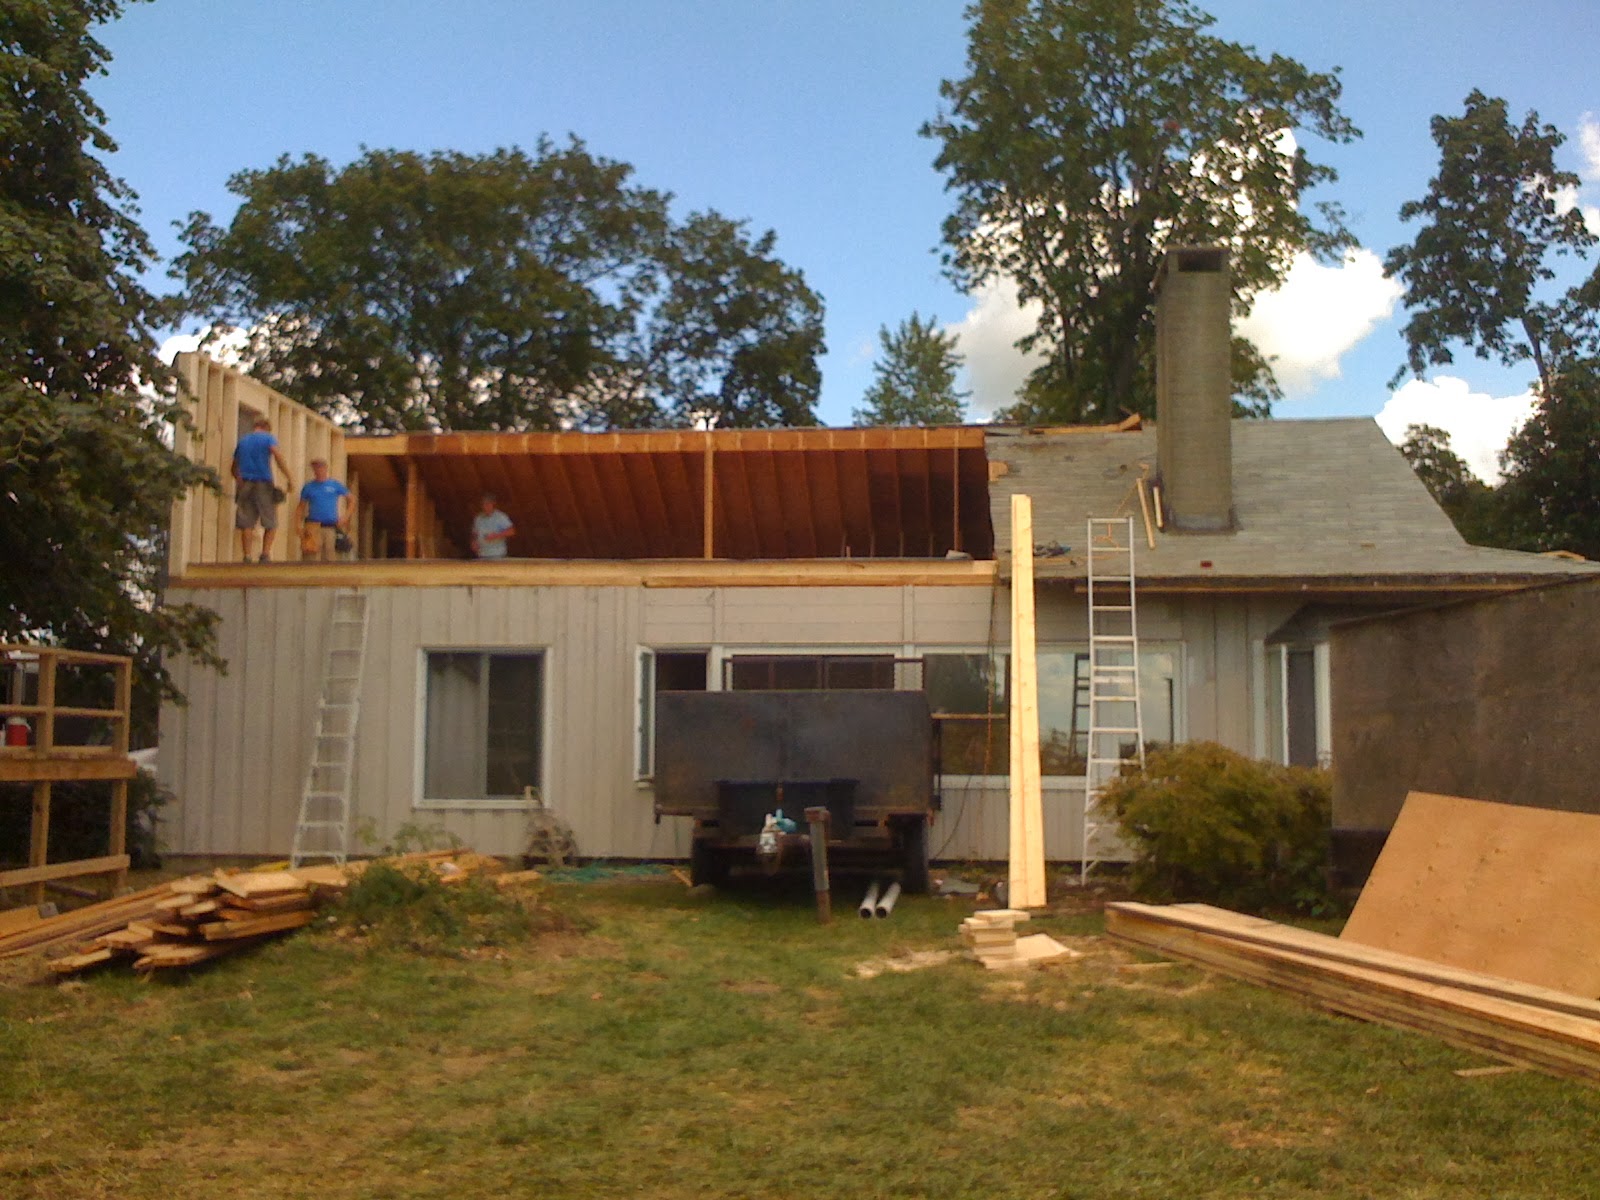
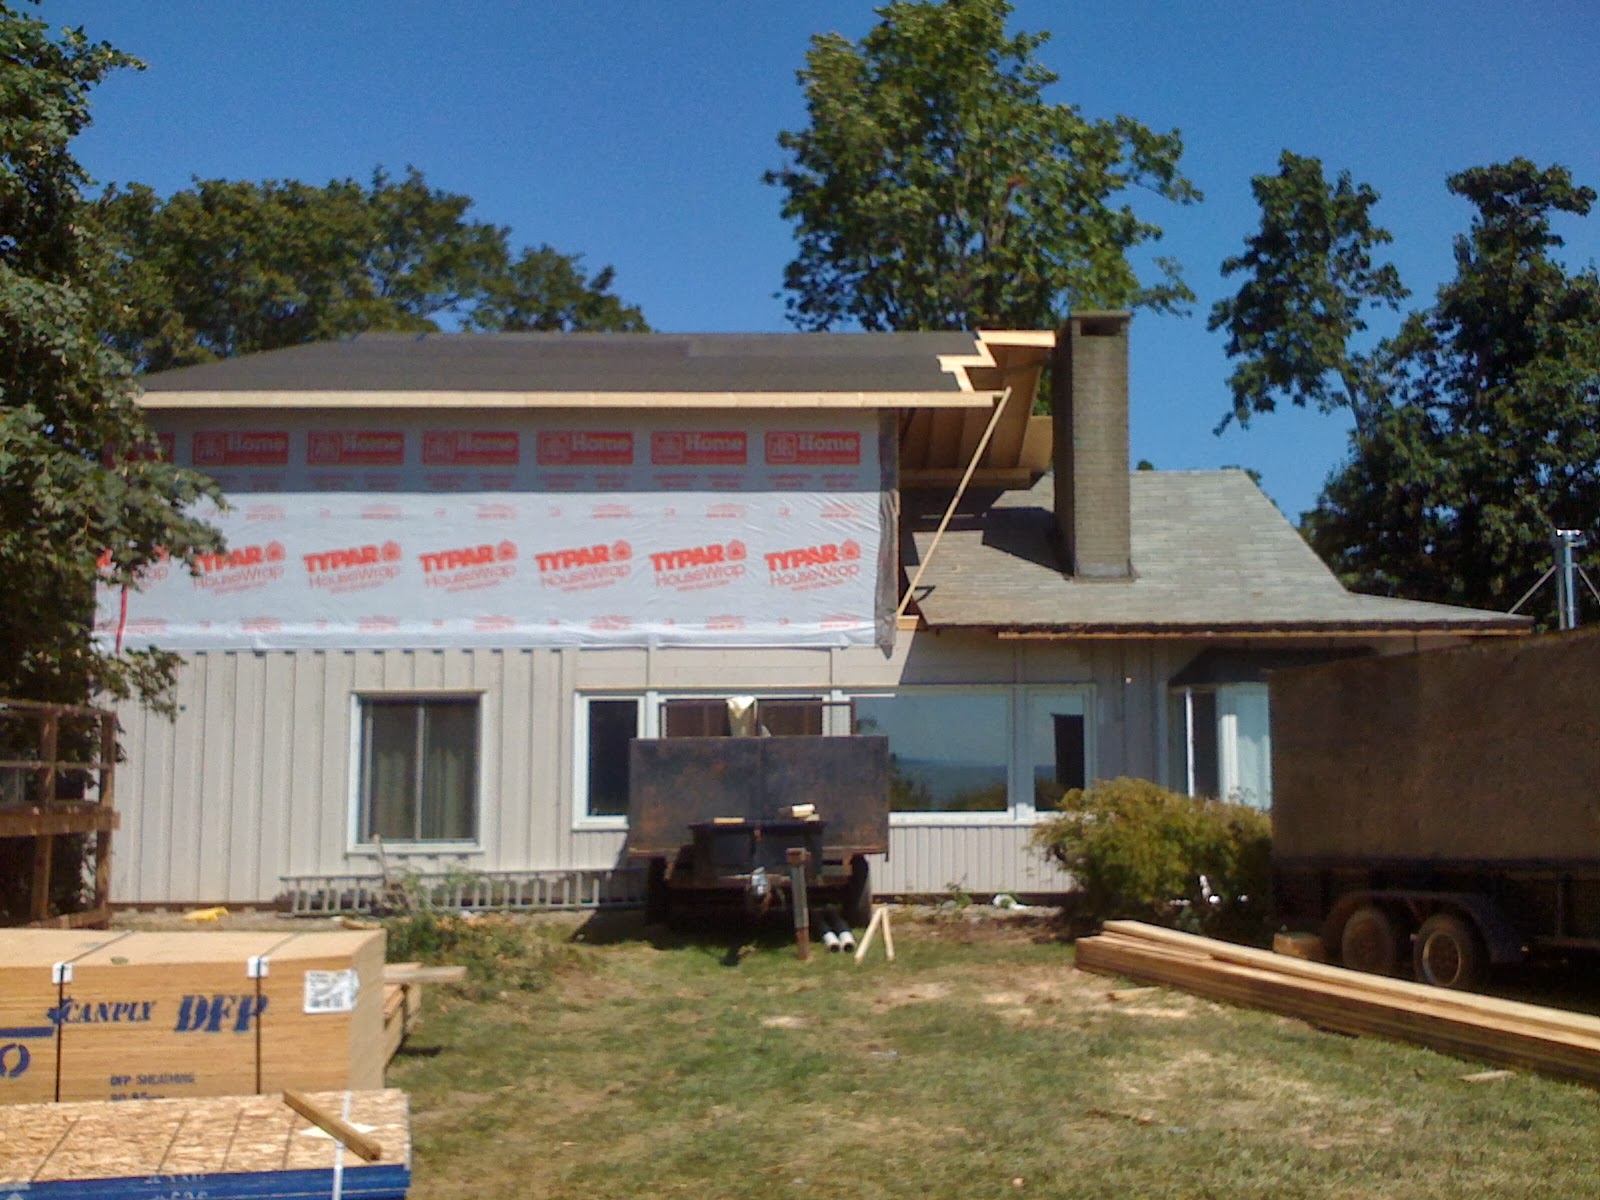
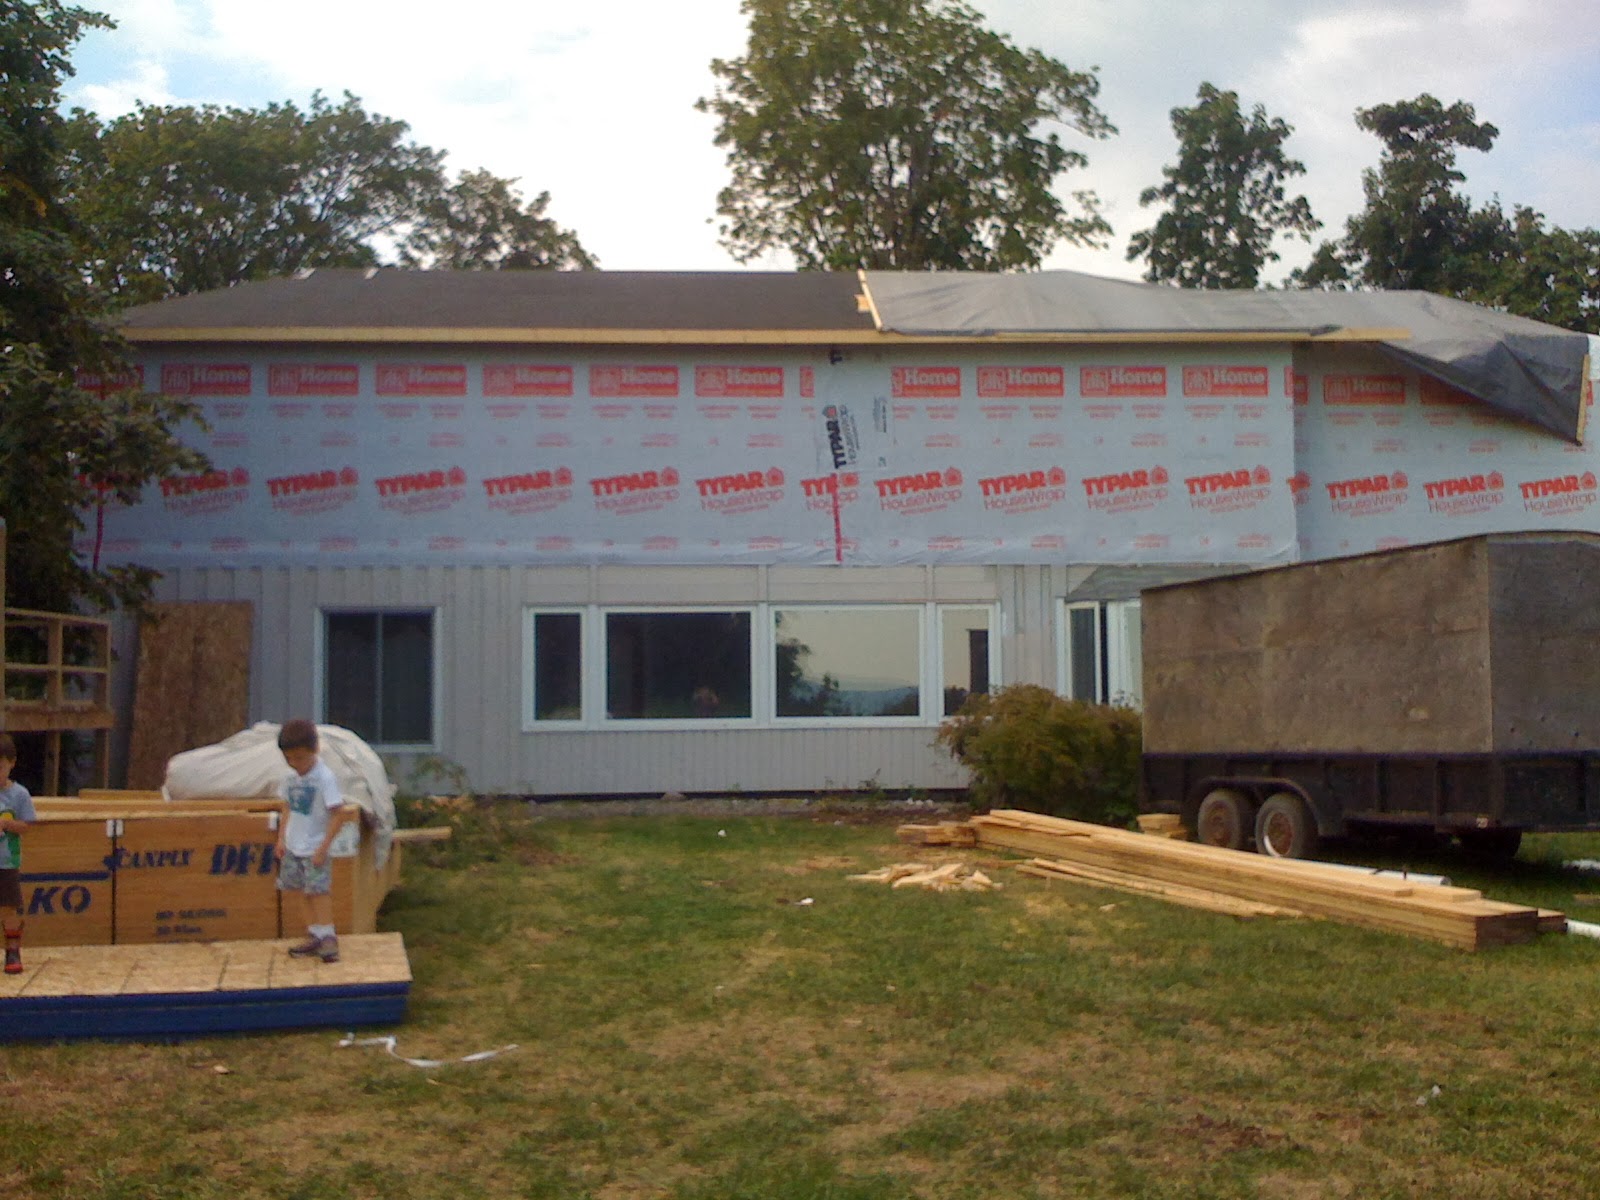
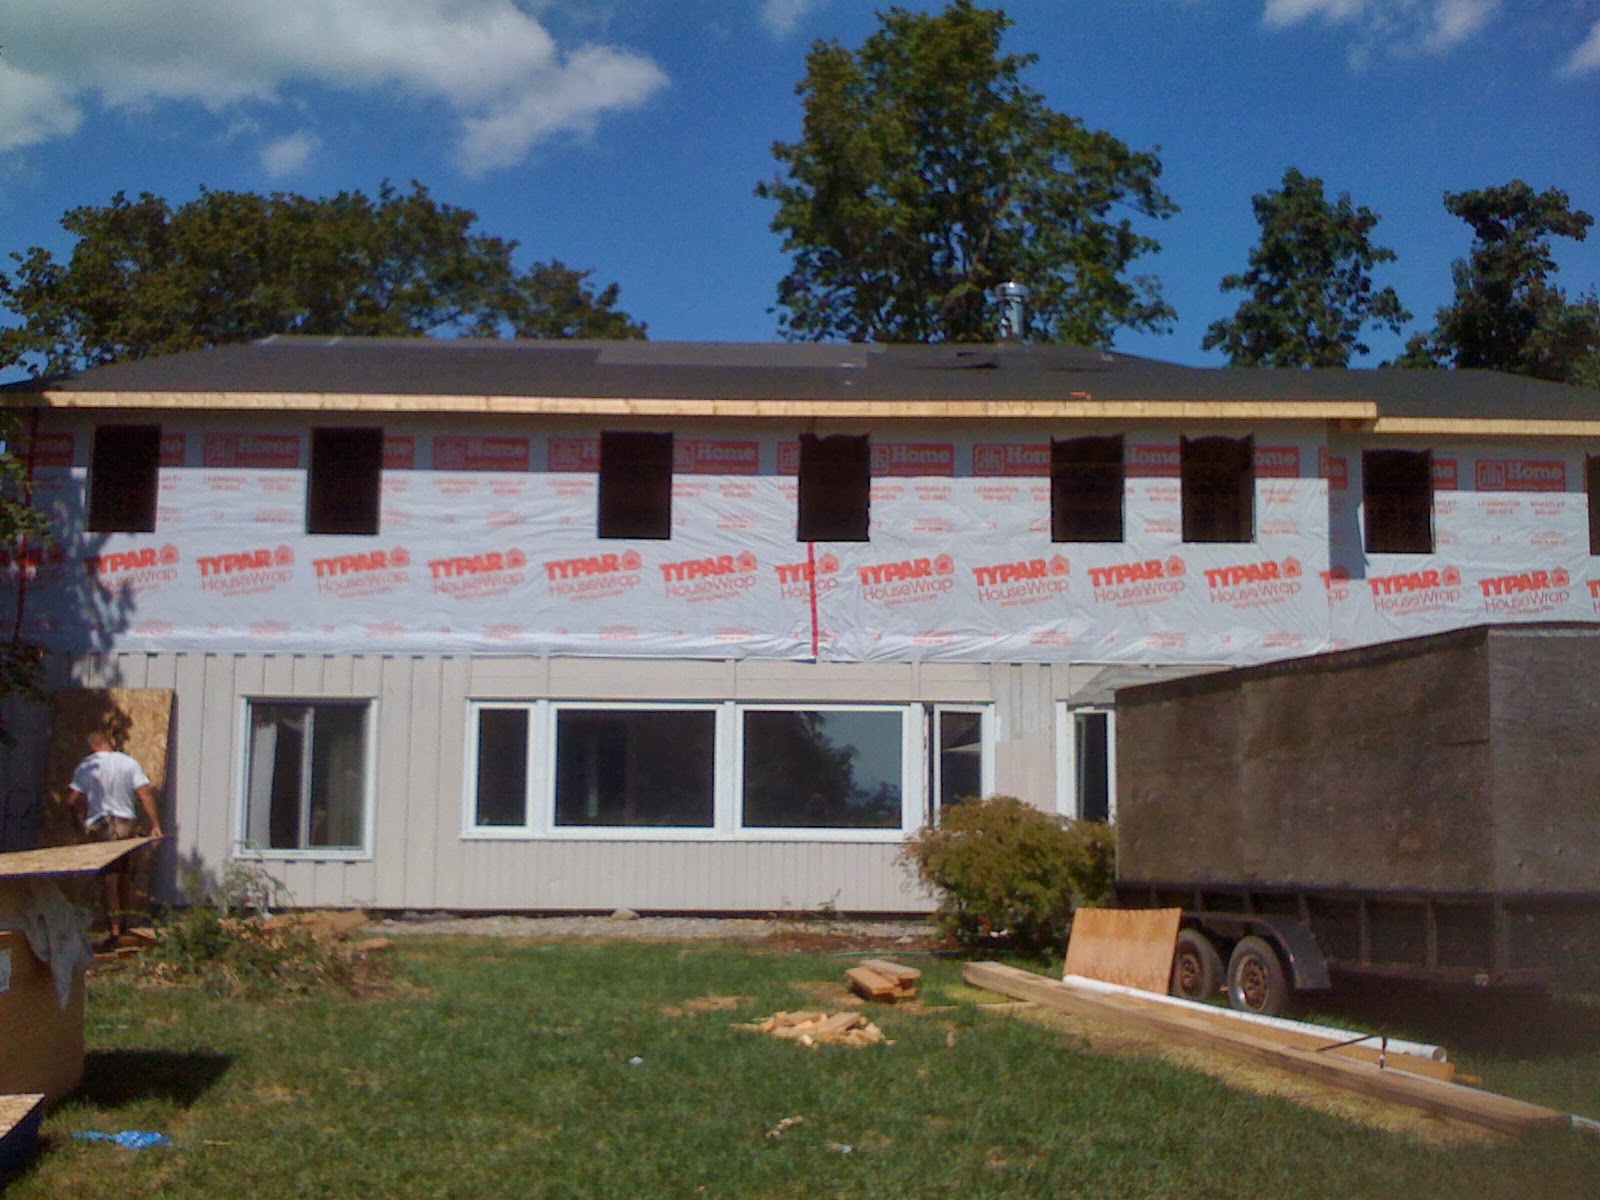
I knew I couldn’t go on like this any longer.  We needed some semblance of organization and it needed to happen STAT.  When we demo’ed the kitchen this past summer (complete kitchen post comin’ atcha), we saved every scrap of 3/4″ plywood we could with the hopes of reusing it later.  Well, later was now.

I started by taking everything out of the pantry and randomly throwing it around the kitchen in the most haphazard way possible.  That always lowers my blood pressure.

We found lots of hidden treasures – like a Tupperware bowl full of peanuts that the boys proceeded to eat off of the floor like a couple of refugees.

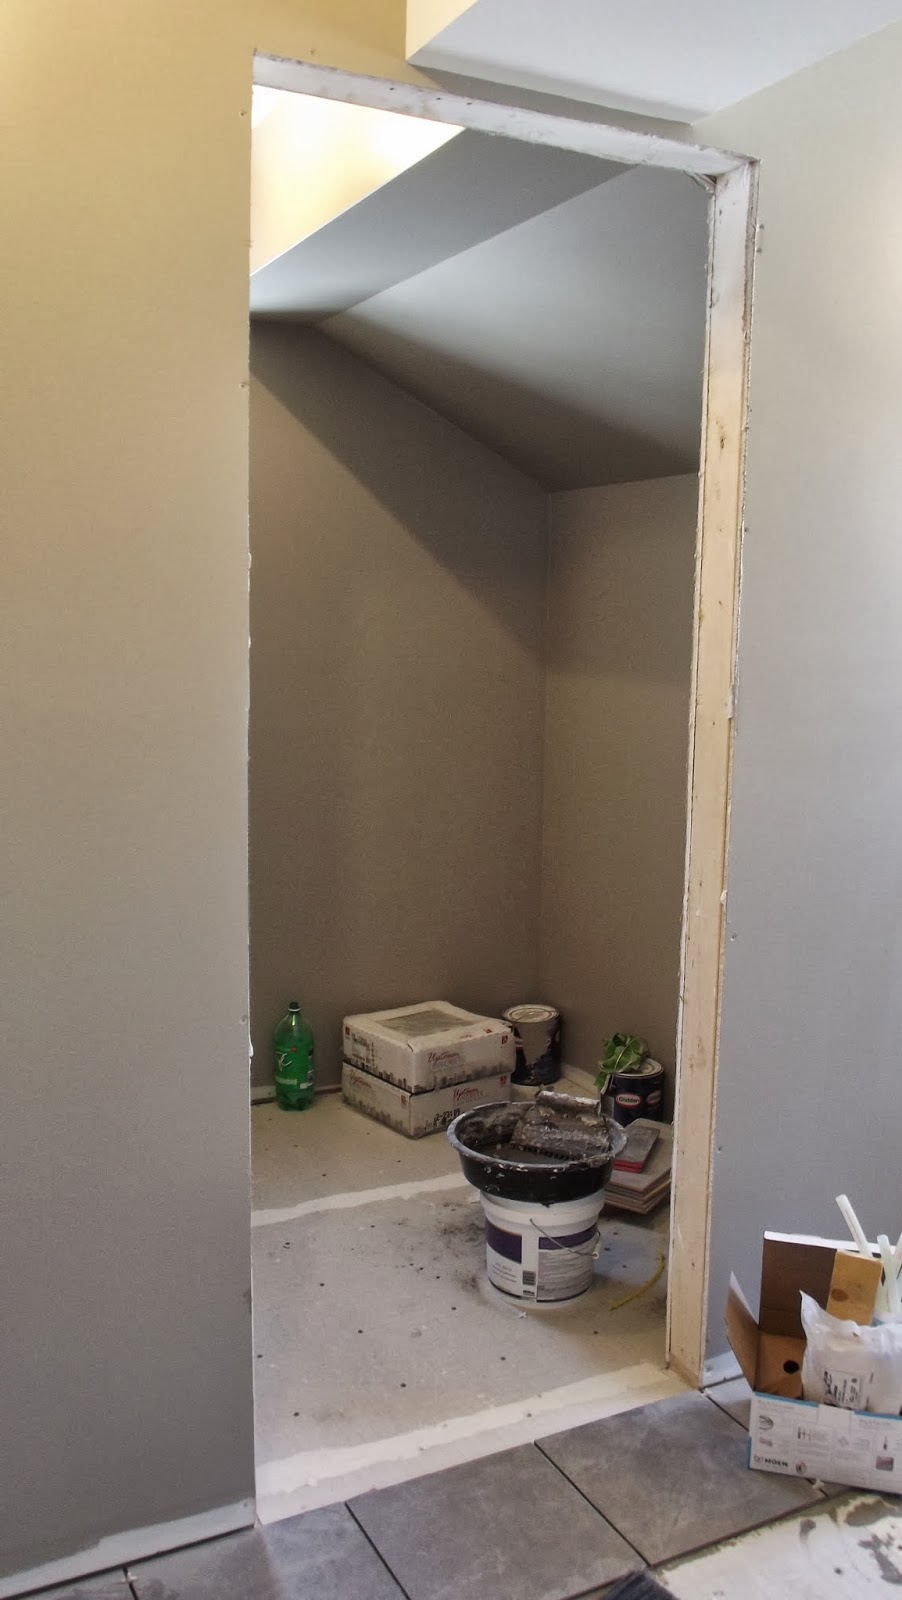
Once I had it cleared out, I could assess the damage and figure out my game plan. I’ve been hoarding Adel cabinet fronts from Ikea for a couple years now and I’ve amassed a pretty impressive collection.

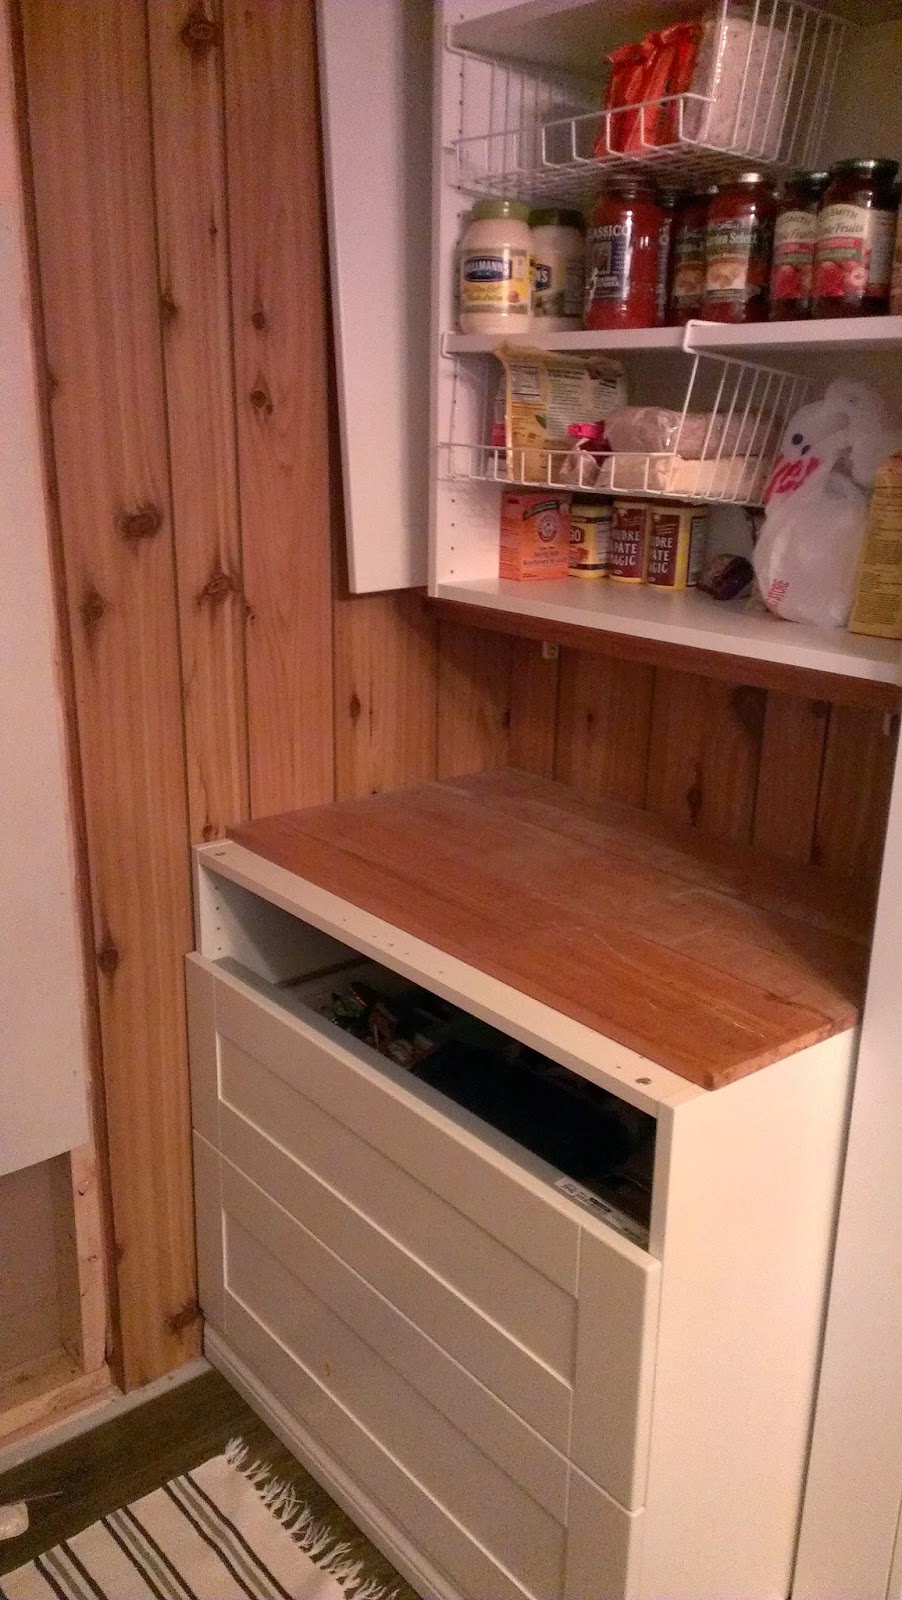
I figured out what doors I had, what cabinet frames I needed to buy to match them up and went from there.  One side of the pantry was exactly 36″ wide and I had 36″ drawer fronts already on hand (all but the top, little ones), so I chose the wide, deep drawers for storing things like lunch bags, cooler bags and miscellaneous pantry crap that never seems to find a home anywhere else in the kitchen.  I also had a couple 39″ doors for the upper cabinets, so I purchased a tall wall cabinet to fit above the drawers.

There was a 6″ gap to the left of the wall cabinet, so I built a little bottle holder out of scrap mdf and melamine-covered particle board to fit perfectly in that spot and to add a little storage at the same time.

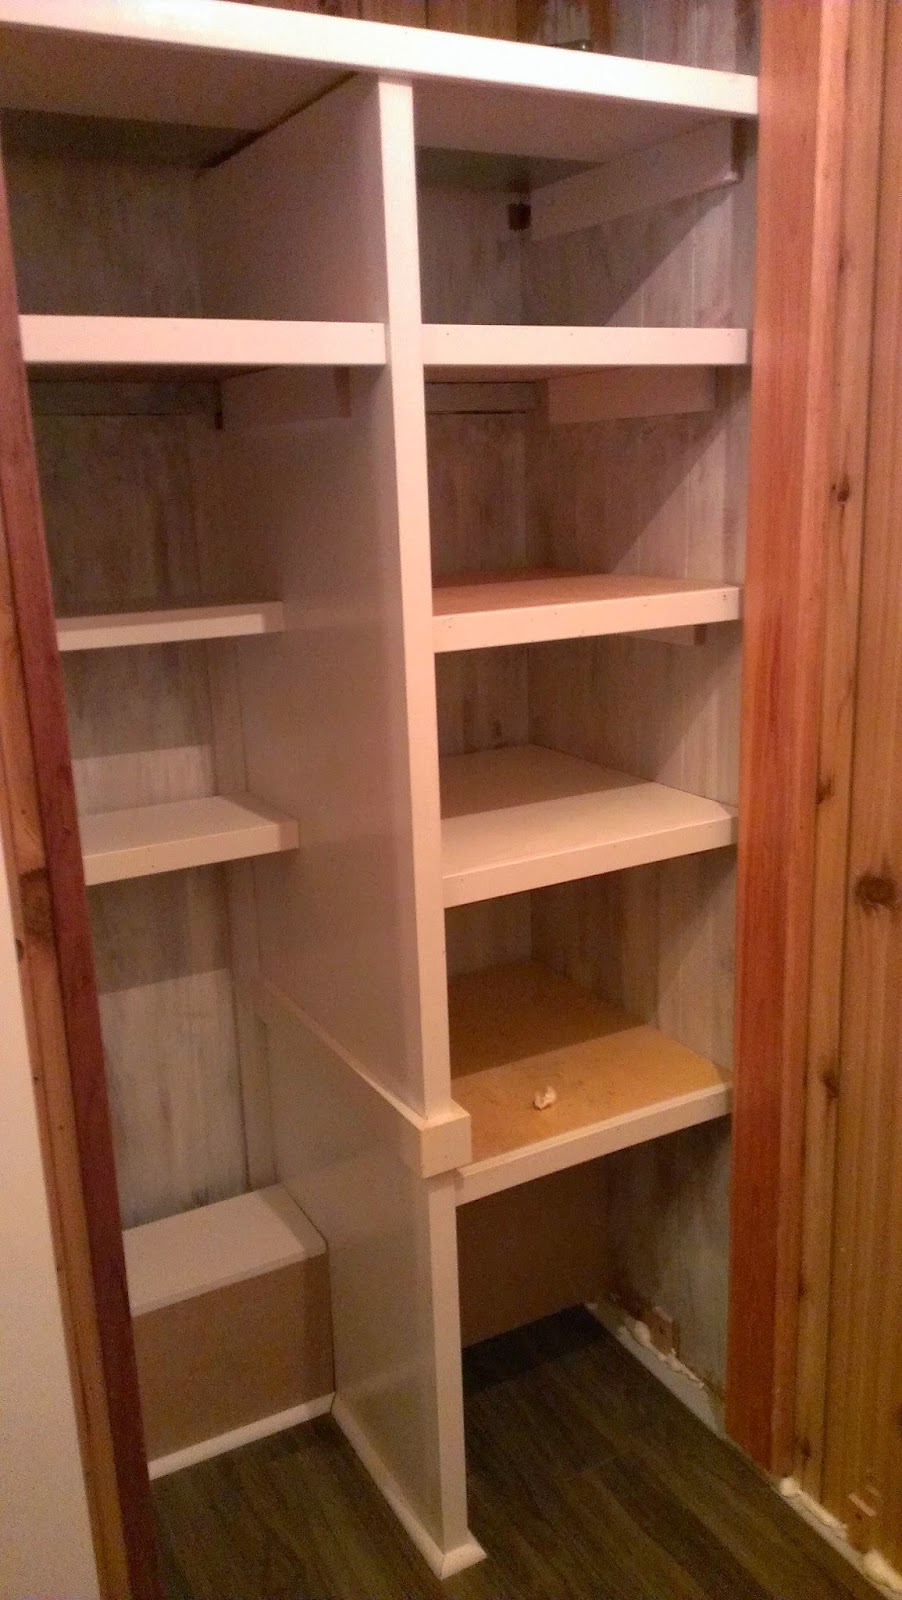
Once I had that side roughed in, I could get to work on building some storage into the other side of the pantry.  John had the amazing idea to use an old hollow-core door to create the divider down the almost-center of that old closet space.

I opted to cover the doorknob holes with more scrap trim and just started building from there as my guide.  As you can see, I had to work around the hvac duct on the bottom – that posed a little bit of a challenge, but nothing a little scrap mdf couldn’t handle.

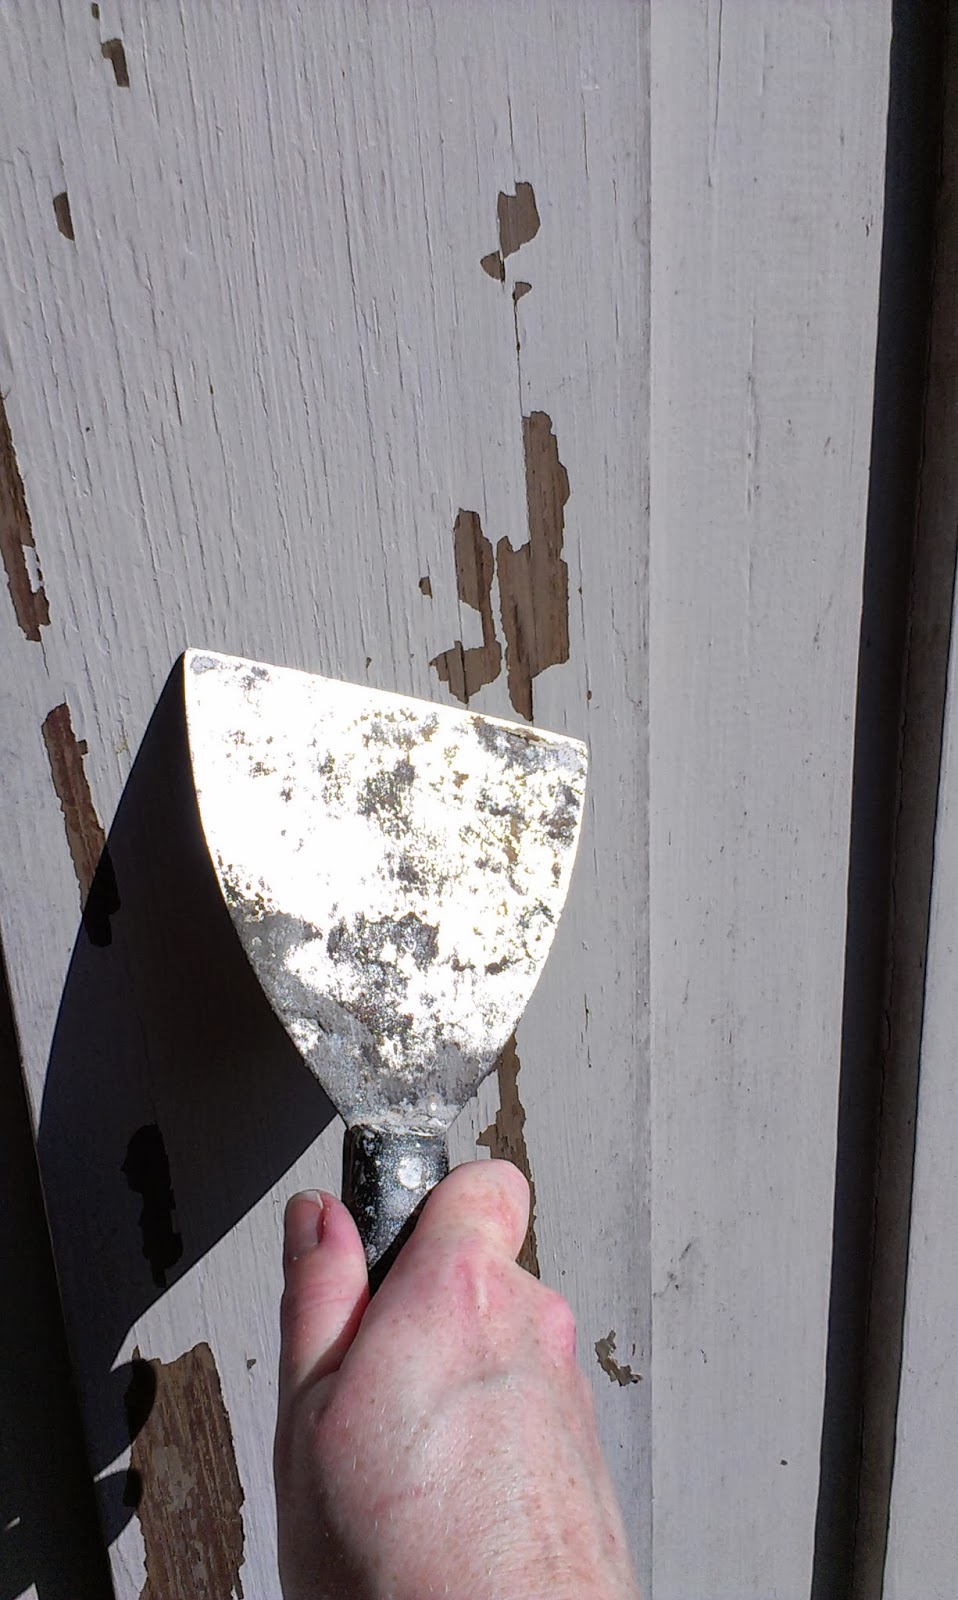
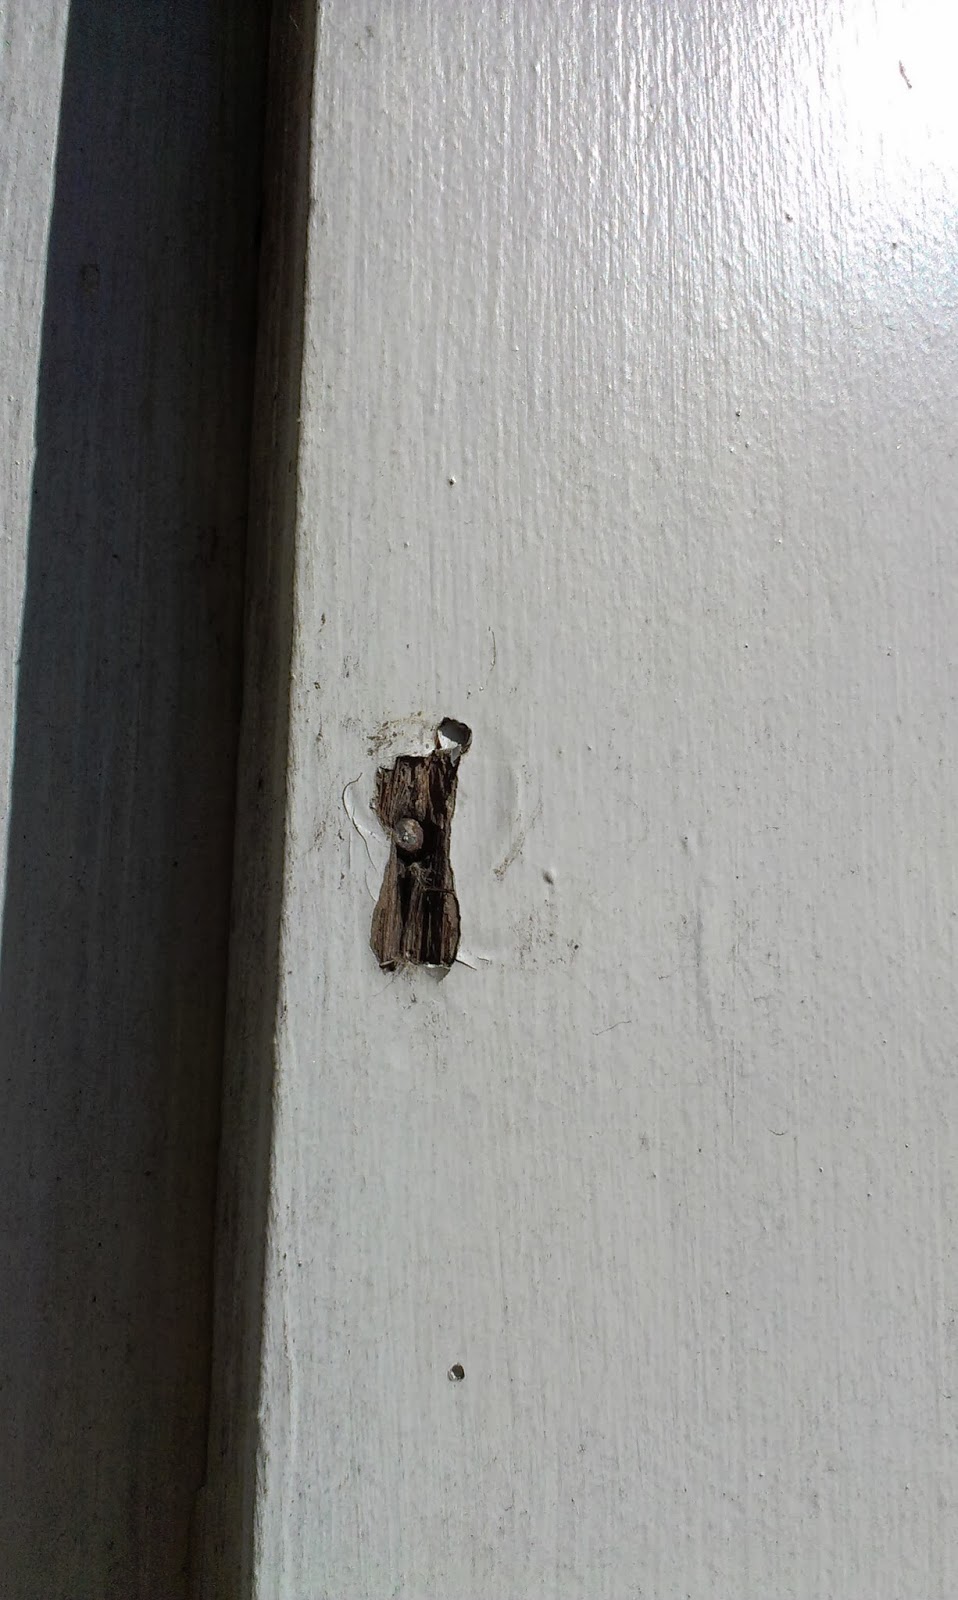
The one thing that was causing my psoriasis to act up was that big opening on the back wall and how I was going to get that covered up and looking even with the rest of the paneling.  Up until that moment, my plan had been to paint out all of the fake paneling and give it a bit of a country cottage charmy feel.  In order to do that, I was going to have to buy another piece of ugly paneling (that isn’t even sold anymore around here) for about $27-$35.  I was bummin’ hard because I had my heart set on doing this whole pantry renovation with minimal costs and reusing as much as I could.  Then, John had the BRILLIANT idea to use some old wallpaper that I had been hoarding (just shut up, it obviously pays off) years ago on clearance from Lowe’s.  The poor guy hadn’t even finished his sentence before I was practically running to the garage to scout out a crappy piece of plywood to patch the big ol’ hole in my wall.

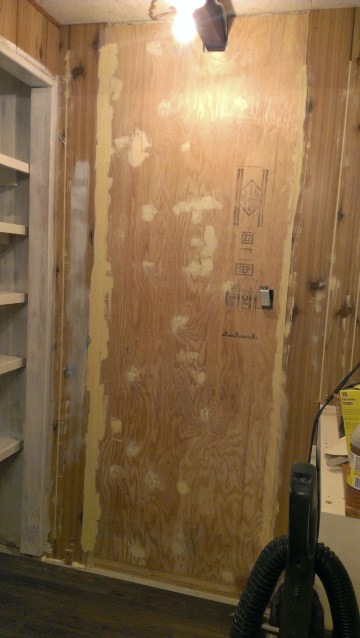
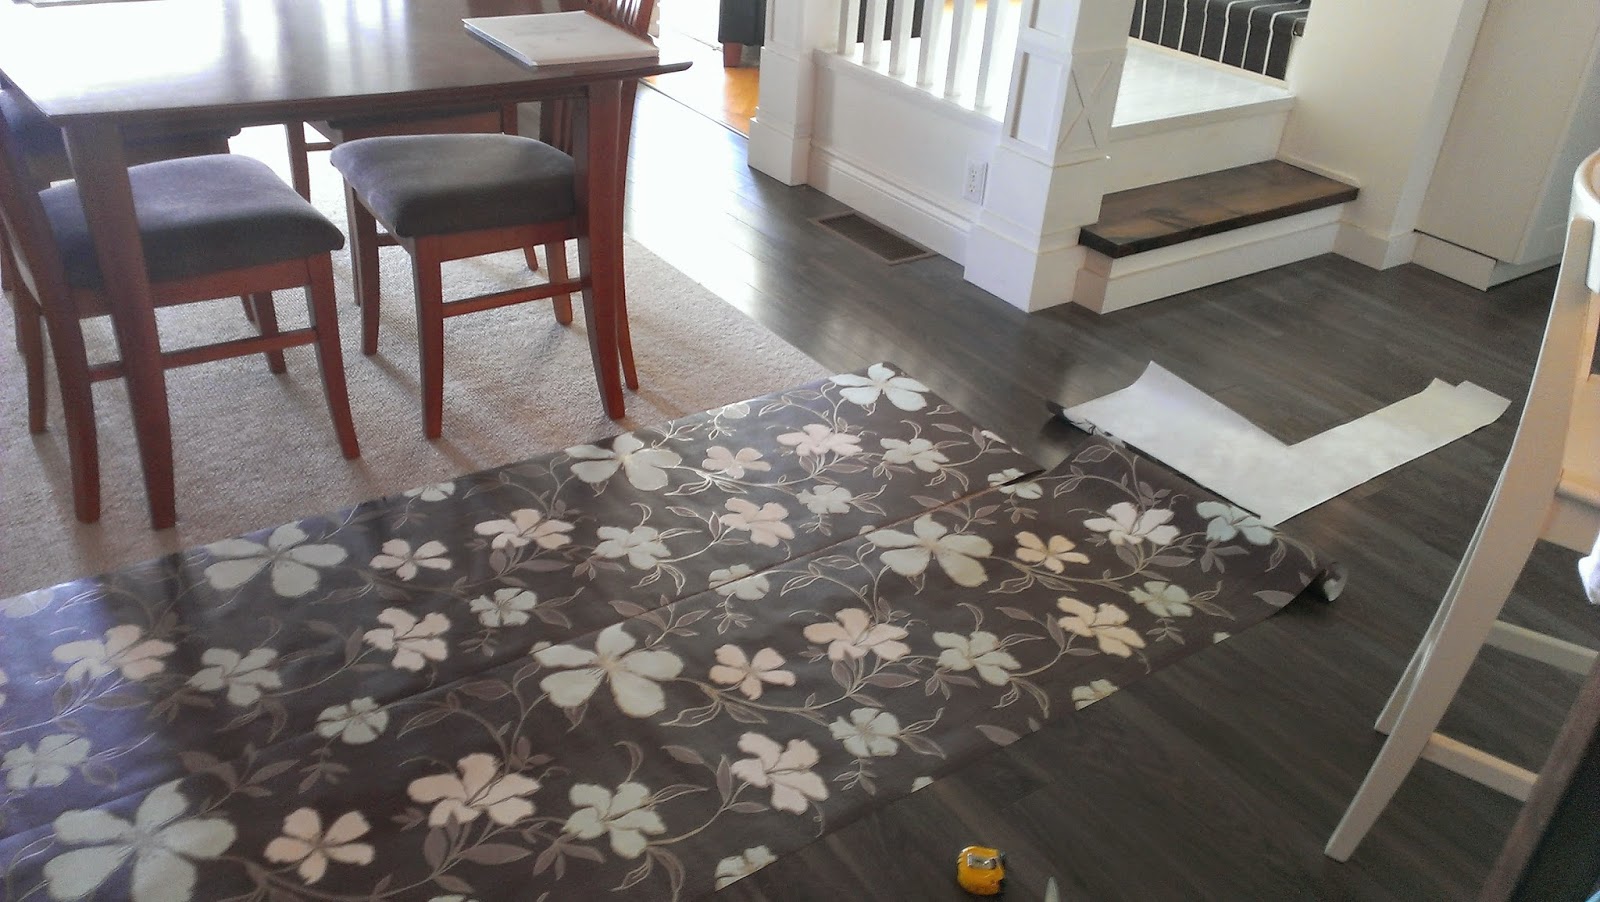
I patched up the knots and the unevenness of the whole thing because it didn’t match up perfectly with the wall on either side.  I read up quite a bit on whether I should prime the plywood first, use wallpaper size or just impulsively slap the wallpaper on with paste.  I’ll let you guess what option I went with.  I figured the worst-case scenario was that the wallpaper wouldn’t adhere properly and then I’d just redo it because it doesn’t take a ton of paper in the first place.  So, I got to rollin’ out my paper and matching the pattern.

Then, I drew a level vertical line on the wall, slopped on a crapload of paste and got to work.

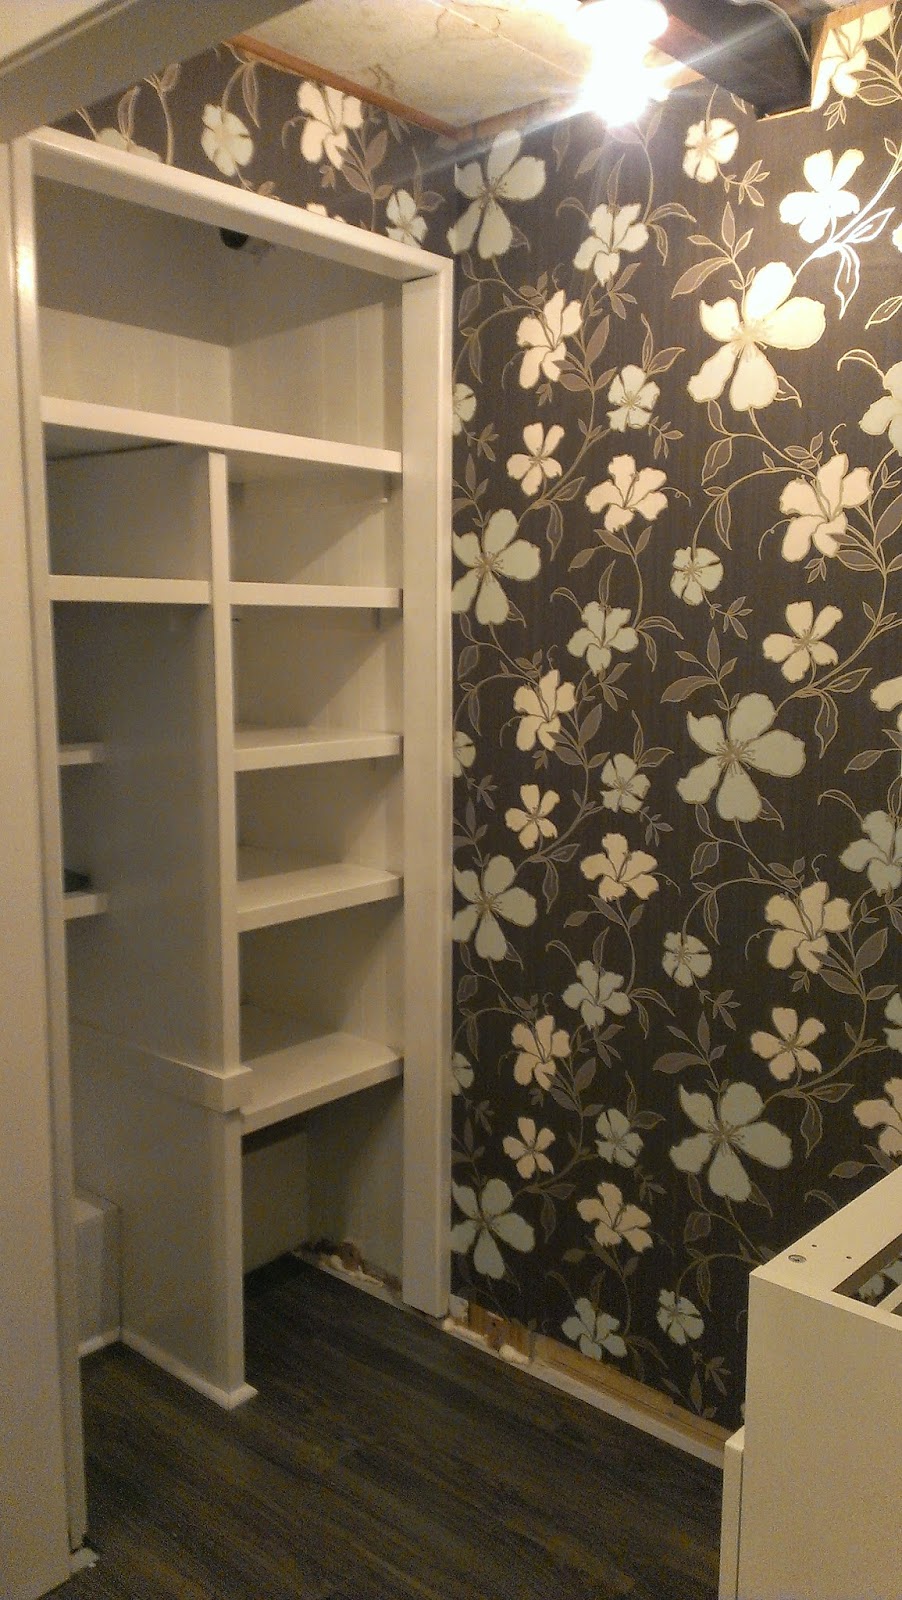
Oh, man.  What a difference that made.  I wasn’t sure how John would feel about the floral wallpaper but he seems to dig it just told me that it looks like “giant grandma curtains”.  Let’s be honest,  ANYTHING is better than what this pantry looked like before.

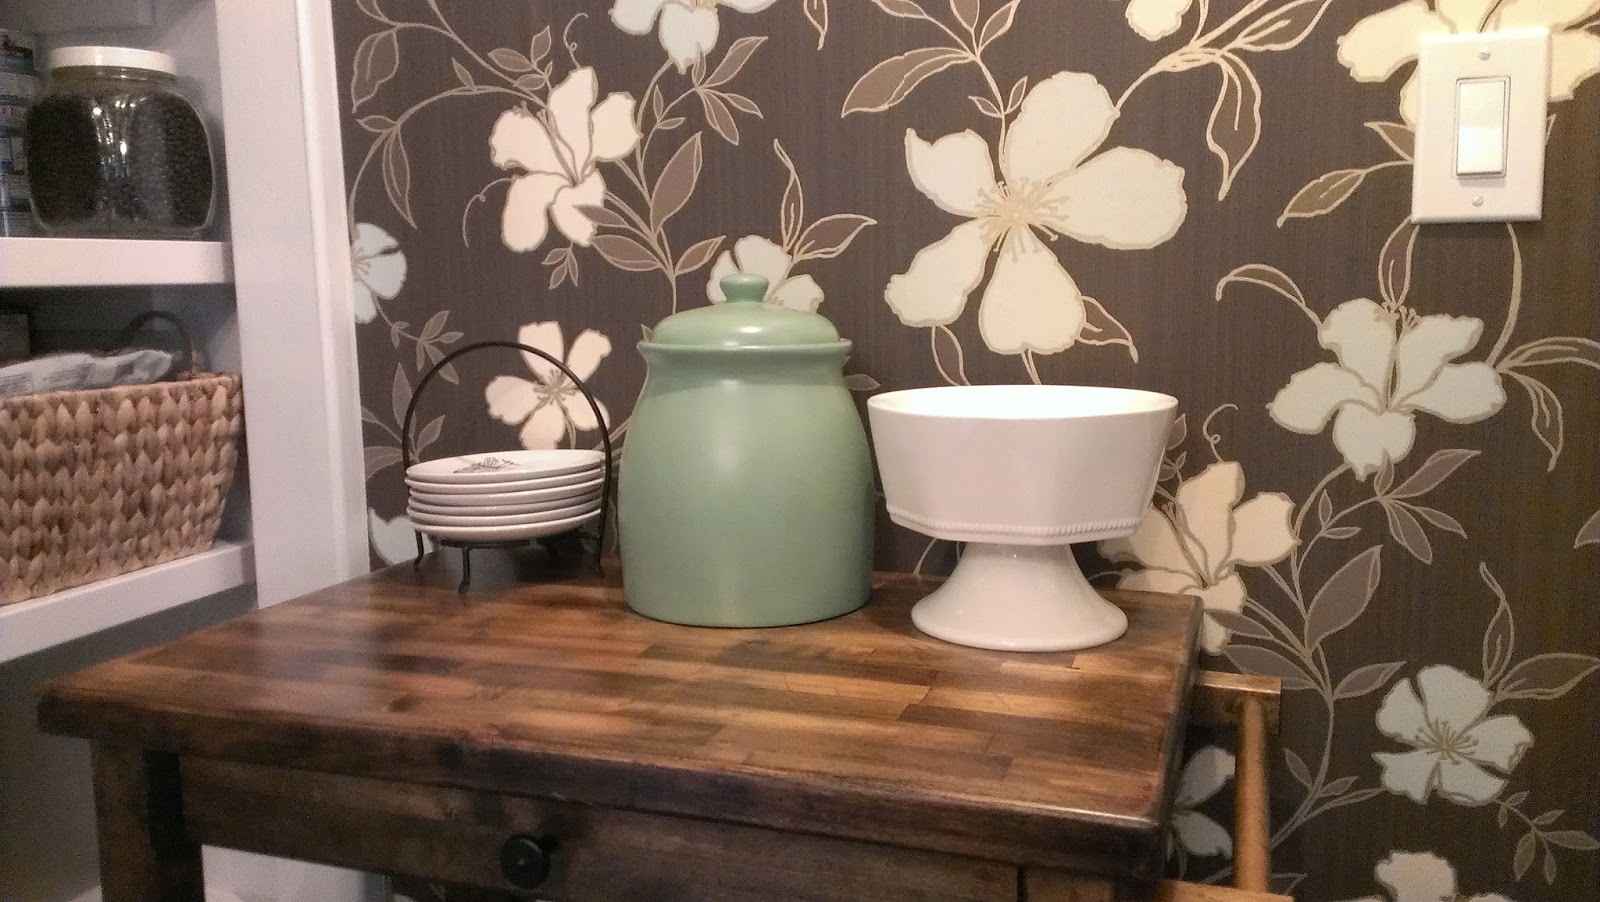
Keeping with the spirit of reusing what we have, I grabbed some shelves that were originally in the pantry/closet and some scrap boards to make the countertop for the drawer cabinet.

Once I got some trim sliced and diced and slapped some more wallpaper (beadboard style) on the ceiling tiles, this puppy really came together.

I have a couple more bits of trim and hardware to add and I’m still waiting for the top drawers to come in, but as of now, I think it’s looking pretty sweet and way less hoardish.  It’s been really nice to be organized for the back-to-school rush and routines. And for all of the hide and seek.

Easy DIY Christmas Ornament Wreath (AKA – You’re Totally Gonna Do This)

The flu (or whatever this is) appears to have hit casa Lee pretty hard.  We’re allllllllll feelin’ it.  However, Christmas decoratin’ don’t stop for no dang illness round here.  In the midst of one of my Tylenol/Advil/Nyquil dazes, I was perusing Pinterest and came across this bit of gorgeousness:
{via}
Umm, hello!?  Where have you been all my life?  When I was decorating our tree this year, I totally overbought in the gold and silver ornament department and felt bad taking half a box of pretty ornaments back down to the basement.  I simply didn’t have any place to put them.  Until now, baby.
So, I dug around in the garage and found one of my wood (is it wood? grapevine? some other material?) wreath forms and took that sucker out of retirement.  I followed pretty much everyone else’s tutorial, so I’m definitely not inventing the wheel here.  I began by setting my outer layer of larger ornaments upside down. 
All of the tutorials say to take off the little metal hook-holder at the top before hot gluing.  That was an extra step that I just didn’t feel like doing.  Was I going to reuse them?  Would I see them?  Both of my answers came back as a resounding ‘no’.  I don’t know if that makes my end product less awesome or if I’ll regret it sometime in the future.  If I do, I’ll be sure to report back to ya.  (No, I won’t.  Let’s be honest.  My last post prior to this was October 22nd, guys.)
Then, I flipped it over and just started fillin’ things in!  There really wasn’t any rhyme or reason to the whole shebang, just glue ornaments into all the gaps so that I don’t see the wreath in the end.  I filled things in with smaller ornaments and tried to make sure the finishes were evenly spaced out because I have OCD like that. 
 

To hang it, I just grabbed a cheap-o piece of ribbon that I’ll probably change out next year when I buy all of my millions of spools of ribbon during the after-holiday sales.  I think it’s safe to say that I’m pretty pleased with the result.
Tell me about your holiday decorating!  Any great projects I should check out?  

How Do You Spell ‘Pretentious’?

L-I-B-R-A-R-Y.  That’s how.

Standing in Ikea, talking about a Billy bookcase combination, I hear myself say the words, “That would look really nice in the library.”

Who am I?  Just who do I think I am having a library in my house?  It sounds so hoity-toity.  So full of one’s self (oneself?  onesself?  Clearly, I need a dictionary in mah libarry.)

So here’s the thing:  We have an extra room in the house, just off of the dining room.  It’s not large by any means.  In fact, it only measures about 9’x9′.  I really don’t know what else to do with this room other than turn it into a library.  I like the idea of a quiet place to kick my feet up and relax and read a book.  Maybe fall asleep and nap, maybe not.

There *are* a few things that make this room whisper ‘Make me a library.’  One, is the fact that this little room HASITSOWNFIREPLACE!  I know, right?  Can you imagine the chilly evenings spent curled up with a hot cup of tea in front of a roaring fire?  No?  Neither can I.  But I sure do love having that option should the situation present itself.

Secondly, it’s got a big bay window (that is going to need to be replaced soon, but shhhhhhh! don’t tell it, yet) and it lets the light just stream on in.

Lastly, and most importantly, we got books, yo.  Lots of them.  Like, MASSIVE amounts of books.  And they need a proper home in which we can refer to such titles as, ‘Putting Anger To Work For You’, ‘Indispensable Calvin and Hobbes’ and of course ‘Great Cases In Psychoanalysis.’

My inner 13 year-old just noticed Karen Horney

What’s left on my library to-do list?  I’m so glad you asked…

  • Install built-in bookshelves
  • Either paint wooden walls or create a plank treatment similar to kitchen
  • Build fireplace surround
  • New furniture (chaise? chairs?  La-Z-Boy recliners?)
I think it’ll be a nice winter project — now let me show you some of my inspiration…..
(via)
(via)
(via)
(via)
(via)
(via)
(via)
(via)
The strange thing is that after looking at my inspiration photos, I realize I’m all over the map style-wise.  Traditional, modern, transitional….  What would *your* style be?  What favorite book would you read in your library?

Pantry Eye-Candy

Now that Fall is here, I’m dreaming of a proper pantry.  I’ve started sketching and measuring, but before I share that with you, let’s take a look at some of the pantry spaces that are inspiring my next big makeover.

I think the pantry above is a close idea of what the end result for me will be.  I plan on utilizing my stockpile of ikea Adel cabinet doors and drawer fronts that I’ve been amassing like a true-to-life hoarder.  Whenever I hit up my local Ikea, I make a beeline for the ‘As-Is’ section and hone in on the $3.00, $5.00 and $6.00 cabinet doors.  Those puppies are normally $50-$90 a piece, and I’ve managed to amass an impressive collection.  So, with regards to the above photo, I think I’ll have more closed storage on the bottom for larger, less-used appliances and heavier, bulkier items like bags of rice and potatoes.
(via)
I don’t know what that machine is on the left, but I think I might want one in my pantry, too.  Coffee machine?  Ice maker?  I like it.  It’s fancy.  My pantry isn’t as deep as this one, but I like the closed storage on the bottom and I like the pull-out baskets for things like bread, certain veggies, etc.
(via)

Those doors!  I LOVE those doors.  The trim color is pretty sweet, too, and it makes me want to see what the rest of the house is all about.  I don’t really care for the U-shaped open shelving, but I think the lighting is fun and seriously, the doors and trim make this one a real winner for me.

Realistically, this is probably closest to my own pantry’s dimensions.  I think I would prefer a more consistent counter running the entire length and possibly around the corner, too.  The open shelving on the bottom, for me, makes it a bit cluttered-looking, but I’m willing to bet they keep those nifty pocket doors closed most of the time.
What’s not to like here? This underground-cellar-looking  space is gorgeous with it’s matching creamware and baskets.  However, in the real world, soup can labels and pasta boxes don’t look nearly as pretty.  I like the rustic (zinc?) counters and the simple, consistent plywood shelving is so clean and fresh.
(via)
This pantry really makes me do a double-take.  I LOVE the stainless counters and pull-out bins.  The grey-taupe shelves are top-notch and instead of a fridge, I think I would toss in a small, round sink for scrubbing potatoes or rinsing rice.  The subway backsplash and under-cabinet lighting makes it feel airy, fresh and high-end.  And of course, there are those pocket doors.  Such a great space-saver.  I don’t have the room to install them, but I think sliding track doors might be another option.
(via)
Maybe instead of built-in open shelving on one side, I could build a shelf unit like this to store my mason jars, spices, napkins, serving platters, bowls and creamware?  
(via)
I like the drawers and the rustic shelving with this space.  I think having a window letting in all that extra light helps to make the medium/dark tone of the wood not feel too heavy.  The wrap-around countertop is what really catches my eye, though.
So many to choose from!  So many options!  Where to begin?  What are some of the aspects of YOUR pantry that really make it functional?  What are some things that drive you nuts?

Take-A-Bite Tutorial : How To Paint Your Exterior Wood Siding

One of the things that was sorely neglected for the past few years was the back of the house.  By the time we were wrapping up the majority of the exterior renovations last year, it was getting late in the year and I had just enough time to slap a perfunctory coat of paint on the front of the house.  And let’s be honest here – Mama needed to get a LOT done inside of the house.  The interior work felt much more pressing – laying the flooring, getting the bathrooms working and moving us all in upstairs.  Things like painting the outside of the back of the house, didn’t feel all that important.

Now that the weather has changed to dry and cool-ish, it felt like the perfect time to get started on making the back of the house look as nice as the front.  The boys play in the yard a lot, the neighbors visit with their kiddos, we like to barbecue and eat outside (even though it’s getting a bit brisk earlier in the evening).  It means a lot to me that this place looks as good going as it does coming.  I don’t know if that even makes sense right now – just go with it.  Let’s just say the back of the house was really starting to look weary and totally not matching the new vinyl siding on the upstairs addition:
(I hired a worker to clean up the backyard for me before I started painting.
He promised me he was 16 and was legal to work — I have my doubts)
So, if you’re like me (of course you are!) and you wanna slap some paint up on your house, there’s a few things you’re going to want to take into consideration:
(Please note that this tutorial is meant mainly for painting your wood siding.  Painting things like vinyl and fiber-cement board have different requirements)
1.  Check the weather  – Fall is a great time to get your painting done.  You’re not dying of heat exhaustion and being eaten alive by mosquitoes (if you live in the Midwest).  However, if the temps are dipping well below about 60 degrees Fahrenheit (10-15 Celcius), then you might run into problems.  If latex paint doesn’t have enough time to cure, you might be dealing with adhesion issues and mildew growth.  Neither of these things sound like fun.  My usual rule of thumb is to try to wait for a clear, sunny week when the temperatures don’t go below 50F at night.  I also try to get all of my coats of paint on during the sunniest and warmest times of the day.  Keep in mind that if you’re painting a sunny location of your home, the sun is going to warm the house itself and you may need to work fast if the siding is getting too warm and drying your paint at a quicker rate.  Paint drying too fast = ugly brush strokes.
My working conditions were awful.
Seriously, terrible.  The sunshine.  The cool breeze.  The sounds of seagulls.  Ugh.  Inhumane.
2. Scrape it like you mean it – Now things start to go downhill for a while.  Take a minute to assess what you’re working with and break out your scraper.  You’re looking for loose, chipping paint and you need to get rid of it.  If you don’t, you’re new paint is going to do the same thing and look like crap.  Trust me on this one.
3. Fill the gaps – Grab your interior/exterior spackle, wood filler and caulk and get fillin’!  Spots like nail holes and small recesses in the wood will get wood filler, seams and spots that could allow water to penetrate beneath the siding get a healthy dose of caulk.
4. Take a moment to step back and realize that your house now looks a million times worse than when you first started

5. Prime all of your newly-exposed wood and spots that were filled – I used Zinnser exterior water-based primer for this particular application.  If I was dealing with something like knots in wood or stained wood, I’d probably go with a heavier-duty oil-based primer.  


6. Finally, you can start painting – After your primer has had time to dry (always read the labels), it’s time to get down to business.  I like to paint my door frames first and I go super-sloppy.  Then, once dry, I cut in all nice and neat with my wall paint.
Invest in a good, quality brush for your paint.  It’ll go on smoother, be easier to cut-in and will just be an all-around nicer experience.  I used to just pick up a few dollar-store brushes, do my project and keep moving.  The difference in the finish when you use a higher-quality brush shows.  Buy a couple, take good care of them (washing, combing, storing) and they’ll be worth it in the long run.
The house paint that I used was Olympic exterior latex in Wistful Willow.  It was a color that came in closest to the siding on the upper portion of the house.  I still think it could have had a bit more brown in it, but as for the paint itself, I’m pretty pleased with its performance.  It took me two coats and touch-ups here and there to get full coverage.
7. Go pour yourself a drink and admire your work – Seriously, go get a drink.  You earned it!  Let’s take a look at the ‘before’ one more time:
And here’s what it looks like after with some Fall pizazz thrown in:
It’s not the most dramatic transformation ever, but I think the sunny, washed-out photos really don’t do it justice.  It’s so much cleaner-looking in person and just feels fresh.  
Did you see who came by to say ‘hello’?

Fall Mantel (and a tip for scaring your mailman)

If you’ve been with me, you’ll remember I built our fireplace mantel just before Christmas last year.  And when I say “just before”, I really mean it.  I was practically touching up paint and wrapping presents at the same time.

See?

Once I built the mirror to go above it not long after, it kinda just sat like that up until this past weekend.

Certainly nothing wrong with it.  I prefer the clean, stark lines for sure.  However, not that most of the BIG renovations are wrapping up, it feels really, really good to putter and decorate and tweak things.  I haven’t had a chance to fuss over little details for almost a year.  I’ve been too busy laying flooring or trimming out rooms or tiling showers or, or, or….

I hit up a local greenhouse/farm stand and scooped up a few gourds and pulled out my awesome black crows.

No, not those Black Crowes.

I’m talking about this little guy:

How great is he, right?  I think I paid a dollar for him at a Dollarama.  Totally worth every penny for his cool, aloof presence all up in my mantel.

The candles were an awesome find in a Target clearance aisle a million years ago.  They’re battery-operated with timers and have a lovely, low glow at night.  I think I paid about four bucks for each of them.  Not bad considering a single, similar candle at Pottery Barn goes for $29.50.  Come on now…
The creamy, white gourds (are they really just mini pumpkins?), white beans and candles contrast perfectly against the dark wood of the mirror and our little feathered friend.  I also scored some free succulents at that same greenhouse and teamed them up with a simple, white pot.

Nailed it.

Now, let me get back to that crow for a minute.

He seems harmless enough, right?  Well, he has a bigger, badder brother.
In an attempt to Halloween-ify the front porch, I stuck his big brother in my oh-so-sad boxwood next to my front door.  I had intentions of getting some sparkly bats or spiders added to the wreath on the front door, but, somehow I got sidetracked (shiny things!) and my outdoor decorating stopped after I put the crow in the boxwood.  
I had completely forgotten about it and was doing the dishes in the kitchen when I noticed the mailman come to a dead stop before he got to my porch.  His entire body was motionless, except for his legs.  He crept up to the mailbox (also next to the front door), and extended his arm just enough to quietly and carefully slip the mail into the box.  He stepped gently off of the step with his eyes fixed on something and backed slowly away.  The entire time, I’m standing there, water running and dish-in-hand, confused.
And then it hit me.


You guys, he thought it was real.  He thought it was a real crow.  It must have been the absence of anything else even remotely resembling Halloween decorations.  Just this lone, menacing bird staring him down.

Since then, he has scared 100% of the visitors on my porch.  Including my husband and children.
He’s a keeper.

FINISHED Guest Bathroom – Before And After

This one’s been a long time comin’.  Last year, at about this same time, we were knee-deep in framing and construction.  In fact, the upstairs looked exactly like this:

Looking at that photo, it feels like it was AGES ago…..  But it was just one year. I was in a pretty big hurry to get the guest bathroom finished since it was the ‘easiest’ bathroom for us to finish.  This bathroom will basically be the boys’ bathroom and I worried about them running down the stairs at night in the dark for urgent bathroom business.  Plus, I was itching to not have to walk alllllllllll the way downstairs to the other side of the house – in the dark – in the middle of the night when I had to go to the bathroom.  (first world problems, I know)
We started by getting a solid base of 1/4″ HardieBacker cement board laid out for the entire flooring surface and then began laying our 13×13 charcoal ceramic tiles.
This was way before ‘Elephant Buffet’ and I was mainly taking photos for my personal Facebook account, so there are disastrously few pictures of the steps we took along the way.  Unfortunately, most of the picture taking ended here.  
I already talked about my awesome clearance tile score and how I tiled the shower here.  Let’s just move on to the pretty ‘after’ stuff:
I gotta tell ya, it feels pretty amazing to have a room complete.  After almost 14 months of renovations, we’re finally in the home stretch!
Linking up to:

Inspecting The Uninspected (Part One)

Let’s be honest here, unless you’re – a.) in the process of a remodeling project b.) about to embark or just finished something ridiculous c.) a creepy stalker (hi! and welcome!), then this post is going to be completely uninteresting and much like my first Thanksgiving turkey.
Dry.

One of the many reasons posting has been eerily quiet around here is the incredible amount of hustle it takes to get a house (new build or renovation) to pass it’s myriad of inspections.  When we originally applied and were approved for our building permit, we basically agreed to have all new materials and structures be built to town code.  For our particular project, this lovely list includes having an inspection for each of the following:

  • Readiness to construct (pour) footings
  • Substantial completion of structural framing
  • Roughing in of HVAC systems
  • Substantial completion of HVAC systems
  • Readiness to inspect air barrier (prior to cover)
  • Substantial completion of insulation, vapour barriers and air barriers
  • Readiness for inspection and testing of underground plumbing system
  • Readiness for inspection and testing of the water distribution system
  • Readiness for inspection and testing of drainage systems and venting systems
  • Readiness for inspection and testing of plumbing fixtures and plumbing appliances
  • Readiness to construct the sewage systems
  • Substantial completion of the installation of the sewage system before the commencement of backfilling
  • Installation of components required to permit occupancy
  • Completion of construction
On top of these FOURTEEN inspection requirements, we also needed to file for a permit with the Electrical Safety Authority and that usually involves an inspection of the wiring prior to covering it with insulation and drywall, and then a final inspection to make sure everything works properly and the fixtures are to code.

Here’s the thing.  THE thing.  Before each inspection, I get nervous.  Really nervous.  Especially if it was an element that I had a hand in.  I take the work that I’ve done on this house VERY seriously and I’ve tried my very best to do each job damn near perfect or as perfect as I could possibly get it.  With a lot of this renovation, I’ve head to learn as I go.  Sometimes that means watching YouTube videos about how to install tile (and some that show you how to NOT do it properly), sometimes it means learning by having a massive failure.  Either way, one thing’s for sure, if I knew the proper way to do something, that’s the way I did it.  So, when it came time to have that which I *just* learned and implemented be inspected by a professional?  Oh, hell naw…. I get straight-up stressed.

I basically have spent the last 14 months in a constant state of frazzled-ness.  It doesn’t do good things to the soul.  Or to wrinkles.

The reason I want to bring all of this up is because we’ve managed to cross off every single one of those inspection bullets with the exception of one.  The last one.  The big kahuna.  The final inspection.
And finally, to that, I can say:
Except I am, kinda.
So, for the next few posts, I’m going to go over some of the finer points of the inspection process.  Things to keep in mind and some of the things that I encountered.  The most important thing to remember here if you are going through this process and don’t happen to live in the town of Kingsville, every town is different and building codes vary wildly.  Please, please do your homework when you’re tackling a renovation.  Call your local building department and ask them to forward specific documents regarding your project or check their website for information.  Trust me, it’ll save you from failing your inspections and having to go through the whole process all over again.  And again, that stuff just ain’t no good for the wrinkles.