A Bedroom For A Boy – Progress

When we last spoke, the bedroom in question was looking a LOT like this:

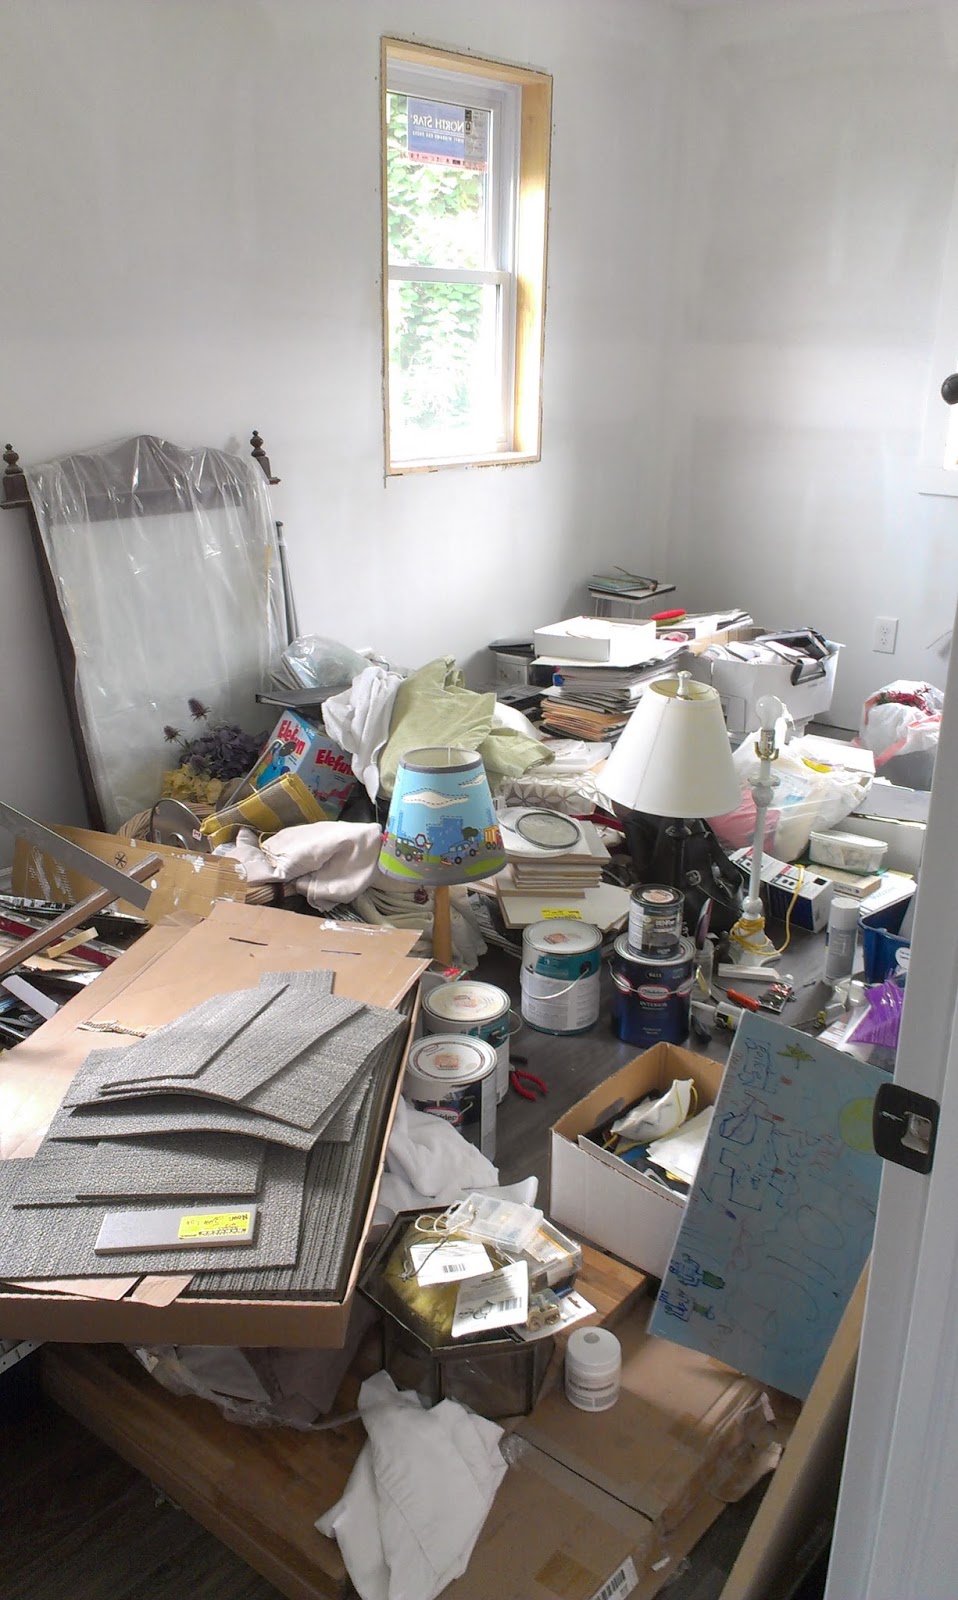
I’ve been watching episodes of ‘Hoarders – Buried Alive’ just to prove to myself that I didn’t have a problem.  This room has had become the catch-all throughout the renovation process.  A life-size junk drawer, if you will.  Someone’s coming over to visit?  No problem!  Open the door, literally throw something in, shut the door.
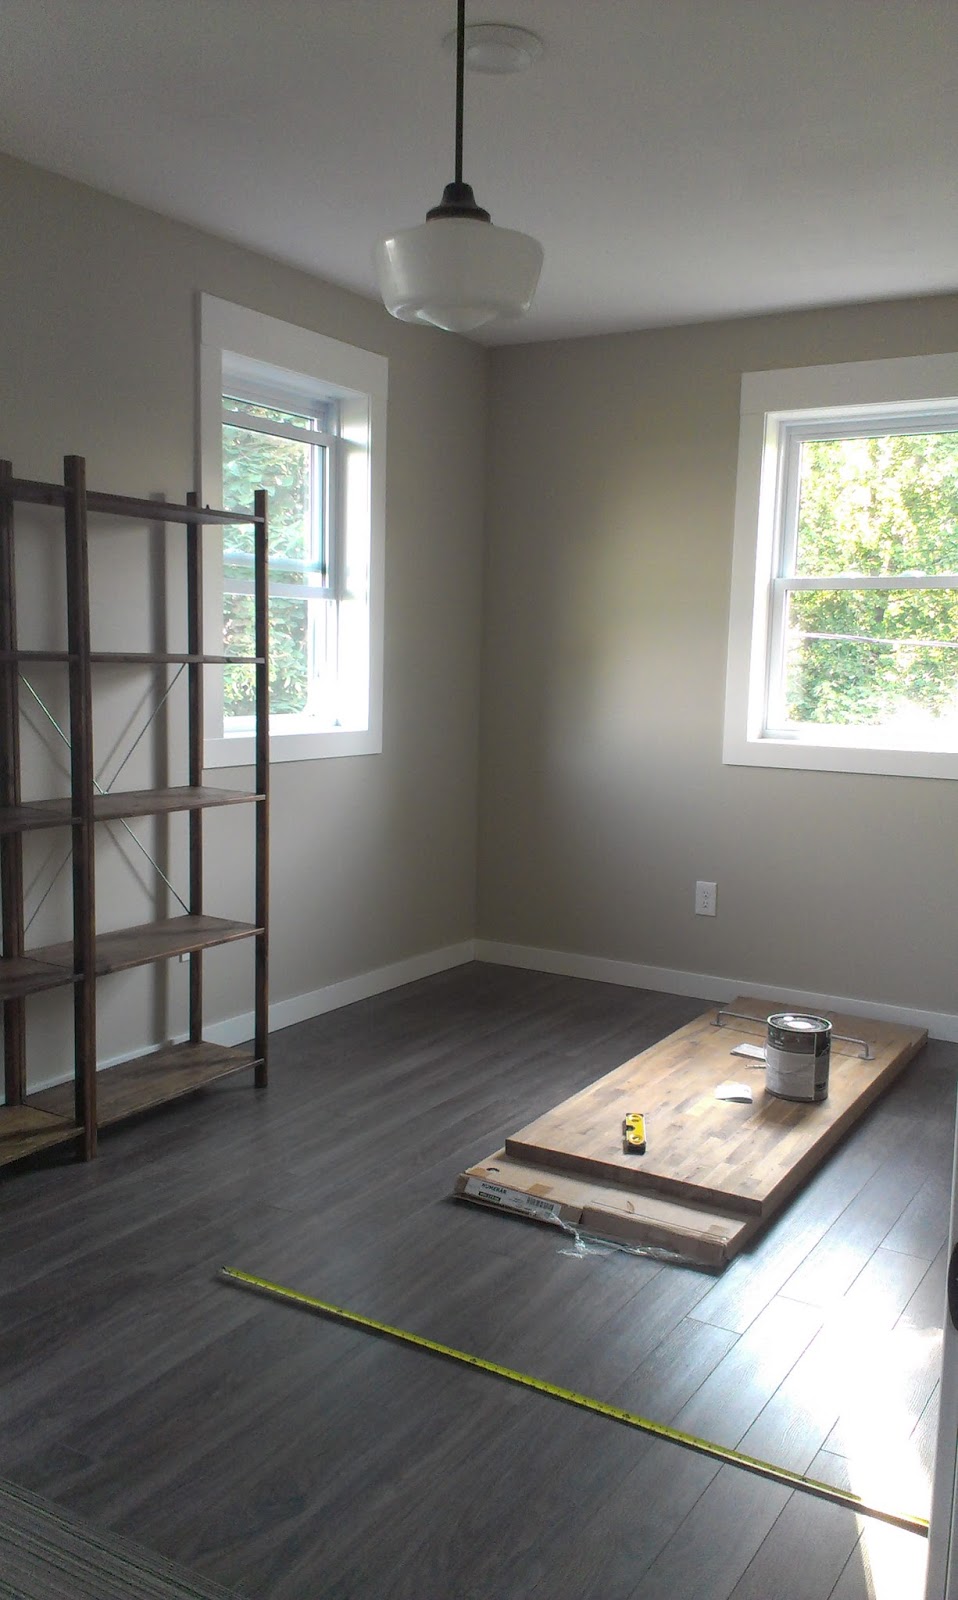
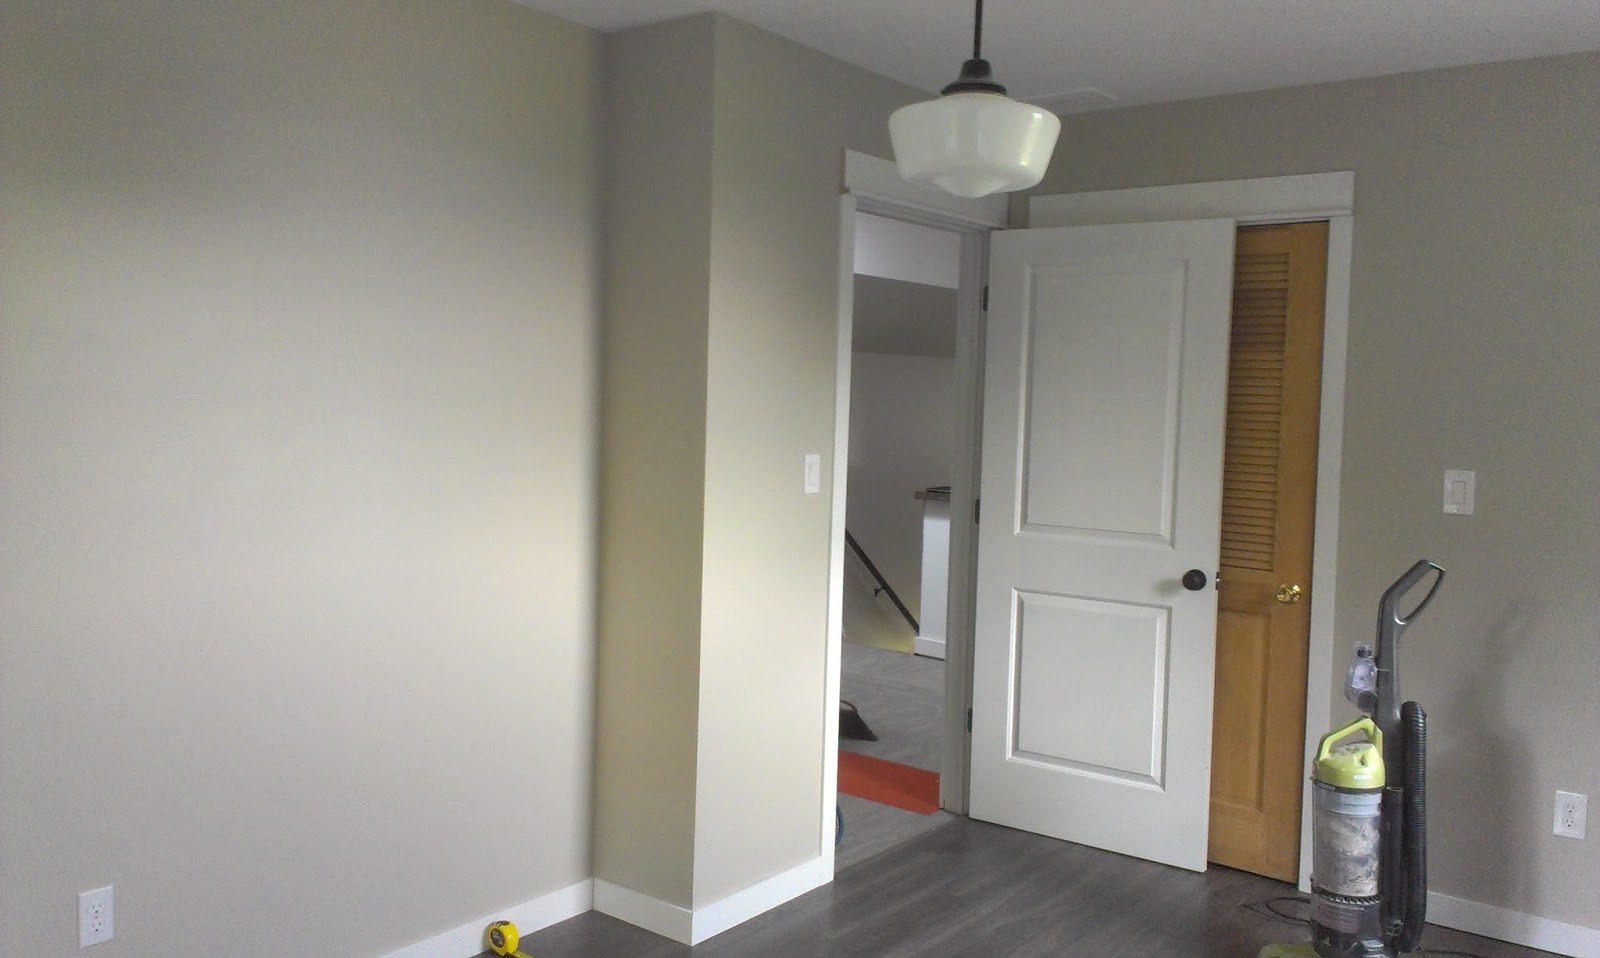
No more…..
That, my friends, is the result of six billion flights of stairs.  Almost every single thing in this upstairs bedroom belonged in the basement.  A basement that needed to be reorganized in order to accept the influx of *stuff* that I was about to introduce.  So, not only did I need to clean out the entire basement, I needed to clear out this room, as well.  You’d think I would have thinner thighs by now…
In order to get to this point, here’s what had to happen:
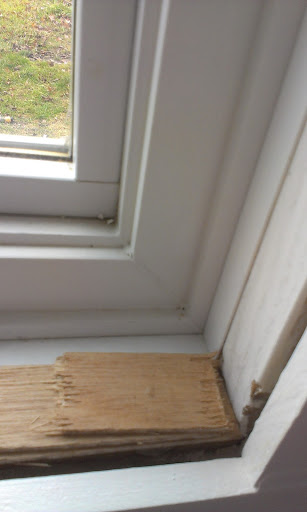
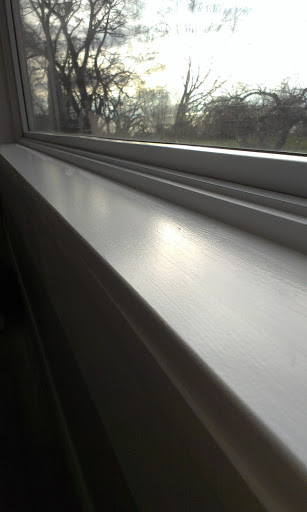
  • Trim out the windows
  • Caulk all trim around said windows
  • Paint the jambs and trim
  • Two coats of Benjamin Moore ‘Revere Pewter’ mixed in Behr Premium Plus, eggshell finish
  • Install baseboards and craftsman-style door casings
And that’s where I’m at.  I have seven days before this puppy needs to be birthday-boy ready.  Here’s what’s left:
  • Caulk and paint floor and door trim 
  • Hang artwork
  • Decide on room layout
  • Bring in furniture (desk, shelves, night table, lamps, etc)
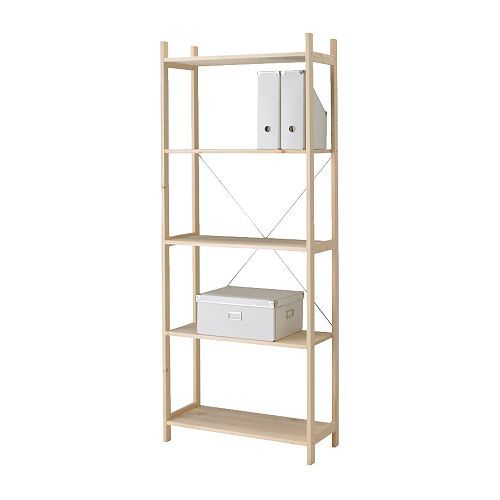
The shelving that you see in the room right now is simple, cost-effective (read: super-cheap) shelving from Ikea.  Once assembled, it looks like this:
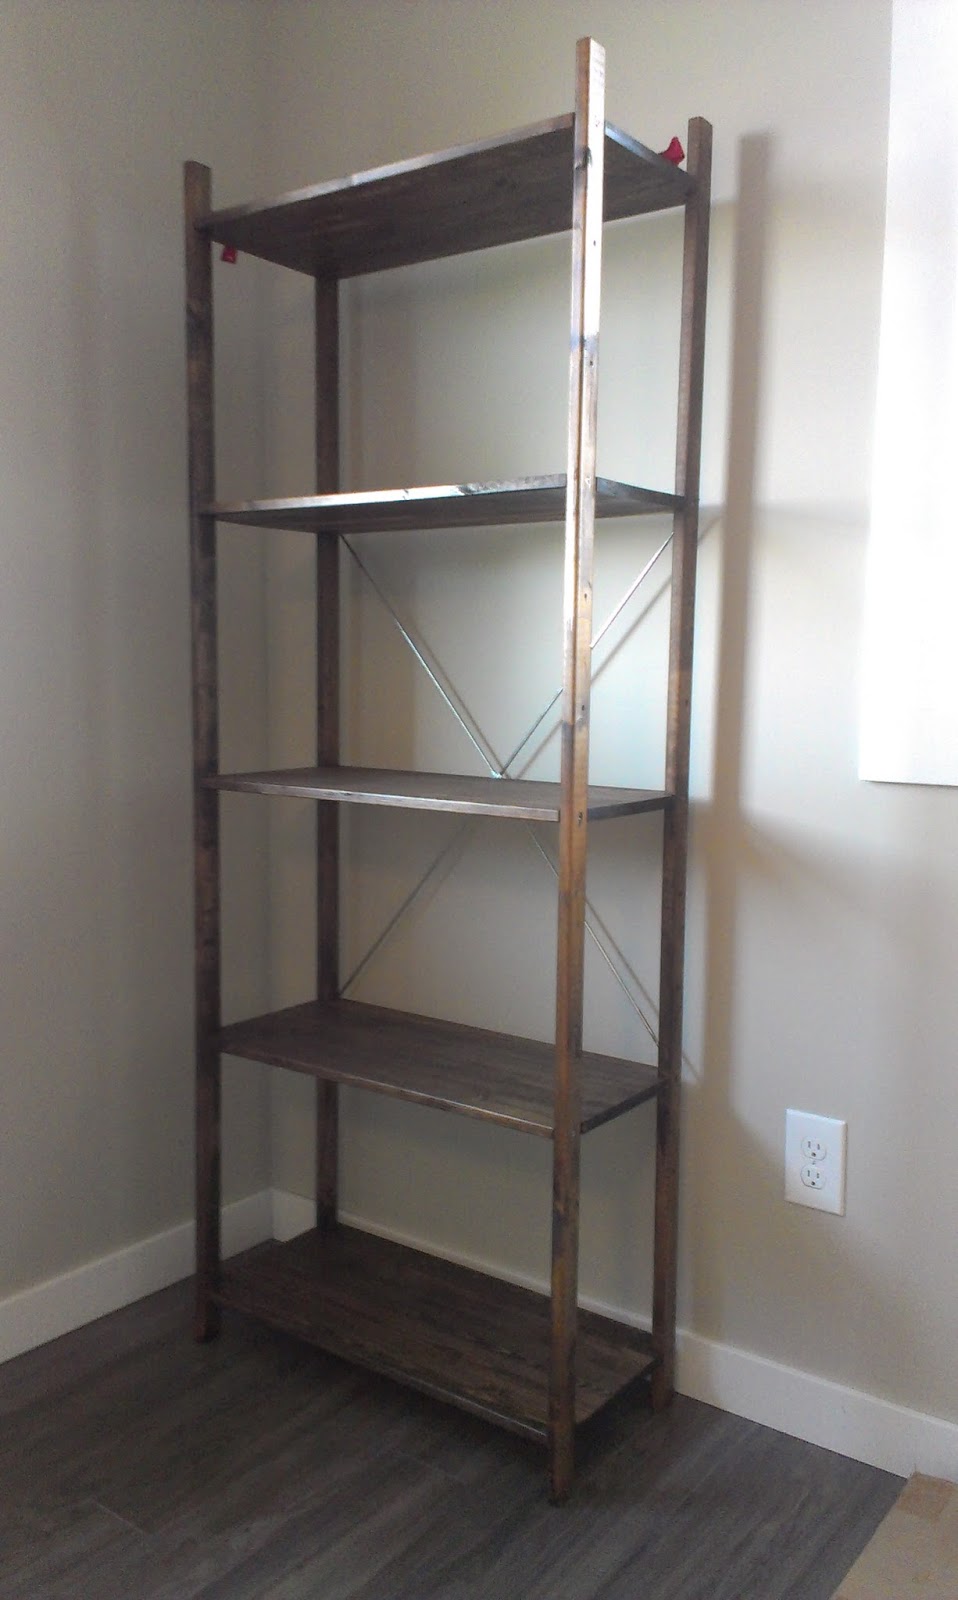
Once you spend an hour in the hot garage with a can of brain-cell diminishing dark walnut stain, it looks like this:
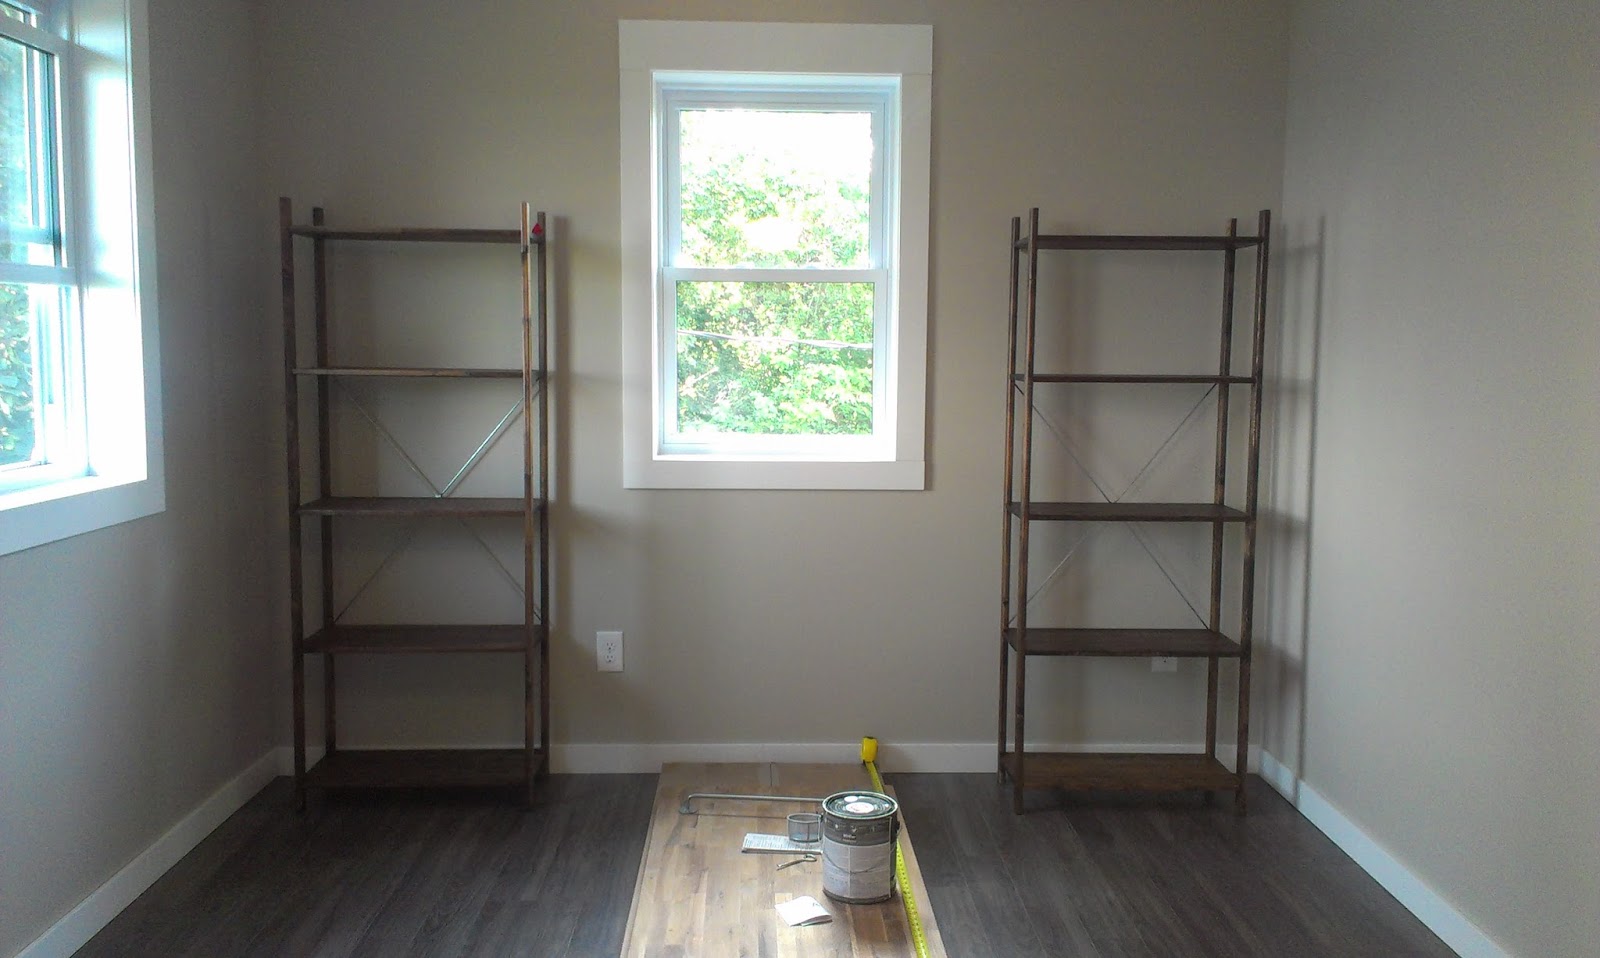
I have a couple options as far as placement of the shelves go— and I really don’t know which one I prefer.  I can go one on either side of the window, like so:
Or, I can gang them up between two windows and they would be the first thing you see when you walk up the stairs or past the door:
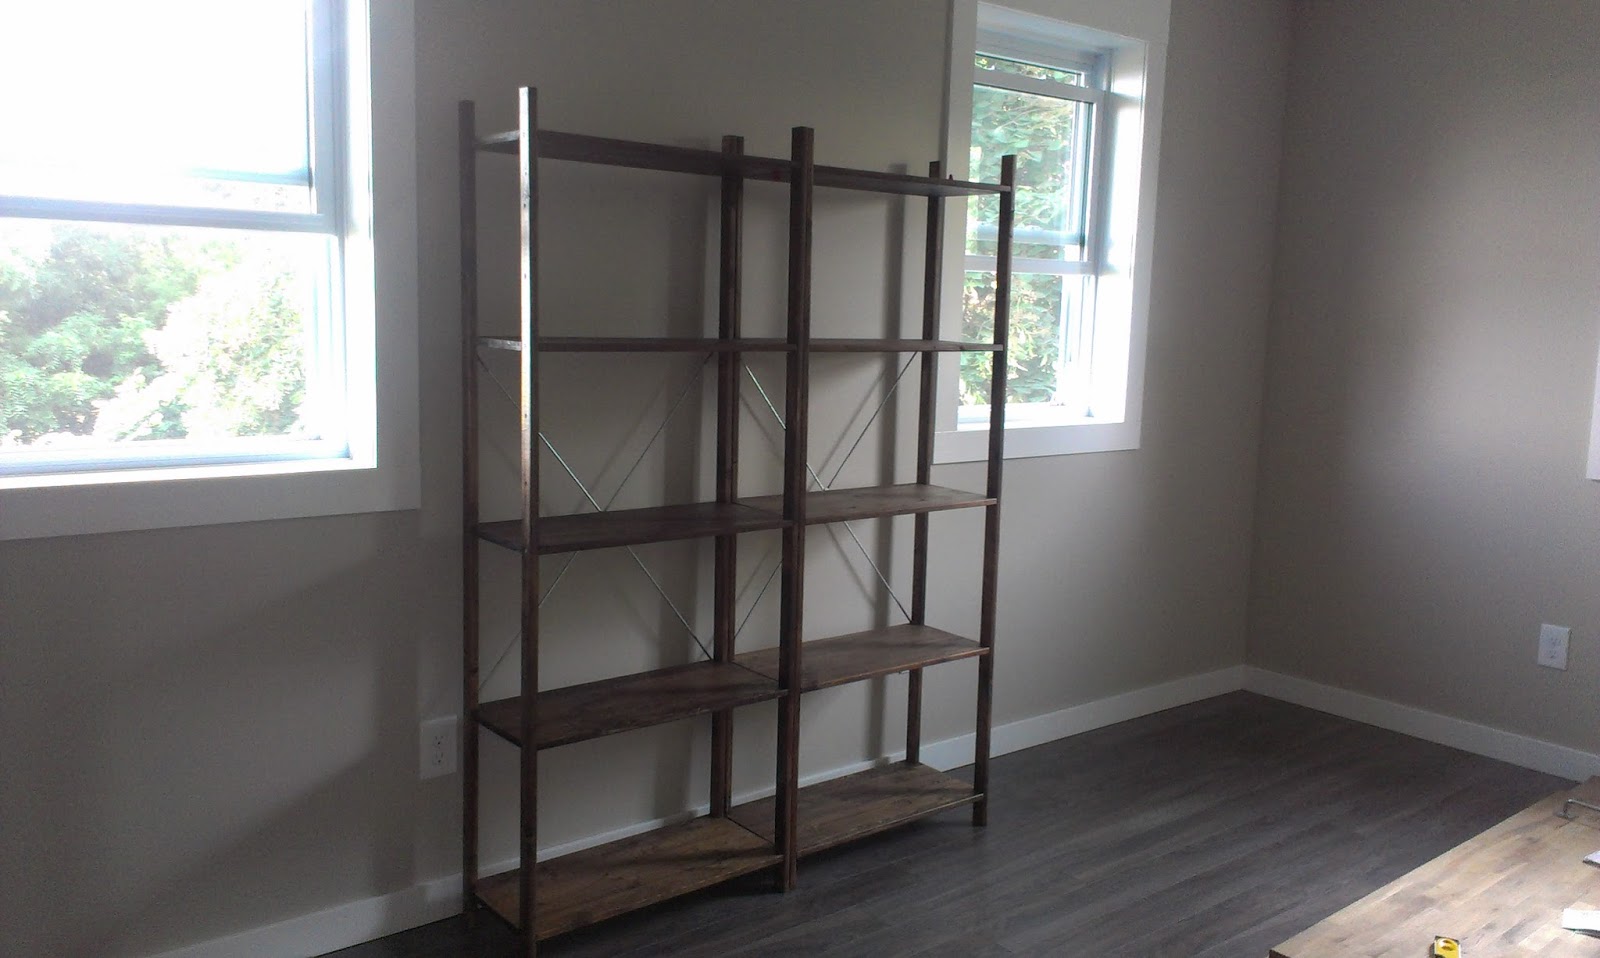
I think I kinda like them ganged together like this and I’m imagining white, soft, full curtains on either side of the windows to really lighten up this wall and create a welcoming effect.  However, once you bring in the bed where I wanted it, it doesn’t leave much walking space:
The tape measure shows exactly how far the bed would extend.
The room has a funky, little bump-out that I was hoping to tuck the headboard into and extend into the room.
Now, excuse me while I dazzle you with my ARTISTIC rendering of Jack’s bed in this space just to help you understand what I mean:
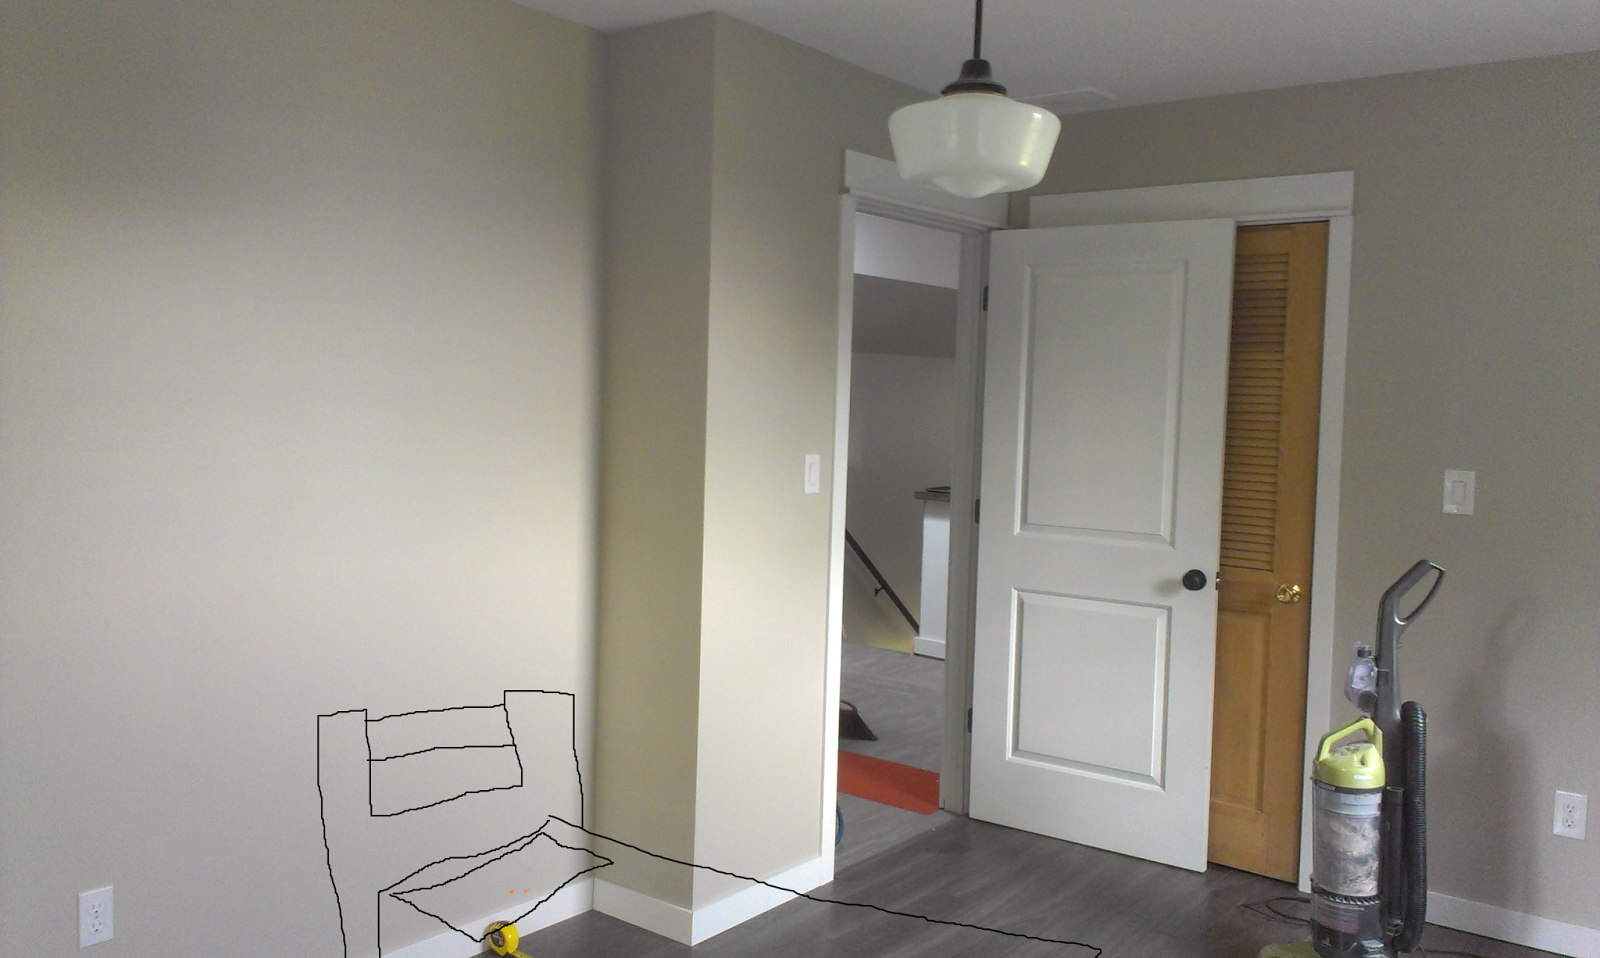
You’re floored.  I know.  I gots mad Paint skillz.  Don’t hate.
So that’s where we are right now.  No decisions on room layout, but I’ll get that figured out in the next couple days.  Any thoughts?  Recommendations?  Would you like me to offer tutorial classes on how to illustrate in MS Paint?
Advertisement

How (not) To Install Window Trim

Just so that we’re clear right from the very start, I’m not a professional.  Like, at all.  Occasionally, I take some ugly shortcuts in a project in an effort to save time, money and sanity.  Actually, it’s usually to save all three.  Simultaneously.

This is one of those projects.  Don’t say I didn’t tell you off the bat.

Let’s just move forward and get through this together, okay?

After our window wall got ripped down to the studs, we were left with this:

Drywall went up and looked like this:

Unfortunately, I didn’t get too many pictures of the actual process of putting up the window trim.  With this particular bank of windows, I chose to get funky and make up the trim as I went.  Basically, I bought a 4×8 sheet of 1/2 inch MDF and had the store rip it to the sizes I needed.

When you do this, keep in mind that it OFTEN results in inaccurate cuts.  When that happens, you have two options:  1. Re-rip it at home on your table saw or with a circular saw (this is really only if it ends up oversized), 2. Suck it up and just try to fudge your measurements to deal with the minor inaccuracies.  I usually go with option numero dos.

How pretty is that pile of crap in the backyard?  So pretty!
The drywall guy would just toss his scraps out of the 2nd floor window as he worked upstairs.  Then, he’d go out in the back at the end of the day and clean it all up.

Once I had my MDF trim all nailed in, I added a decorative bead of trim at the top and filled in the nail holes and some of the gaps with wood filler.  I threw on a coat of primer and two or three coats of Behr’s ‘Polar Bear’ white.

Then I needed to contend with the big, huge, giant, ugly gaps at the bottom of the window on the sill.  Right about now is where my carpentry credibility starts breezing out of this window.

Since the window measurements were a little ‘off’ in some spots, the trim I put up was a little ‘off’ in some spots.  To make up for this, I added some scraps of 1/8 inch shims to get my sill trim to lie flat.

You’re welcome for the awesome photography.

When I dry-fit the sill on the window, it seemed a little wonky.  So, I figured some construction adhesive would help with stability.

About that construction adhesive…..

Remember how I said I sometimes do things in an effort to save a couple dimes?  Well, I found an unopened tube of Liquid Nails, but I could NOT open that thing to save my life.  I sliced off the tip.  Nothing.  I stuck it with a long framing nail to try to coax it out.  Nothing.  I tried squeezing the tube.  I broke the whole end-piece off.

So I did what I feel any other frugal homeowner would do.  I grabbed a butter knife and started digging.

Yes, in hindsight, I should have used a plastic utensil.  But this was a fancy occasion.

And I started spreadin’.

Like butter on toast.  Thick, poisonous butter.
Then I placed my sill trim back on top to make a delicious sandwich.

But I was left with a rather thick gap on the underside.

A spare piece of trim salvaged during demolition and a couple coats of semi-gloss paint made everything look a bit more tidy.

And within hours, it became the stage for Rudolph and his gang of wayward misfits.