A Little Bit Of Column A (Before and After)

It’s like I’m having a contest with myself to see how long I can go without posting.

I win.

I’m dealing with a gross cold so this post is coming to you whilst inebriated with NyQuil.  Lots and lots of NyQuil.  I’m dead serious.  I’ve only gotten off of the couch about eight times today.  Most of which was to crawl about ten feet over to the landing in an effort to finish staining and poly-ing the stairs.

I’ll try to make up for the last few weeks with one obnoxiously long post.  You’re welcome.

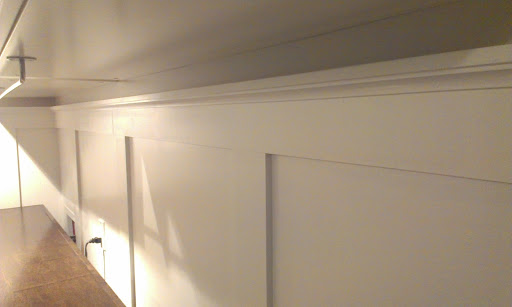
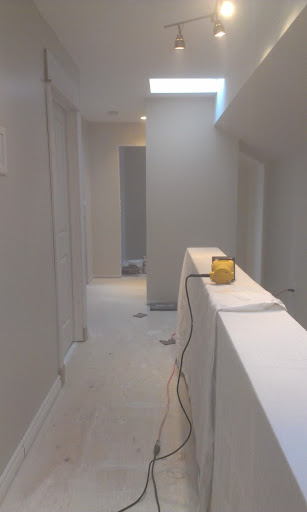
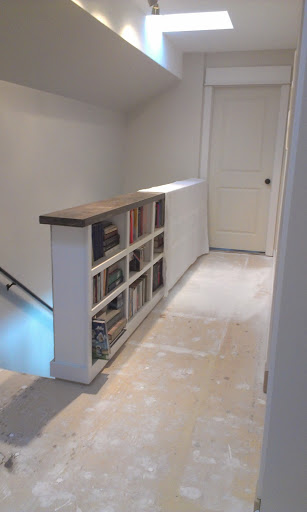
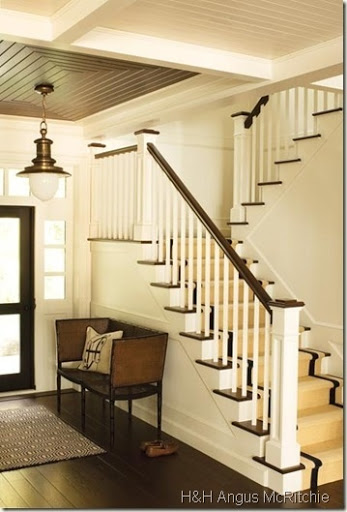
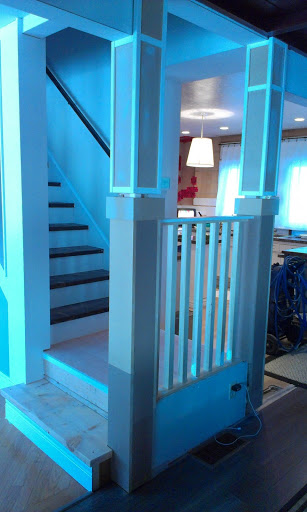
One of the biggest and ugliest challenges with this whole-house reno has been the dreaded posts at the base of the stairs.

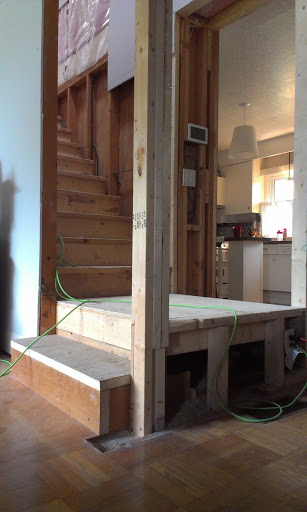
It’s beautiful, right?  Don’t you want one, too?  The scary-ish thing about these posts is that they’re primarily responsible for keeping the second floor on the second floor.  It still boggles my mind that a handful of 2×4’s can transfer that much weight.  Sure, there are other points within the house that help to transfer weight from the giant yellow LVL beams, but they’re hidden and I don’t see them every single day.

I knew I wanted to create stately, dramatic columns, but frankly, I’ve never really done it before.  I’ve played with moldings and trim to come up with some pretty profiles before, but this was new territory for me.  I pinned my heart out with images of columns and bases to get my brainz wrapped around how I was going to tackle them, but I was considerably freaked-out at this project and I let it sit.  Until just a couple weeks ago. That’s almost five months.  Five months of yelling “Don’t touch the posts!!! You’ll get a splinter!!!” every time the boys hung onto them like a firepole.

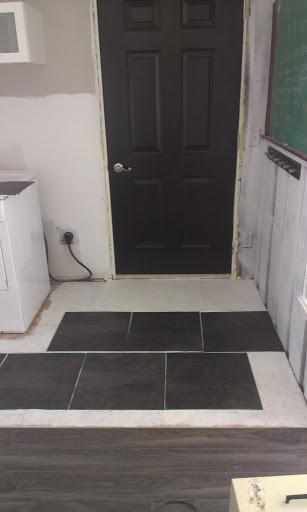
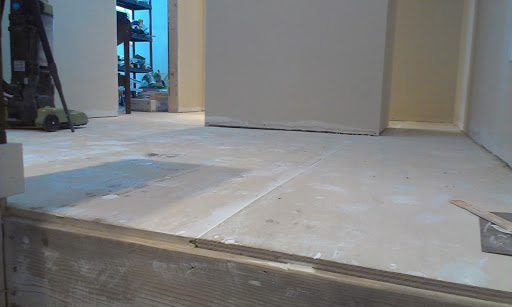
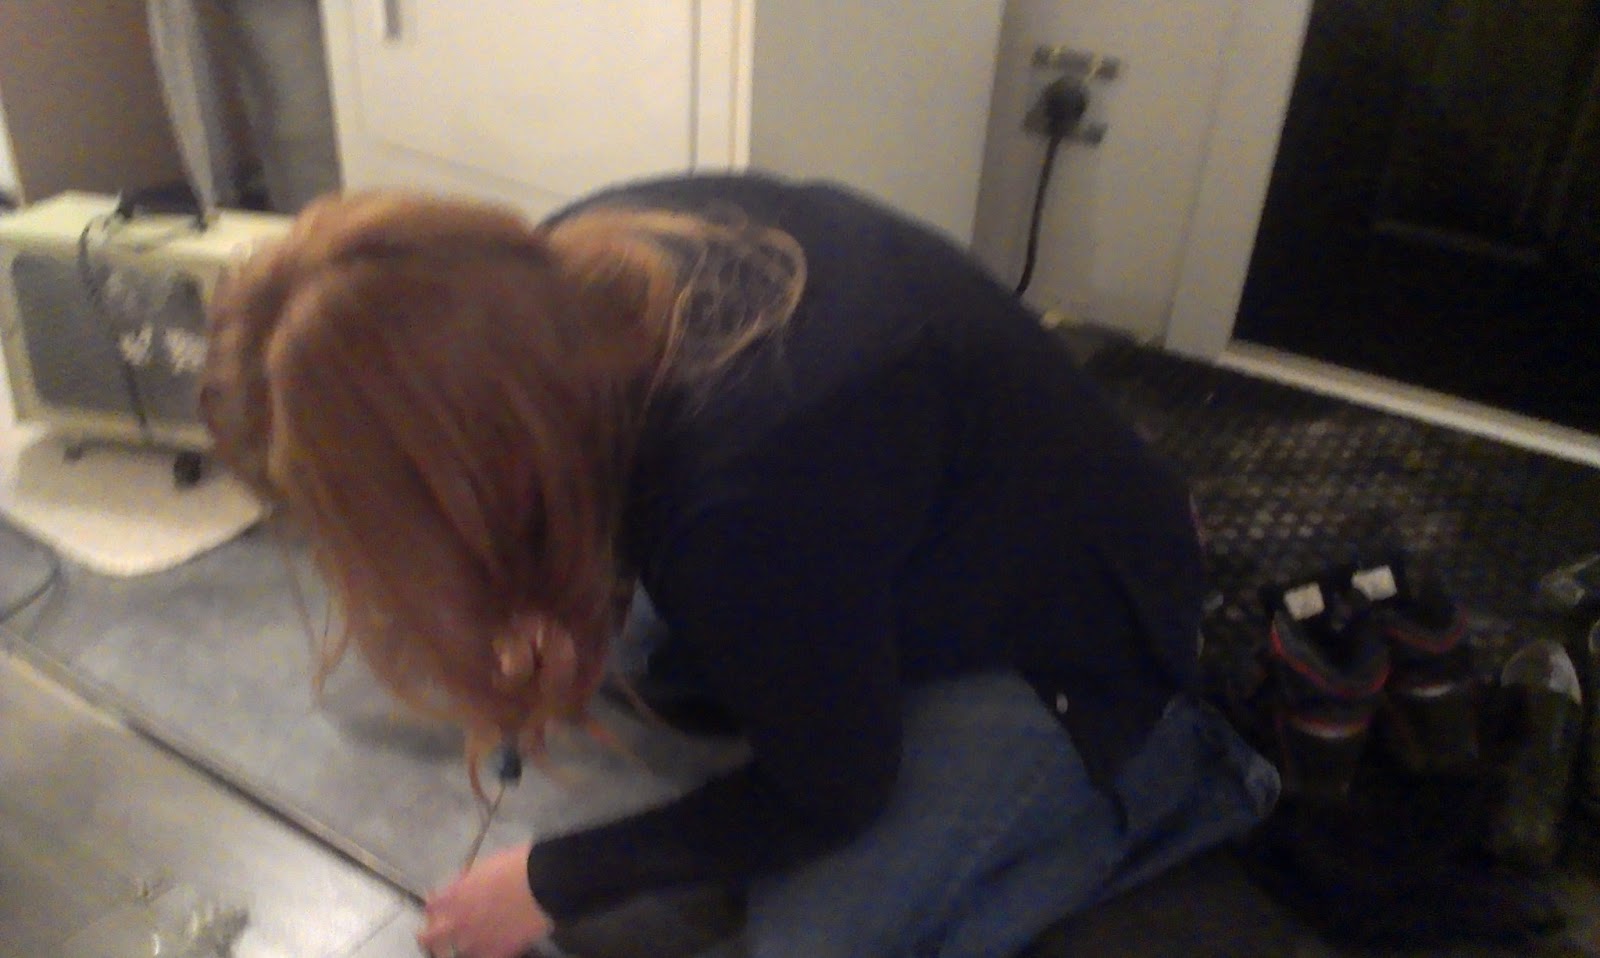
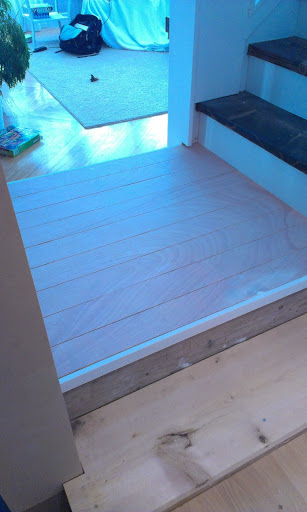
Enough was enough and it was time to just dive the heck in.  But there was one step that needed to be completed before I could start:  I needed to address the landing issue and the lack of flooring on said landing.

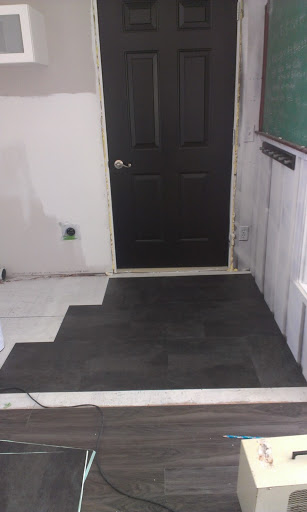
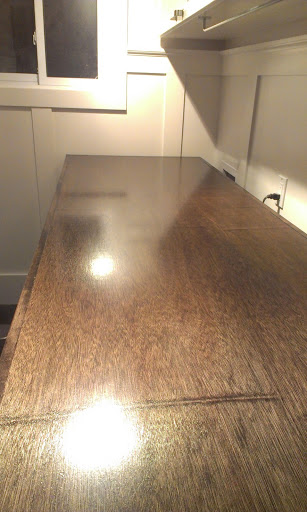
We were originally planning on carpeting the stairs and landing but I nixed that idea mid-stream, leaving me with a REALLY rough starting point.  I didn’t want to lay the floating flooring down that I was doing on the rest of the house because I thought it would clash with the steps going up and look ridiculous.  I thought about just painting the plywood and calling it a day (“You’re a DAY!”) but I knew that would look cheapo.  So, I came up with a plan to lay some faux painted plank flooring.  Although, I don’t know if it’s really faux.  It’s wood.  It’s cut in planks.  It’s painted.  It’s faux sho’ on the floor.  So, technically, it’s the real deal.  Right?

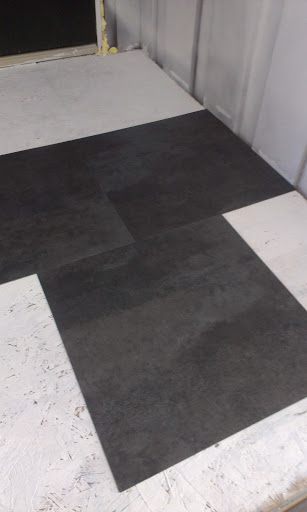
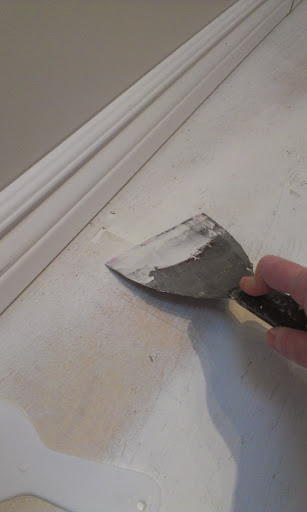
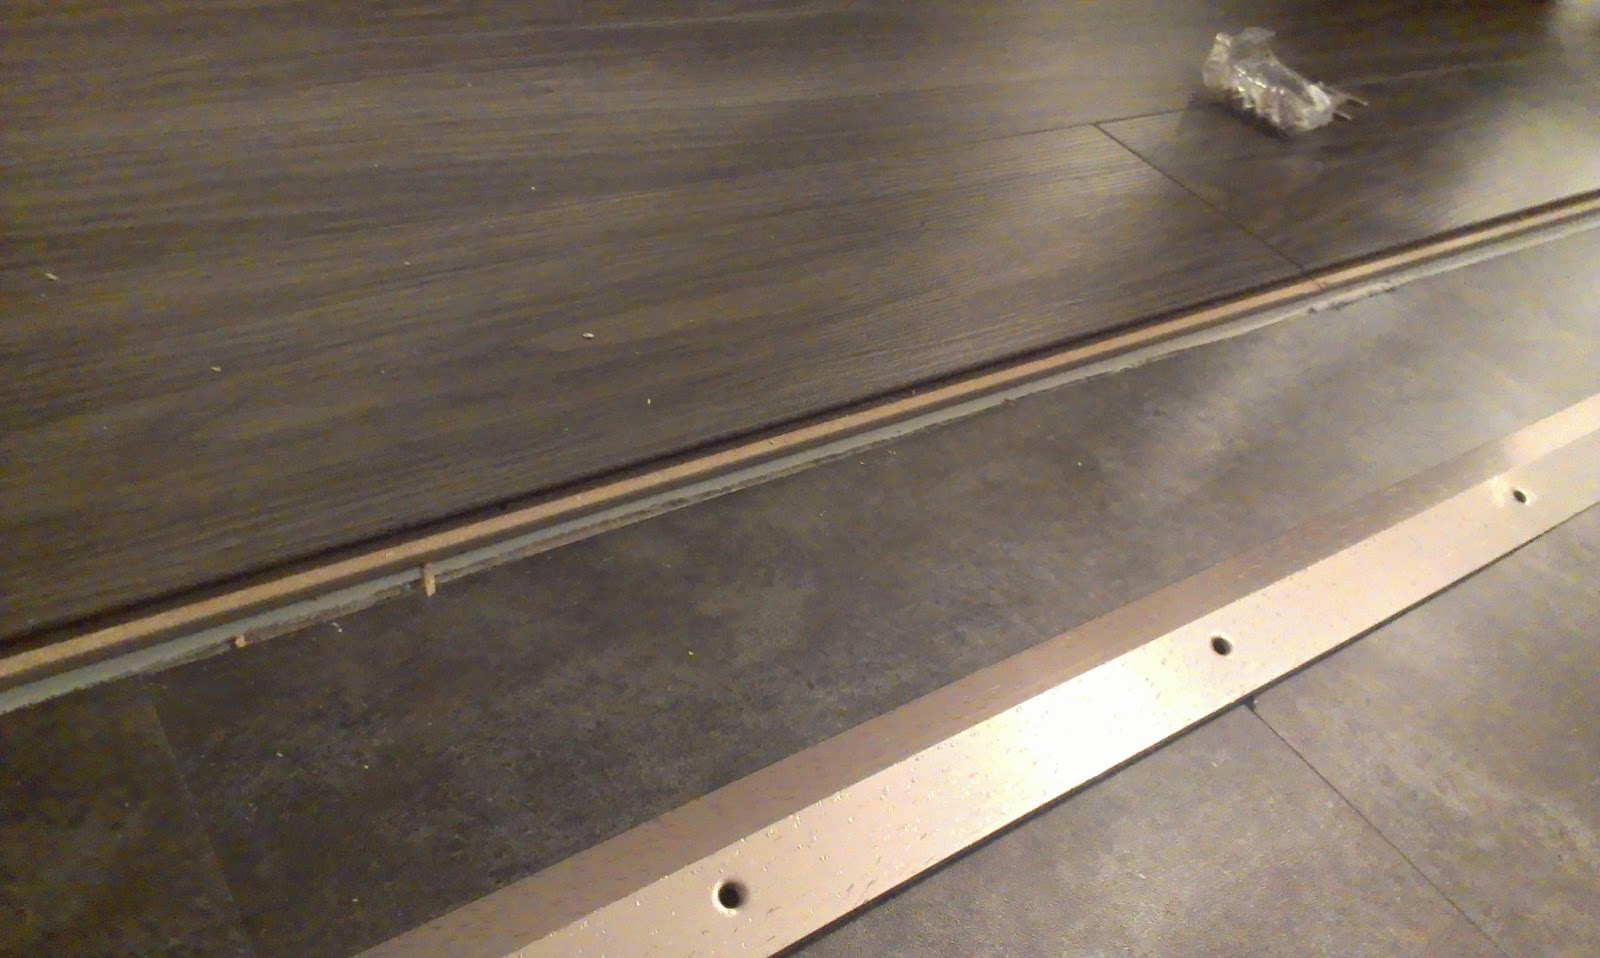
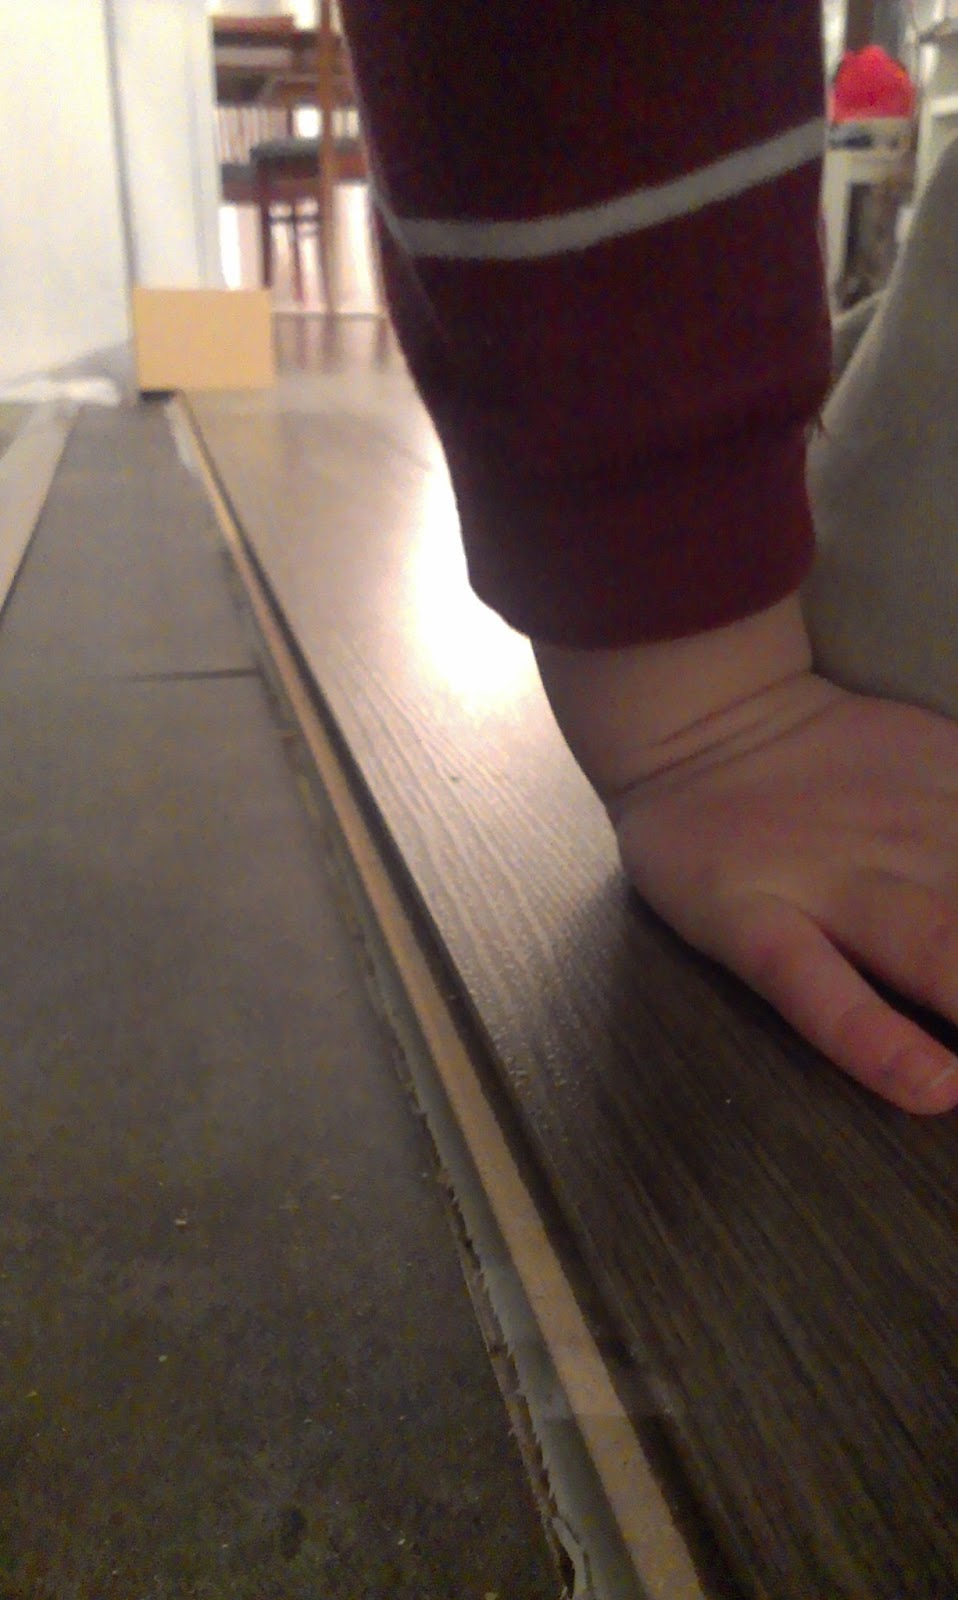
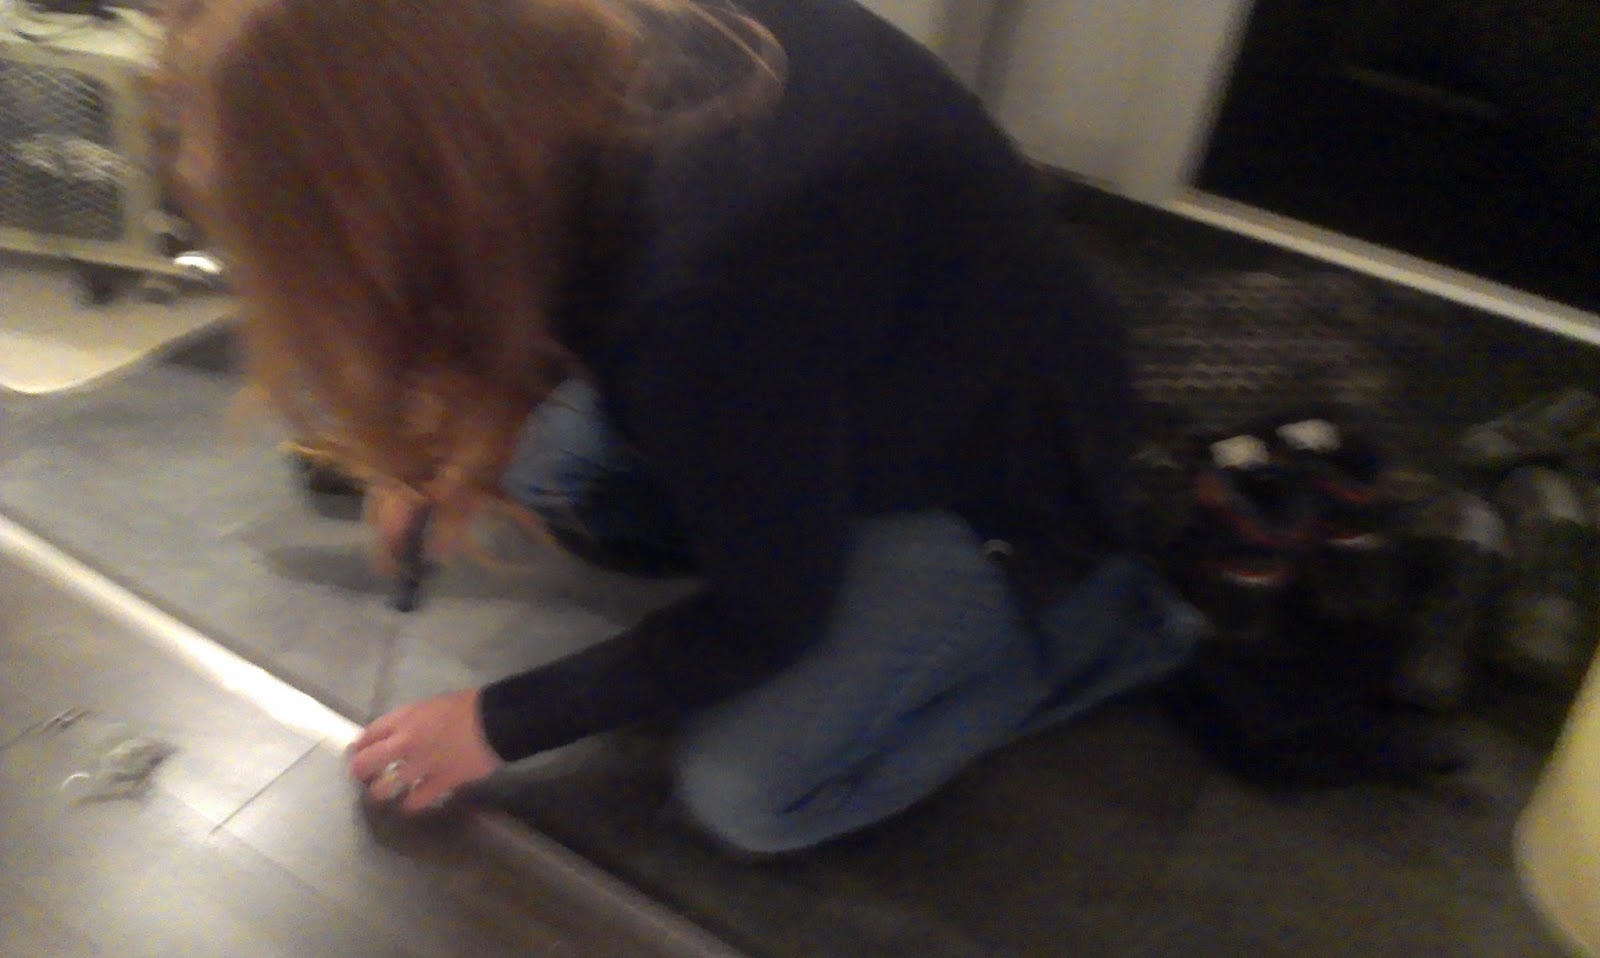
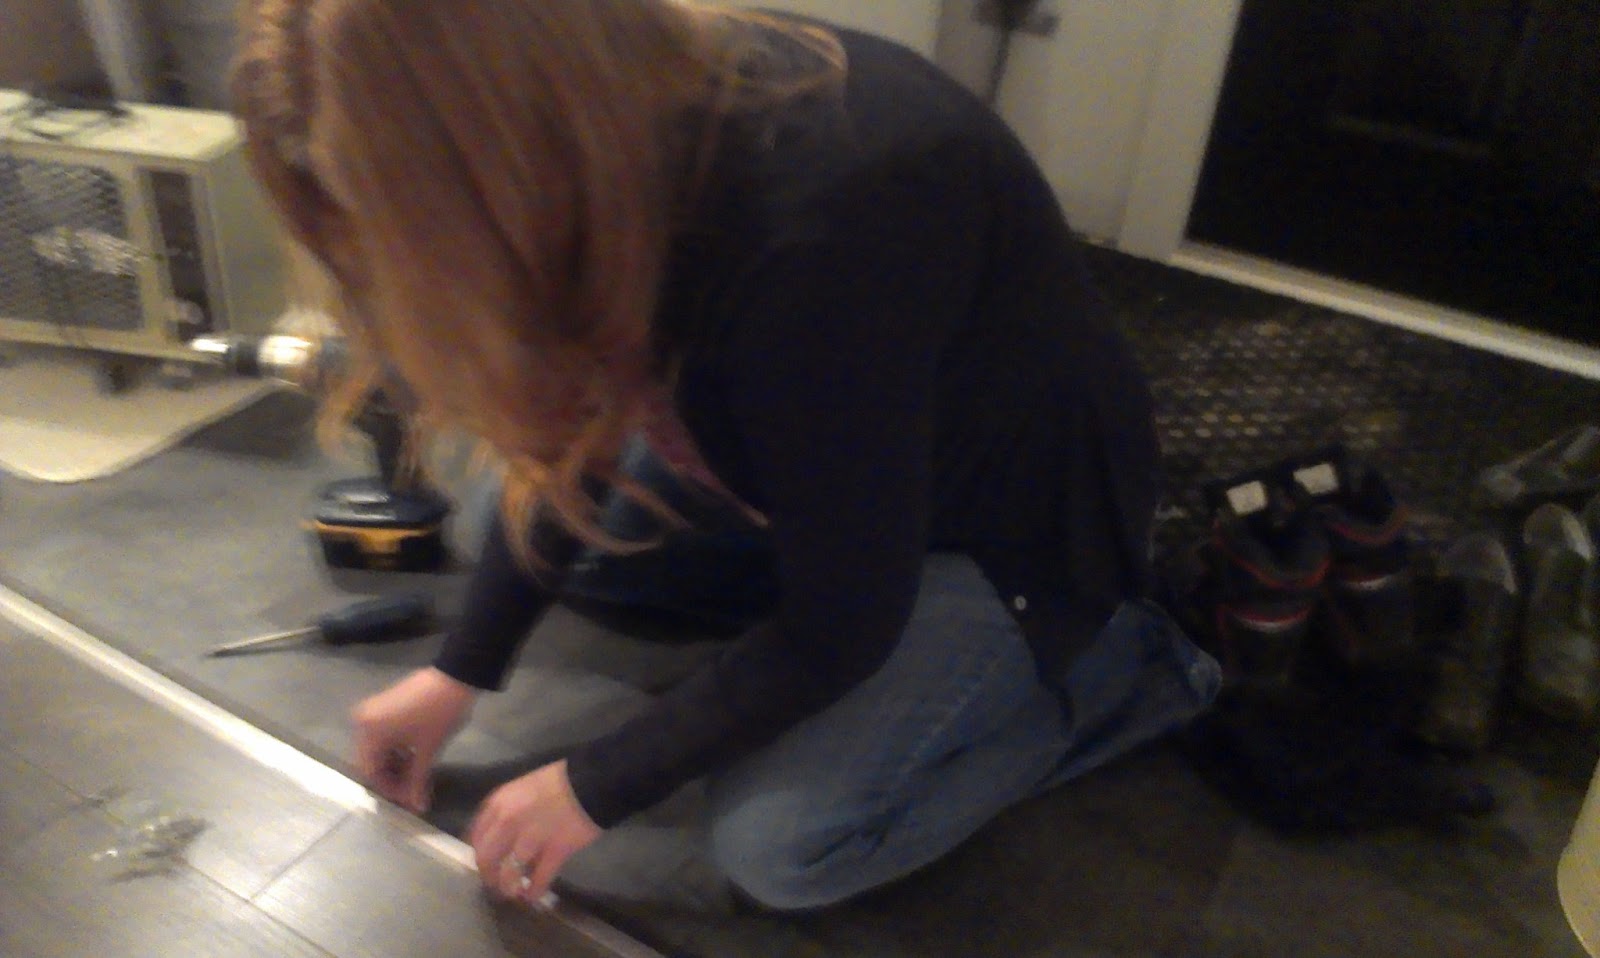
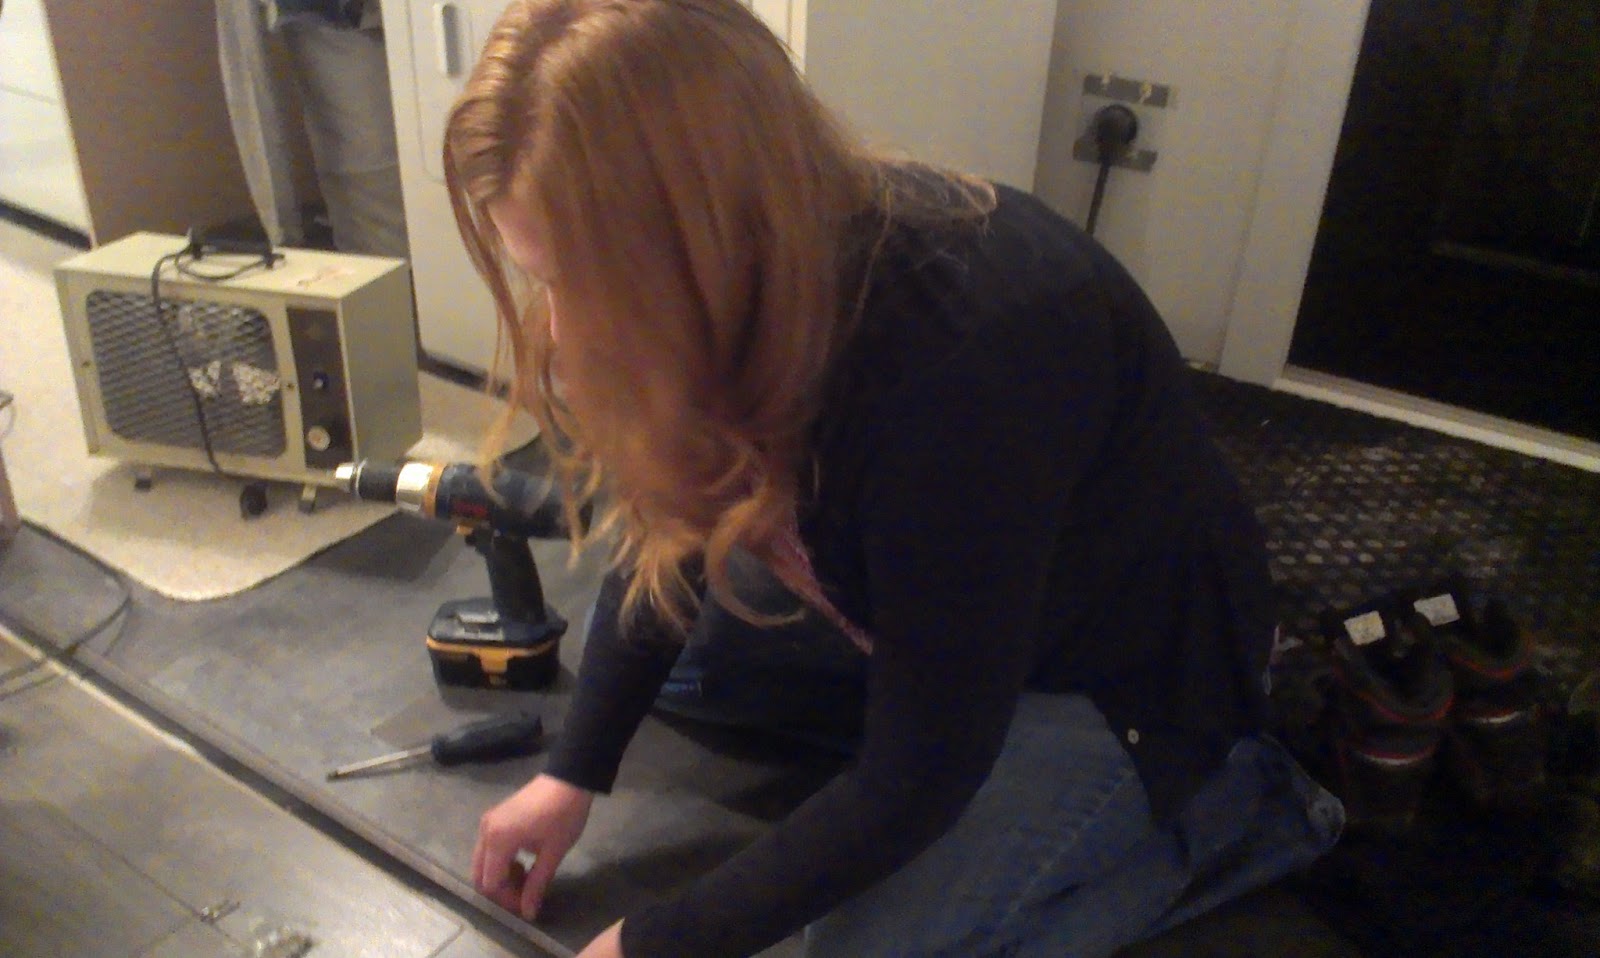
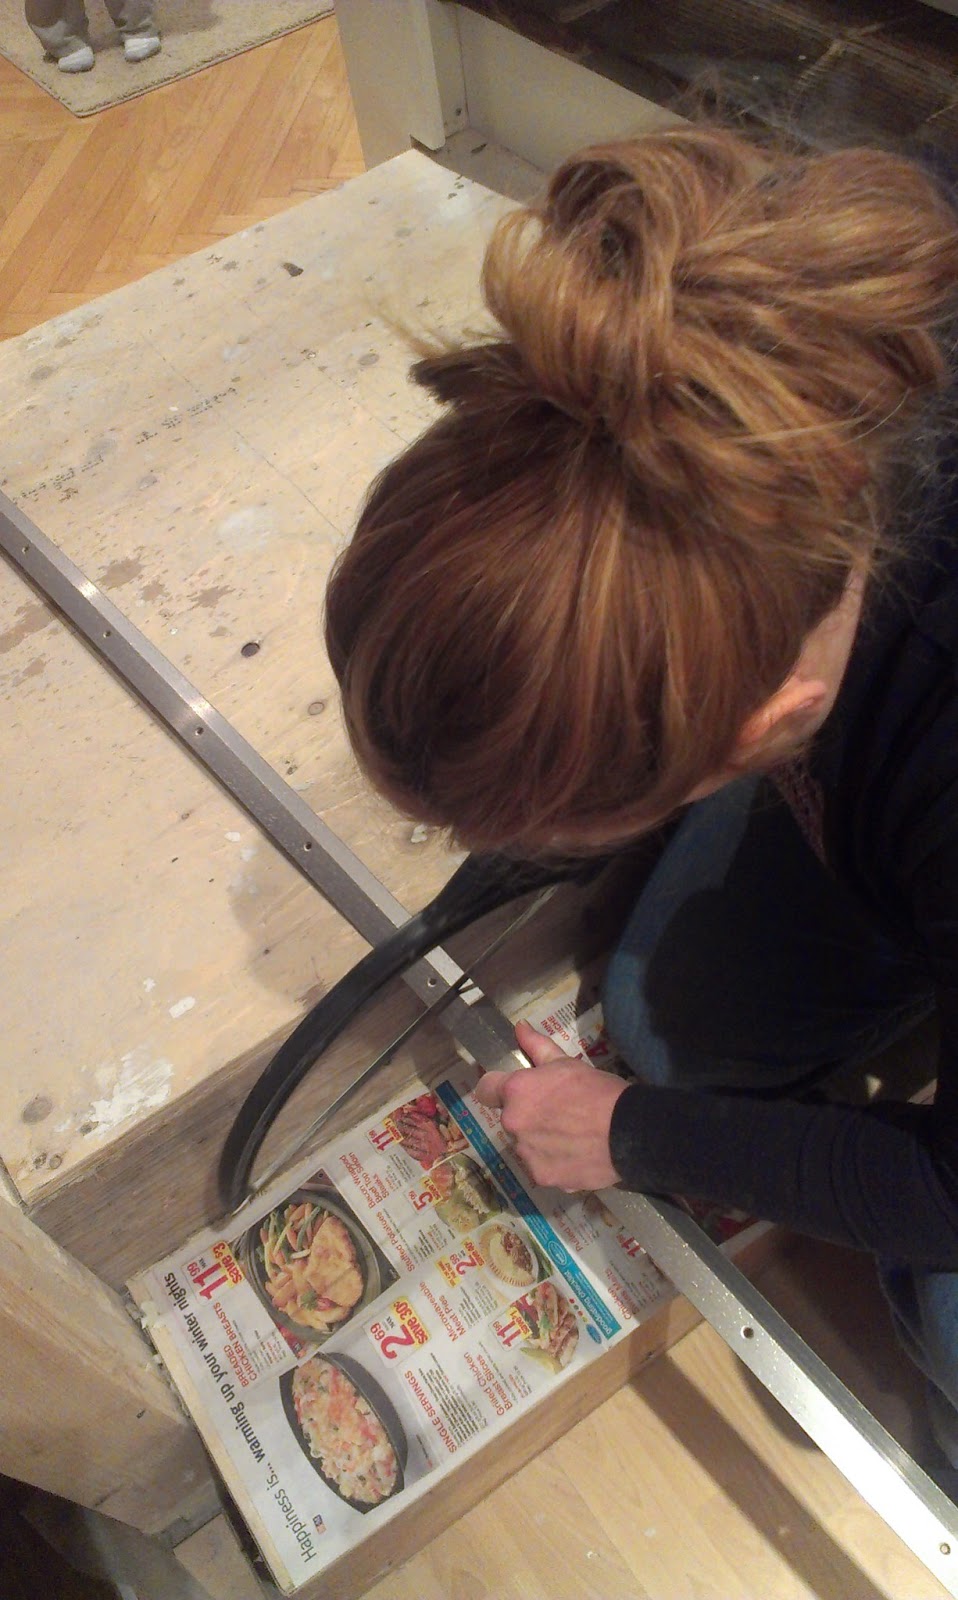
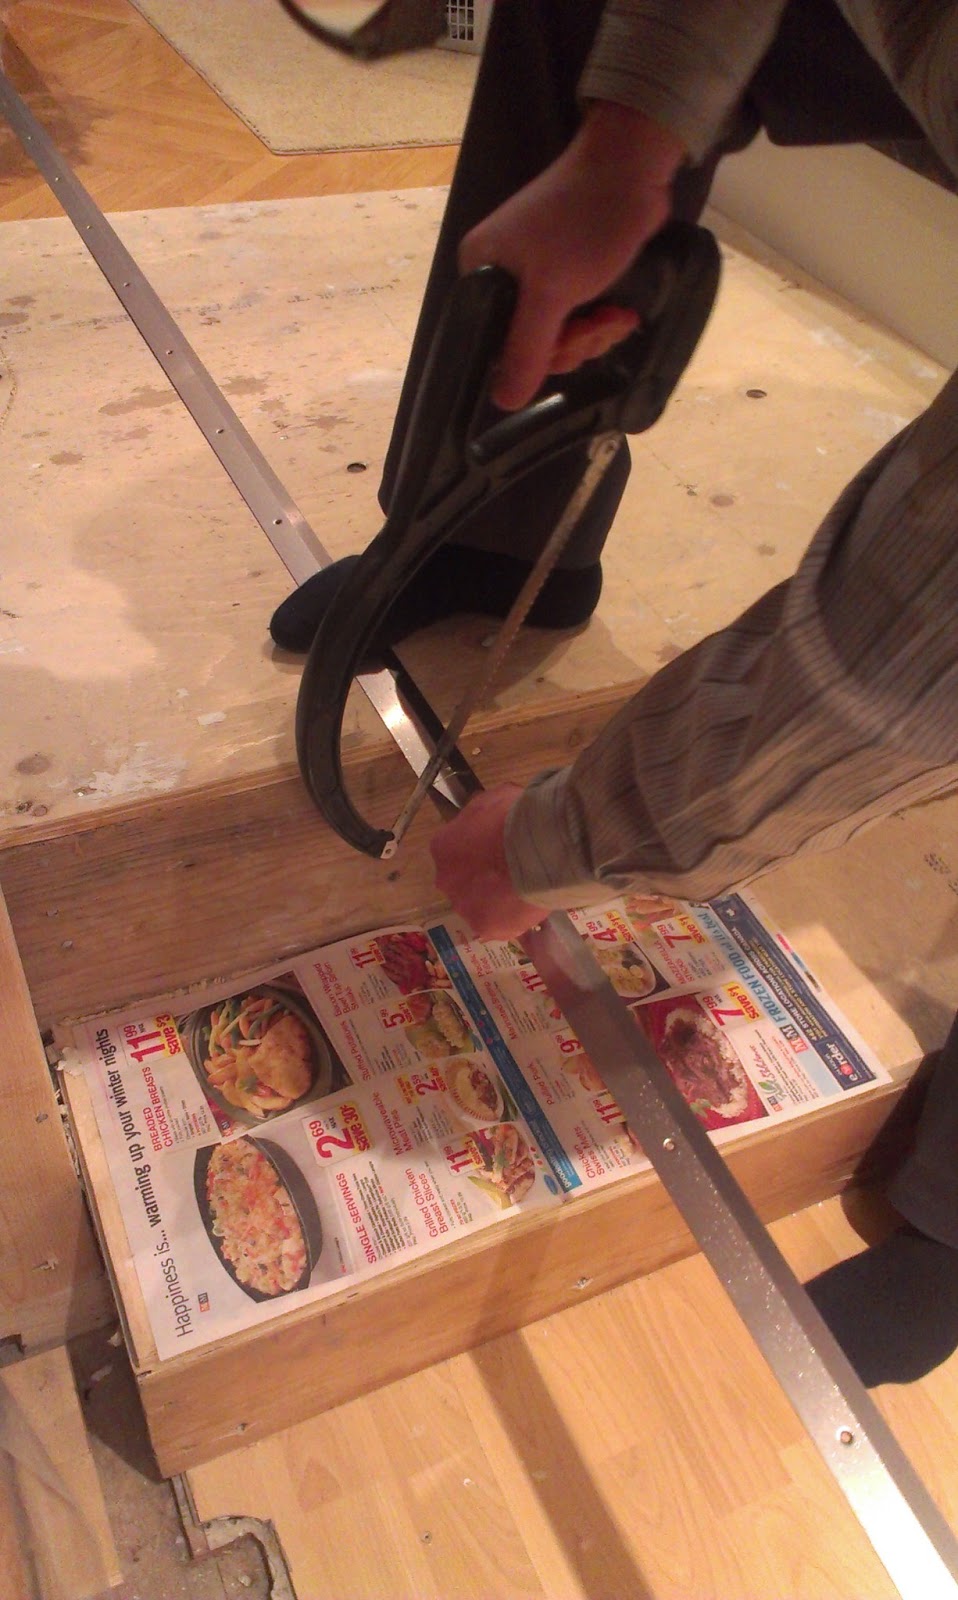
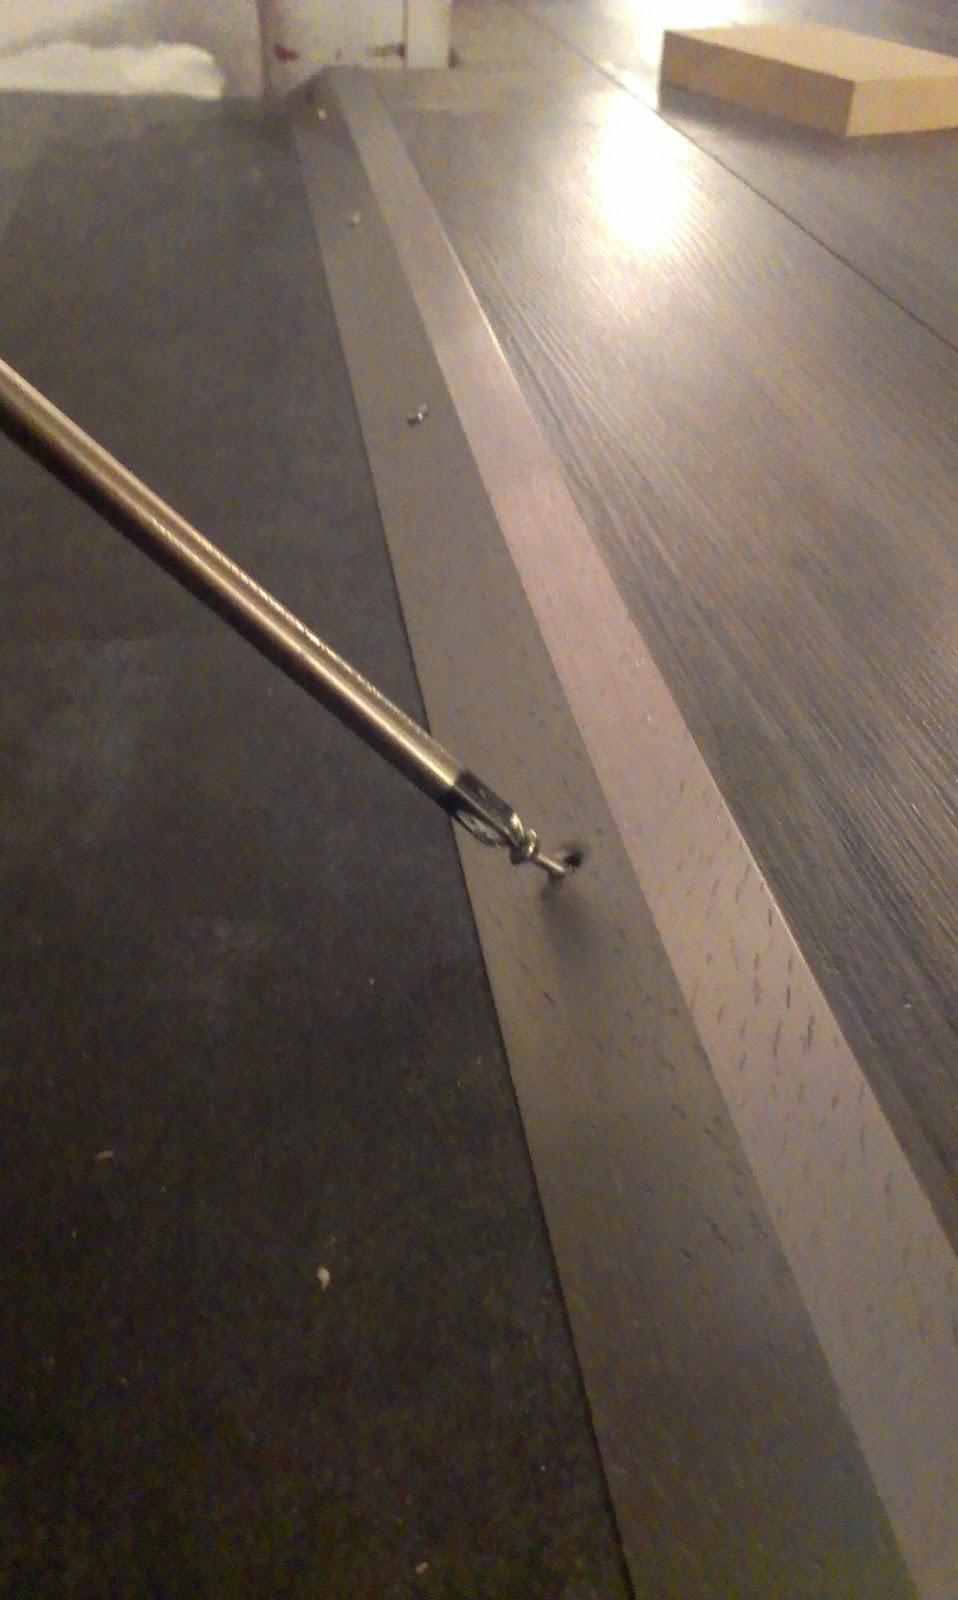
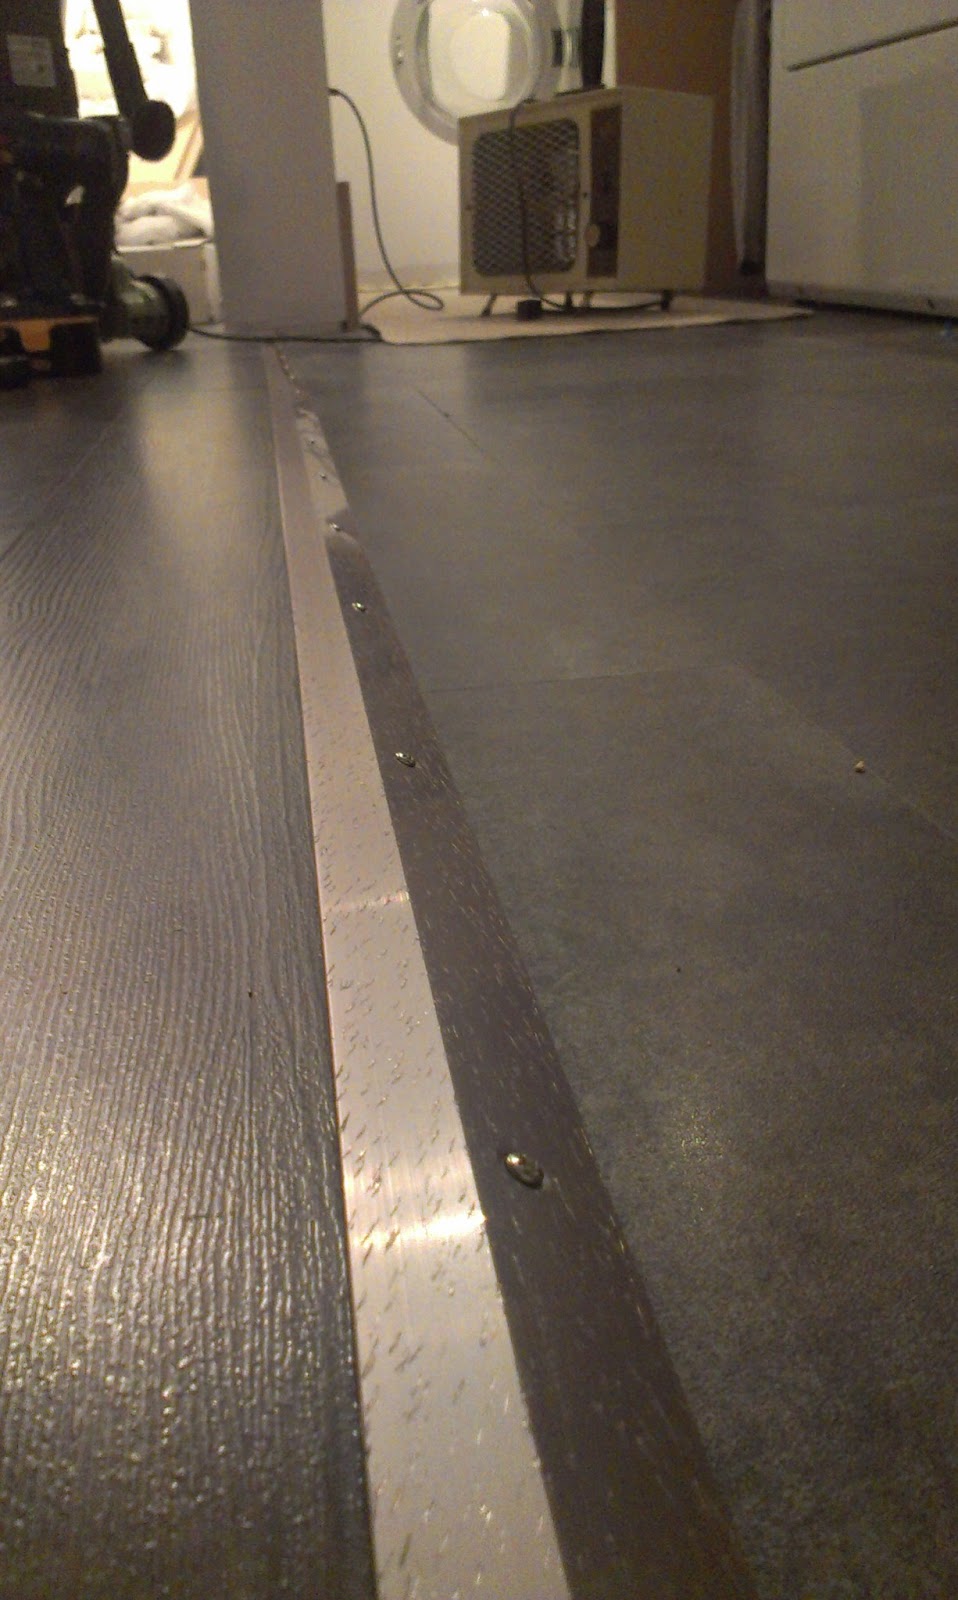
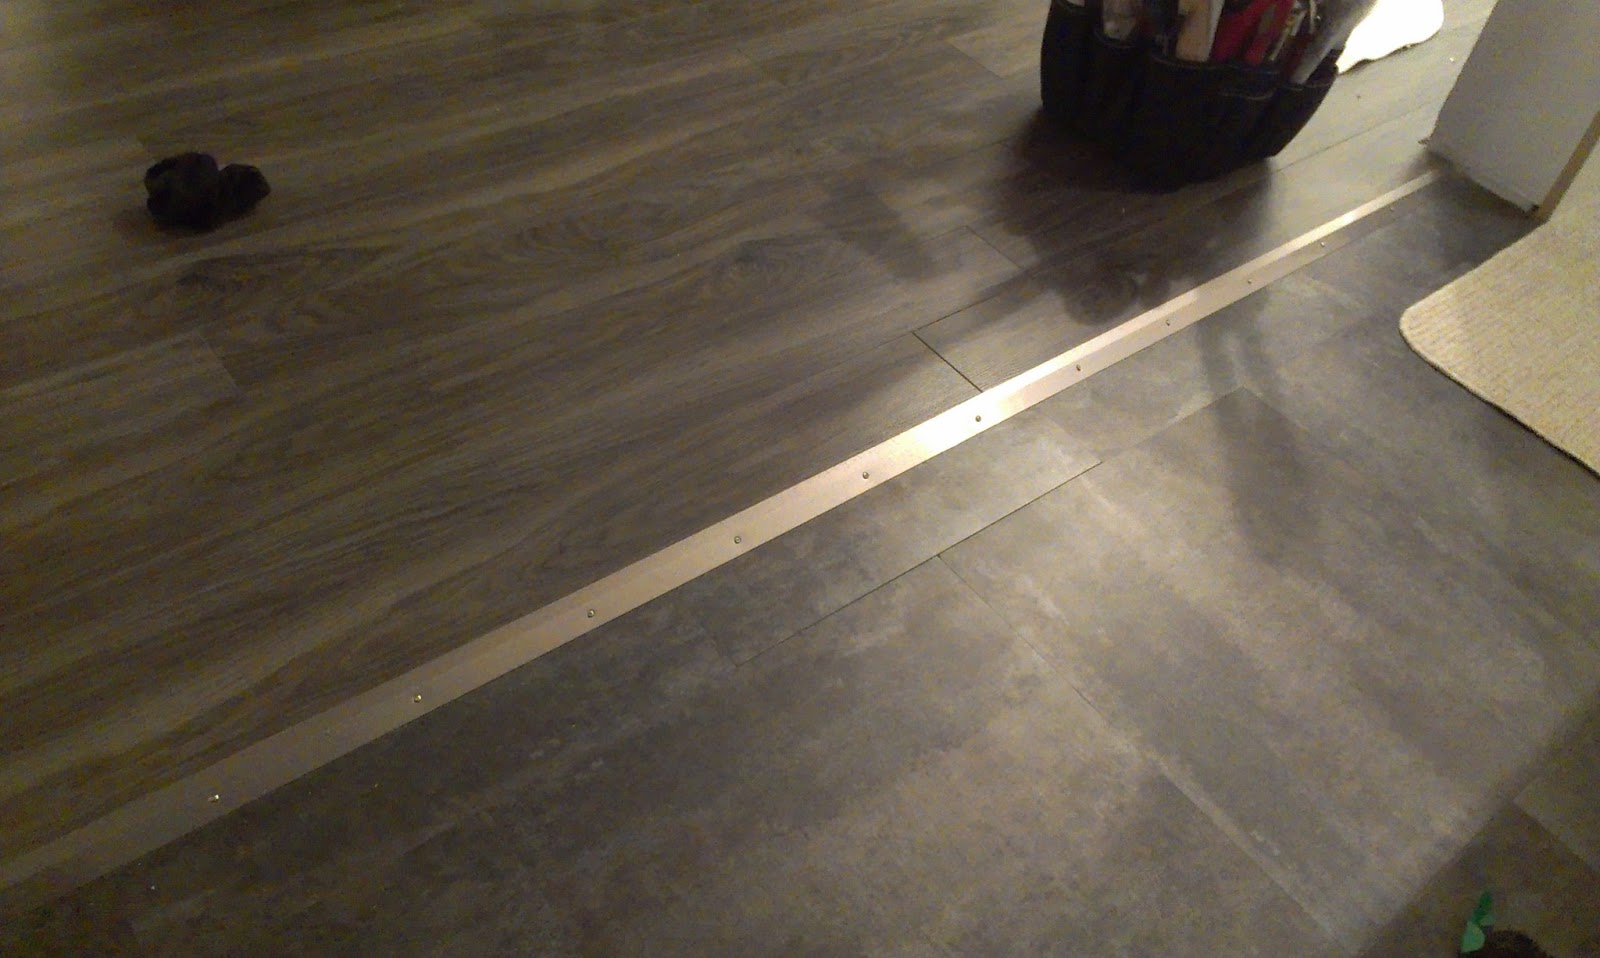
John ripped a sheet of 1/8th-inch plywood down to four-inch strips and I got to work gluing and nailing them down on the landing.

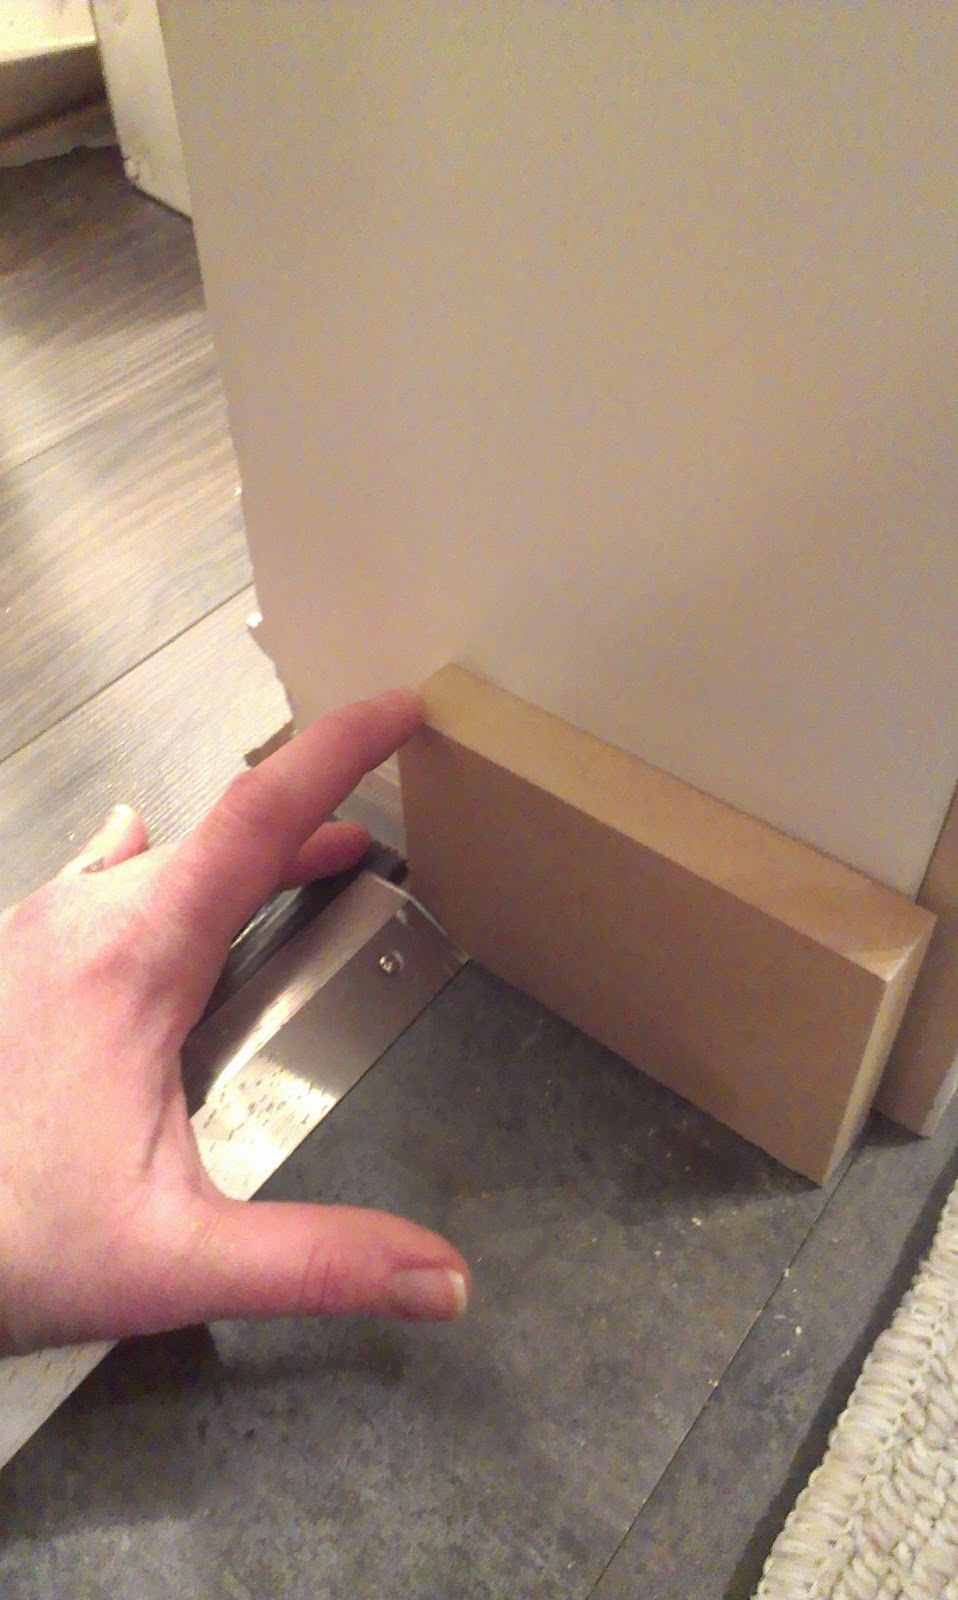
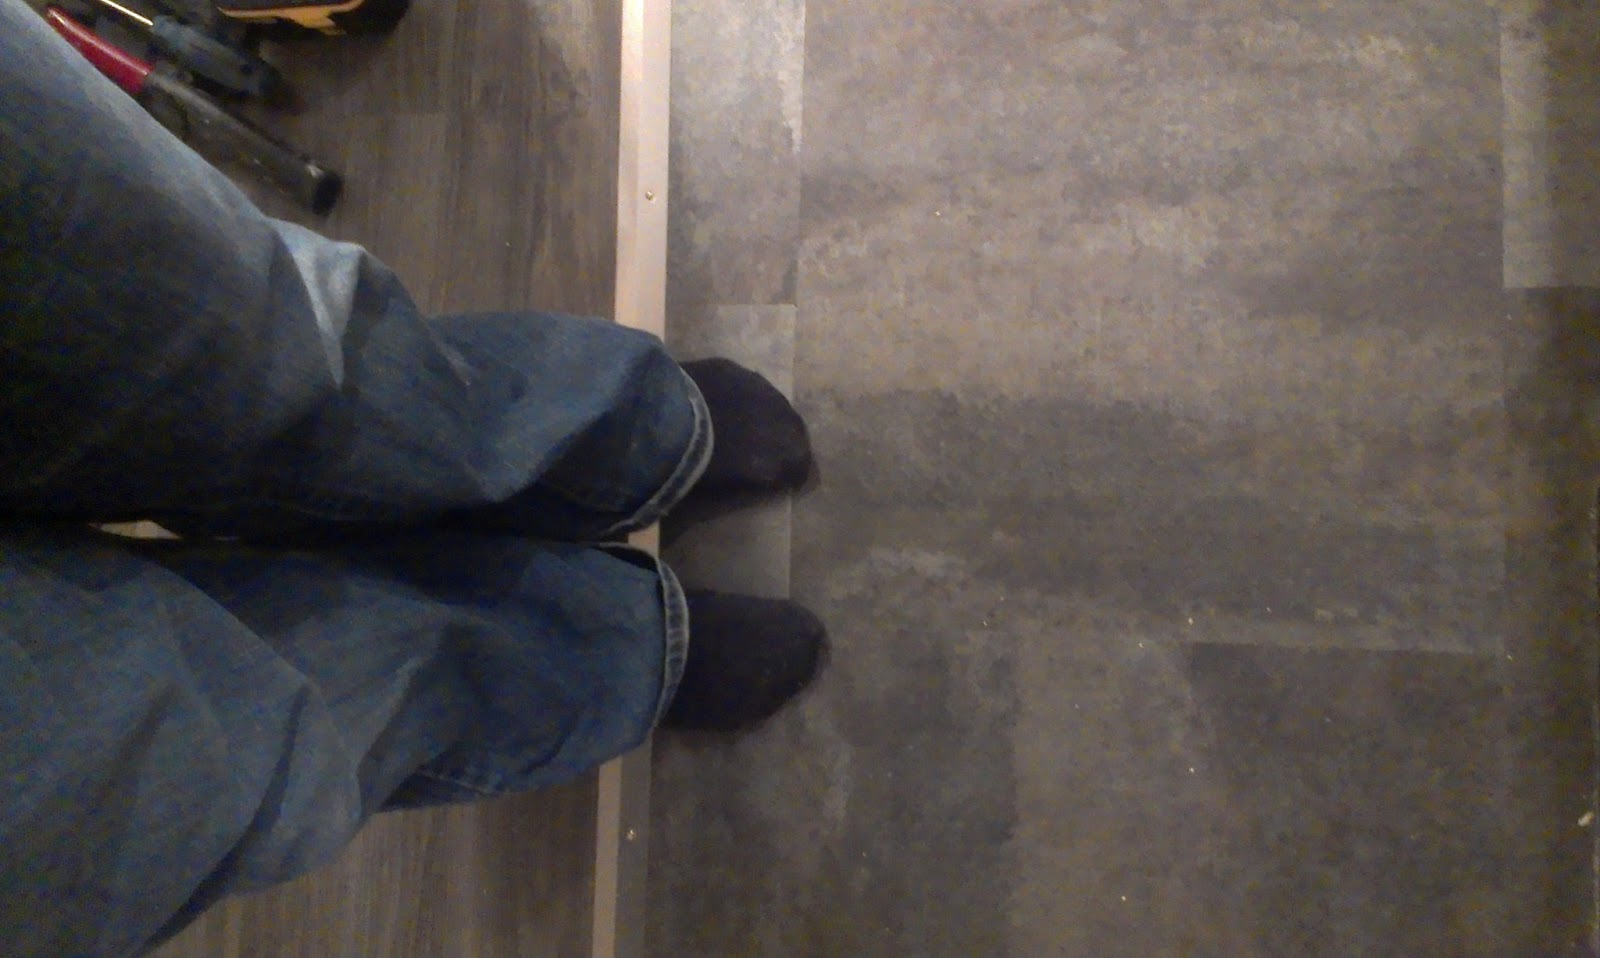
I used two dimes at either end for spacing because I wanted to keep a visible seam after I painted.  I also added a piece of 1×2 mdf on either side of the landing as a sort of bullnose to mimic the profile of the steps.

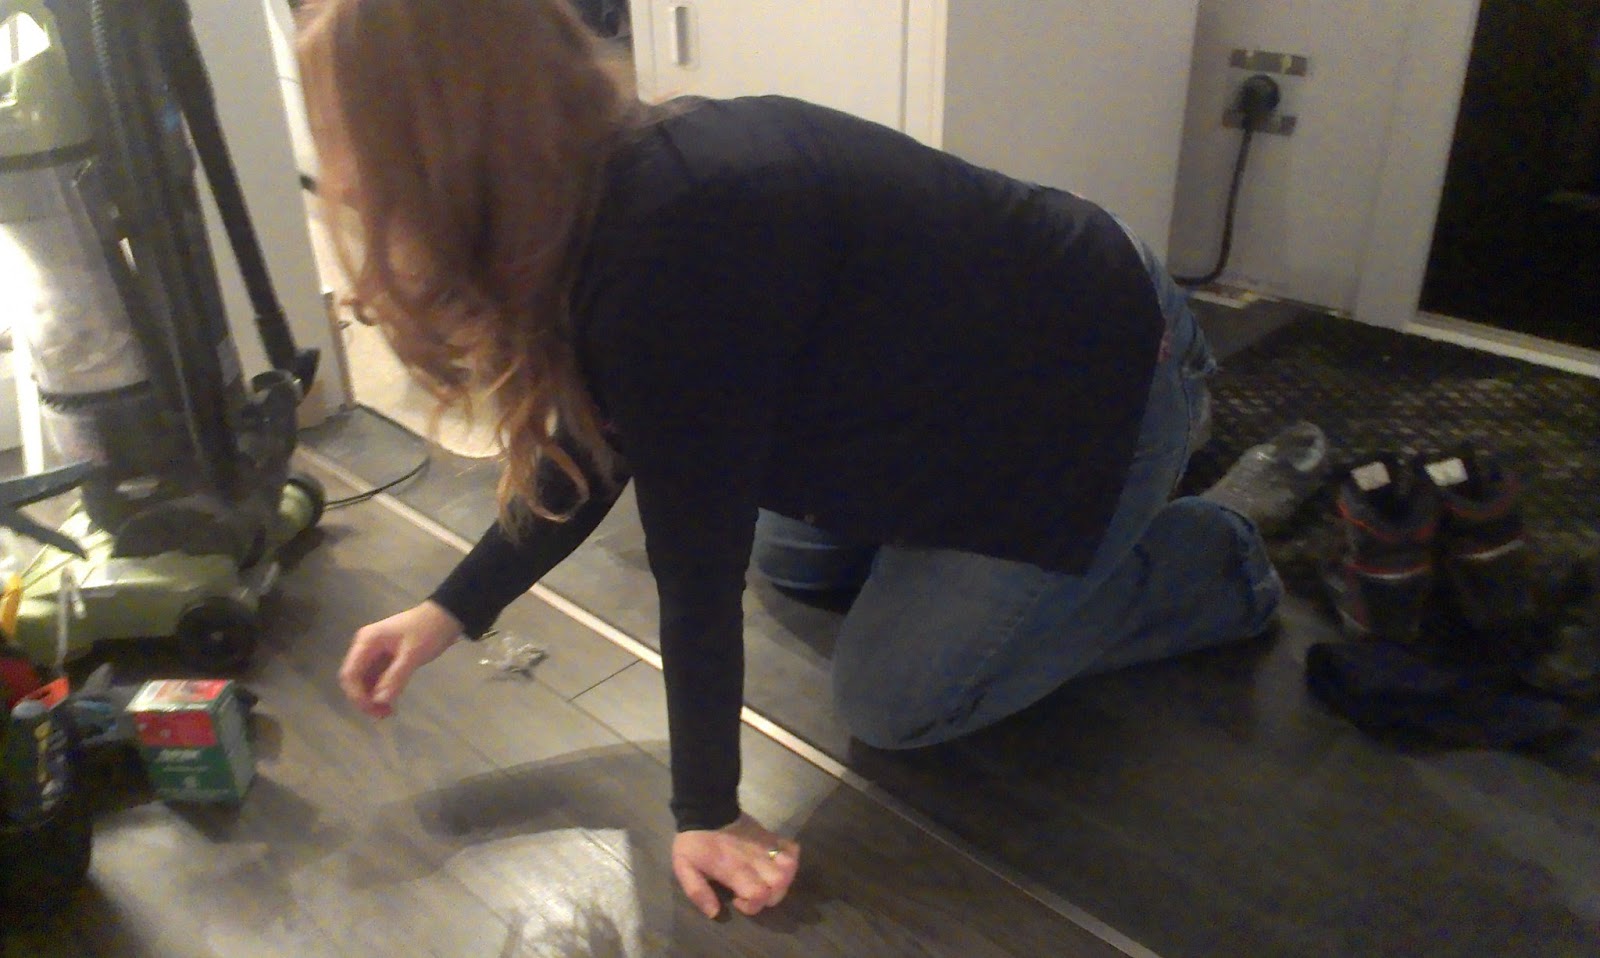
And then I got to painting.

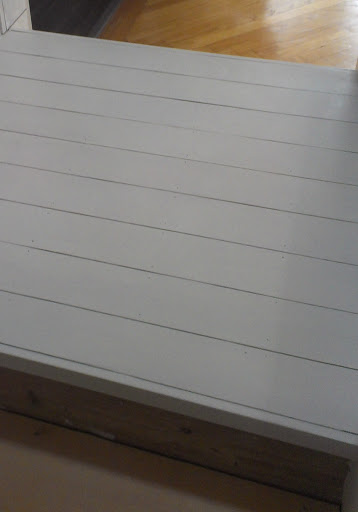
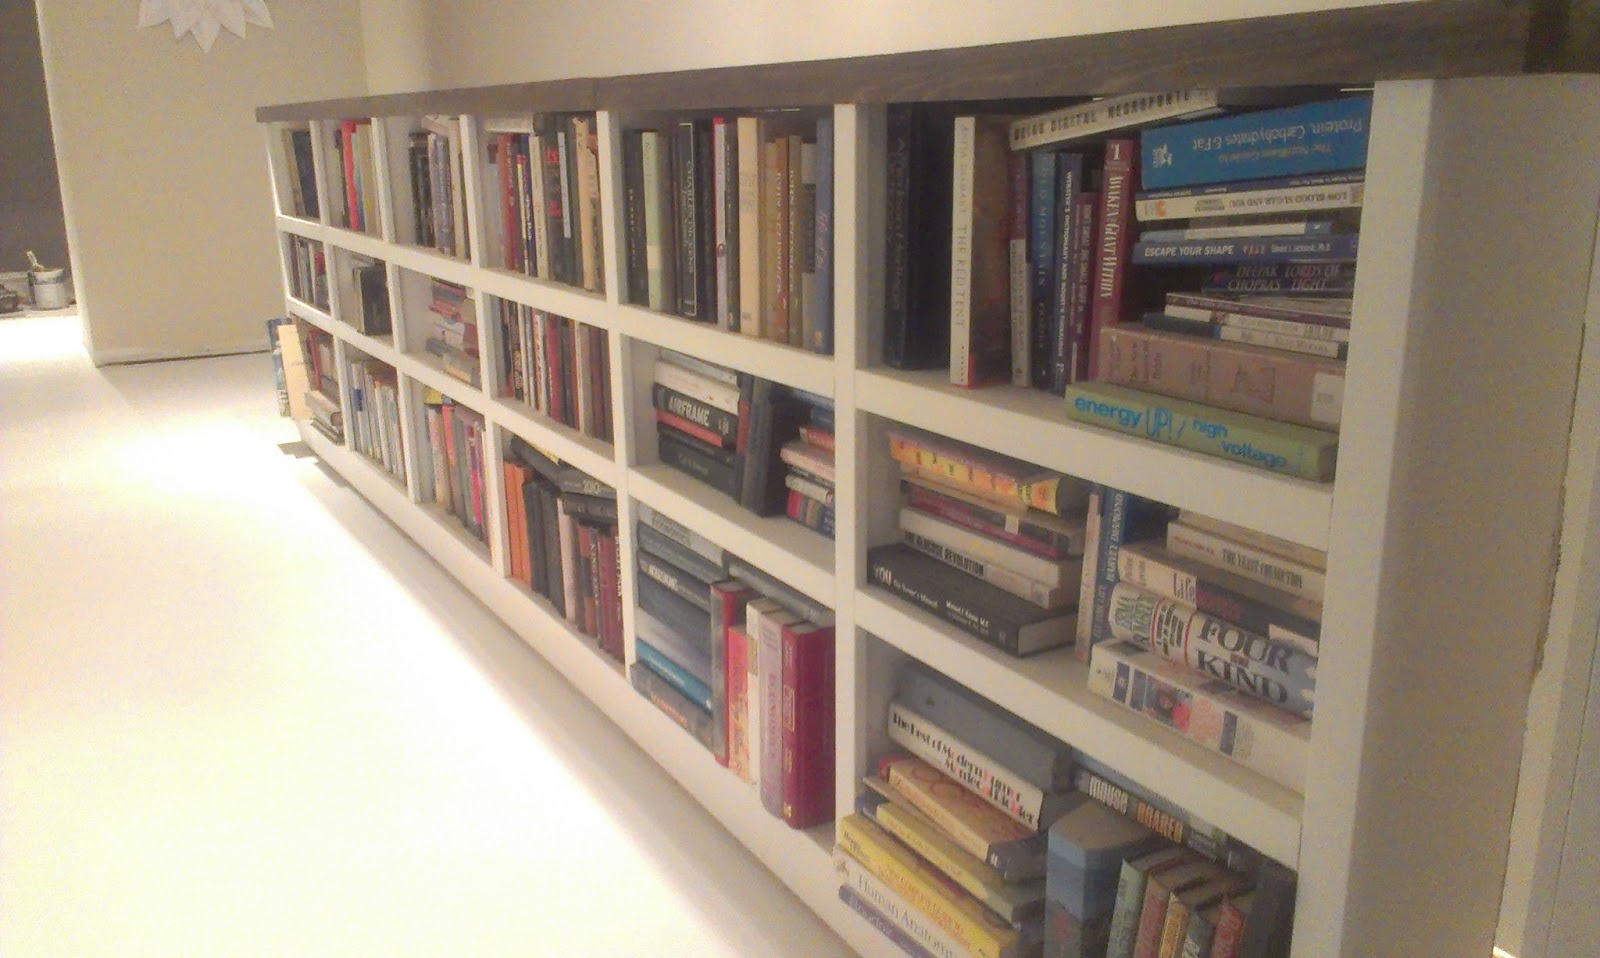
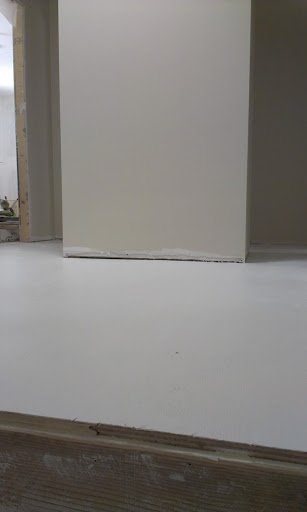
I like the idea of possibly doing a decorative paint treatment on the landing, but the rustic charm of the plank floor looks pretty sweet as-is.

Back to the columns.  Did you forget about them?  Are you still with me?  …tap, tap, tap….  Is this thing on?

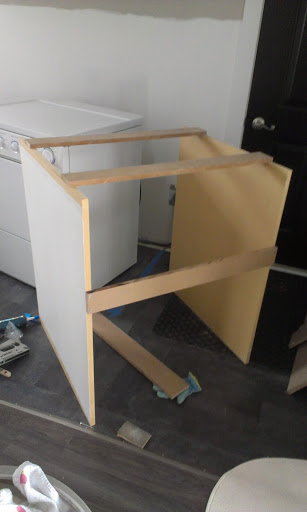
Now that the landing had flooring, I could get started on those damn posts.  I started by sitting down and staring at them.  For a long, long time.  Then I dug through my mdf scraps and got to work putting together my column puzzle.

Creepy, blue tint courtesy of my awesome camera skillz

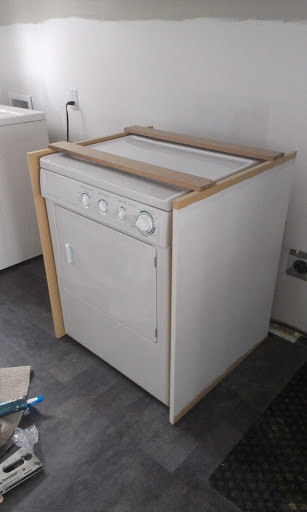
And in the almost-end, I have this:

I added a funky ‘X’ detail to the outsides of each column.
They’ll tie in with another project I have in mind for the kitchen.

I still have a few bits of finish work to do before I call the landing complete:

  • Caulk, caulk, caulk and add a final coat of paint
  • Finish the risers for the bottom stairs
  • Add a coat of poly to the landing
  • Finish the trim for the outside of the landing
  • Change out the almond-colored receptacle for a white one
I’ll do a ‘final reveal’ post soon with all of the finishing touches once I get over this stinkin’ cold and muster the strength to get off of the couch and actually do the items on the above list.  For now, I’ll just stare at all of the hard work that’s finally behind me.

(Linking up to YHL’s fantastically awesome ‘Pinterest Challenge’!)

Advertisement

How To Keep From Falling Down A Staircase

The alternate title for this post could have been ‘Building Another Bookcase’, but where’s the fun in that?

Let’s start with the finished product and get it out of the way.

When we first added the second floor, I was totally all about a long row of pretty, white pickets and a monstrously beautiful newel post at the top of the stairs.  But then a couple things popped into my brains:  1. I have a pretty good fear of heights and I just didn’t like seeing the drop all the way down to the first floor.  2. It wasn’t particularly original or practical to do the picket thing.  The beauty of choosing to do all of the interior trim work ourselves means we can do whatever the heck we want (within building code, of course).

John wanted to do a regular half-wall, but he knew I wasn’t going to be down with that.  It needed to be special and meaningful for our family and considering our massive book collection, the bookcase wall idea seemed like a total given.

We did this particular project quite a while ago, so my photos are pretty sparse, but I did manage to get a few.  We began with a safety hazard.

That’s it.  Just a couple 2×10’s nailed up.  Scary.  The boys weren’t allowed to go up there without one of us, so I didn’t have to worry about one of them taking a nose dive.

John then built some bases out of 2×4 lumber and screwed them into the floor.

And this is where the picture taking practically stopped.

Wop. Wop.

Just to give you an idea, we built the frame of the bookshelf and I made a counter-like top out of PureBond plywood, which sanded and stained beautifully.  I then put pine planks on the back of the unit and stained those, as well.

 Nevermind that side bit of trim, I was testing out ideas for finishing the sides.

The next step was building shelves and I did them exactly like the sunroom/family room unit.

Finished with a couple coats of paint and a whole whack of caulk.

And this is what she looks like right this very moment.

Taken at night.
With a camera phone.

Yes, I know, I spoil you.

Apparently, I kinda gave up on styling the bookcase once I got to the end.  Looks like I was just shoving books in there.  Which is probably exactly what I was doing.  I love all of the color and texture that it lends to an otherwise neutral hallway and yes, books are decorations to me.

Evolution Of A Laundry Room

The laundry room/mudroom is far from done, but I think I’m on the right track.  Let’s take a minute to show you what I started with:

I know, I know.  You’re overcome with feelings of jealous rage, right?  I can’t say that I blame you.  Who *doesn’t* want a dimly lit, uninspiring place to do their laundry?

First things first, I needed to paint, install a couple wall cabinets, and ask John ever-so-nicely to hang a more practical light fixture.

Getting better.

I’ve been seeing black interior doors everywhere lately and thought it might add some much-needed contrast to the room.  Here’s the ‘before’ of the back door leading to the garage.

During:
After painting:

Next, it was time to address that dang ol’ OSB floor.  For those of you not familiar, OSB stands for oriented strand board.  It’s basically a process by which various strands or flakes of boards are glued together and kiln-dried.  It results in an affordable and strong product that is most commonly used as flooring, walls and in the construction of roofs.  It might be strong, but it sure ain’t pretty.  Time to cover it up.

I toyed with the idea of running the flooring that I was using in the rest of the house right up to the door, but I changed my mind at the last minute when I thought of the amount of snow that we bring in through that door during the winter.  That spot gets soaked.  In the spring, summer and fall when I’m working on the landscaping I track in so much mud it’s almost scary.  Plus, I wanted to do it quickly and most importantly, on the cheap.  I decided to keep costs crazy low and go with a vinyl floor tile.  I’m planning on putting in a stone tile for that area in the future, but for now, I just needed something (anything!) other than that OSB.

I found a nice 18×18 concrete-look tile at Lowes and started the process.  The first step was to prime or seal the floor.

Done.  The next step was to let it cure.  Really?  Oh, come onnnnnnnnn.  I don’t have all day for this!  The floor there is unimaginably cold.  I set up a little space heater to help the process along and after an hour or so, started laying tiles.  As a word of warning, I would advise AGAINST doing it the way I did.  The primer/sealer definitely needs adequate time to cure on a room-temperature floor.  
I laid out my tiles to see where I wanted the seams to end up.  I knew that I wanted them to overlap the subfloor’s seams, so I started there and worked my way out in an offset pattern.
Once I was satisfied with the layout, I started peeling and sticking.
After every tile, I did a little bow-legged dance to really press it down and secure it to the floor.  The instructions said to use a 100lb roller and since I’m just a smidge over 100 pounds (shut it) I figured sliding around on it would do the trick just as well. 

After a few minutes (literally) I had this little section finished:

This was one of those super-fast projects that offered immediate gratification and I honestly think I need that once in a while.  It can be a real challenge to stay excited about the billions of other projects that I have to do all over this house and having a quick one to get out of the way totally helps.
Once the flooring was down, I put down an equalizer strip and then it was time to bang out the laundry counter.  Surprisingly, I took almost no pictures of this process.  I think I just got into a zone and got to work.
I started with laying out a sheet of 1/2″ plywood along the length of the area that I wanted to cover.
The sheet was *exactly* 8 feet long.  That meant that I wouldn’t be able to clean up the edges like I wanted, but I planned on added a bullnose the same way I did with the built-in bookcases before.
I made two support/base units out of MDF and fit them over the washer and dryer.  I made sure that they didn’t actually touch the washer or dryer since the washer really gets hoppin’ along when it’s on its spin cycle.  I didn’t want to risk damaging the base units or the counter with all of the jiggle wiggle.  These units will also be attached to the end wall, as well as the back wall this spring when we re-route the ducting for the dryer and slide the whole counter back.

While I worked on the units, I also worked on finishing the board and batten in that area – and this is where we are now:

Sorry about some of the glare-y shots.  I took some daylight ones that were just meh.
There’s still quite a bit to do in this room (hello, glaring dryer plug) and I’ll post a ‘Review and To-Do’ on this room later.  For now, let’s take a quick look at that ‘before’ one last time:
Whew, glad the hard part’s over!

Another One Bites The Dust – Part I (Before And After)

The dust is still settling on my most recent project.

In an effort to officially occupy Wall Street my house, one of the town’s parameters is that my addition/renovation meet certain criteria.  One of those criteria is that the flooring be impermeable to water.  ‘Impermeable to water’ can count as carpet, tile, sealed wood flooring, paint, etc.  Pretty much any flooring you can think of is acceptable.

I’ve been staring at a carpeting swatch for the upstairs hallway for a couple (or maybe it’s been a few) months now knowing that we’ve budgeted to order it in the spring.

But I got a little antsy this morning.  Shocker.

It started with filling the gigantic cracks and knot holes with several types of filler.

Why several types?  Because I had an assortment available to me and I was just runnin’ through ’em.  I started with wood filler, moved on to a larger gap filler (keep your mind out of the gutter), then finished up with a plain old spackle compound.  My goal wasn’t to do a perfectbeautifulawesome job.  It was to cover the damn floor because guess what?  It sucks getting splinters in the middle of the night.  For realz.

And then, while I waited for the the fillers and spackles to dry, I did the unthinkable.

I went on Pinterest.

And searched ‘painted floor’.

The heavens opened up.  Unicorns sprung from rainbows.  Fairies sprinkled glitter all over the land.

Okay, can you believe the yellow and white flowers?  Seriously.  Seriously.

Remember how I said it wasn’t going to be perfectbeautifulawesome?  Oh, it was on now.

But, like all good things, everything has to happen in steps.  I’m learning every day that awesomeness comes in layers.  I immediately regretted my first two layers.  I wish I would have spent more time filling in all the gaps and cracks a little better,  But, I didn’t.  I wish I used a better first coat of paint.  But, I didn’t.

Moving on.

I took my trusty palm sander and 100 grit sandpaper and got to work.

I went over every inch of the hallway and the haze proves it.

I swept things up, ran the vacuum and got ready to be locked out of the hallway for a couple hours.

{Hey, don’t mind that bookcase.  Pretend you don’t see it.  I planned on writing about how we built it later this week.  Act surprised when I show you.}

After one coat of paint, this is what I have to work with:

I’m undecided with the design that I want to paint on the floor. It’s like a giant, blank canvas.  By town code, it officially satisfies the occupancy guidelines, but now it’s time to take it up a level. Thoughts?  What would you do?  It’s definitely an upgrade from it’s previous life:

What’s left to do in the hallway:

  • Hang guest bedroom door
  • Hang bathroom door
  • Paint all doors
  • Finish installing baseboards and trim
  • Paint a spectacular pattern on the floor
  • Hang additional artwork
  • Figure out what to do with the awkward nook on the other side of the column
What about you?  Have you ever painted a floor?  Any success or horror stories?

Sometimes, It’s The Little Bites

I have to be honest.  There are SO many big projects going on around here – at the same time, mind you – that it feels good to check a few of the little boxes off the list.  One thing that’s been totally cramping my style is the unfinished transition from the sunroom/family room/Florida room to the laundry room/mudroom/entry.  Note to self: pick a name for these rooms, would ya?  This is one of those little jobs that took only a little bit of a time commitment  but cleared a nice chunk of mental space for me.  Does that make sense?

I was getting tired of tripping over that little edge of the flooring.  It’s hard to tell, but it was about 3/8ths of an inch higher on one side.  Oh, and see that little hand there?

That was my little helper for the job.

‘Helper’

I should mention that he was also the photographer for most of this project.

 Yeah.  Bear with me for this one.

I started by buying a 12-foot equalizer strip in titanium from Home Depot for about $30.00.

(image from Home Depot.ca)
(The 12-foot length doesn’t come with it’s own screws, so be prepared to shell out an additional $.93)

I needed to cut it to match the opening which was about 7.5 feet.  John suggested I use his “fancy, fancy hacksaw.”  His words.  Not mine.

I started cutting.

My positioning was all wrong and I kept scratching the strip – which was frustrating – so I asked the resident muscle man to step in and show me how it’s done.

 And show me he did.  Work that fancy hacksaw.

Once it was cut down, I brought it over to the uneven flooring fiasco and double-checked that it fit.  Normally, you would put this puppy in after you’ve put in your doorjambs and floor trim.  I don’t always necessarily do things in the order they were intended.  I don’t care.  Neither does honey badger.

via

Since I *was* putting it in before the floor trim, I wanted to make sure that I left room on each side for the baseboards.  I just used a spacer block the same thickness as my floor trim to keep things on the up and up.

I lined the strip up so that when I drove the screws in, I still left some expansion room for the floor.  I started out just trying to push the screws in with my screwdriver as I turned them.  Not ideal.  The screw kept slipping on the vinyl tile underneath and would end up pinching my fingers.  Hard.

 I figured it would work better if I predrilled a little pilot hole in each opening to give the teeny, tiny screws a some gentle encouragement to stay in one place and stop freaking hurting me.

But I couldn’t find my small drill bit.

Scratch that.

I couldn’t be bothered to go look for my small drill bit and I MacGyver’ed this mutha by finding a flat-head nail to use for my pilot hole.

Like.  A.  Charm.

I gave the nail a forceful lovetap (oxymoron, much?), removed it and screwed in the Lilliputian screws.

Rinse and repeat about 14 more times.

My feet are much happier.  I’m not trippin’ any more, yo.  Sometimes the little bites have the biggest impact on the every day.

If You Build It, They Will Use It (Before and After)

Let’s talk about big bangs for your bucks today, shall we?  Would you believe me if I told you that this built-in bookcase cost less than $50 to build and only took me an afternoon?

Well, believe it!  Let me break it on down for you.  Here’s what I started with:

This is the wall separating the dining room from the Florida room sunroom family room.  Prior to demolition/renovation, there was a window on this wall.  In an attempt to open the spaces up a bit more, I chose to turn this wall into a half wall and planned on making a ledge or counter along the opening.  I liked the idea of a display space between the two rooms.

But it still felt a little too dinky as a ledge.  It needed more girth, I tell ya.  When you enter our house from the garage (which is the main way we enter), this wall is the first thing you see and I wanted it to be a little more inviting than just a half-wall with a 5-inch ledge perched on top.  And that’s how the bookcase idea was born.

Using the existing wall as the back of my bookcase, I cut 5 boards and drilled three pocket holes in each with my Kreg Jig.  I also attached horizontal front stabilizers to support the vertical boards and keep them from moving around while building.  I left the pocket holes exposed on the front for two reasons: 1. It’s way easier to drill from the front 2. I was going to wrap the bottom in trim at the end and would be hiding this part anyway.

The wall that I was drilling them into was drywall affixed to a solid cedar wall, therefore, I didn’t have to look for studs when drilling.  Bonus.

I cut four boards and popped them into the bottoms of each shelf section using quarter round molding glued and nailed in place, then added the bottom skirt of trim around the entire unit.  Once I got the bottom shelves in place, I figured it would be a good time to paint the inside because man, I hate painting individual shelves.

Here’s where the picture-taking got a little sketchy.  Using a level and tape measure, I carefully marked off where to put the quarter-round molding pieces, added a bit of glue to each piece and nailed them on.  I didn’t want the shelves to be identical in height, but I knew that I wanted the bottom to be taller to accomodate larger items, baskets, books, etc.
Once all the boards were in place, I attached the 1×2 bullnose pieces to the front with the nailgun.  This creates a much thicker profile from the front with the added bonus of providing strength to the span of each shelf.

I added a coat of paint to each shelf (Behr’s Polar Bear in semi-gloss) and while that dried, I cut the top of my bookshelf in the garage.

I used a half-inch-thick piece of plywood (not sure if it’s birch or beech) that I already had on-hand.  I used clamps, a straightedge and a circular saw to cut the top.  Then, to add the notches at the corners, I measured and marked off my cut lines and went to work with the jigsaw.

I added another bullnose around the perimeter of the counter, slapped on a coat of stain and about 5-6 coats of polycrylic later, I had a sleek countertop.

And that was it!  An afternoon of building and painting and I have a functional piece of built-in furniture.   The polycrylic applications were spread out over a couple days, but the building and painting only took a few hours.

Now I just have to fill it up with STUFF.  Once I get it styled all pretty, I’ll snap a couple more pics and share them.

What about you?  Ready to break out your toolbag and tackle a bookcase?  Or are you ready to hire someone to do it for you?

Welcome To Florida, Eh.

We live in Canada.

We have a Florida room.  
Well, I guess I should say that we *had* a Florida room.  I really don’t know what it’s called now.  Sunroom?  Family room?  All-purpose room?
Way back in July, we had a normal three-season Florida room.  It was cold as ice (ice cold!) in the winter and hothothot in the dead of summer, but spring and fall were pretty nice.  I had a really hard time with decor in that room.  The entire thing was clad in brown, stained cedar.  It was dark.  A little dungeon-y.
So I cracked that bad boy wide open.
Almost looks like it could be a tropical bistro.  Just set up a couple tables and add some handsome waiters.

I had the floor raised about 4 inches so that it would be the same height as the house, rebuilt the walls, put in new windows and a set of double french doors.

And then I realized that I made a mistake.
A *big* one.
Here’s the thing:  when I ordered my windows for the room, I wanted a crank-out, top-opening window so that the bottom part of the window would offer an unobstructed view of the water.  Sounds awesome, right? The cool thing about this meant that even during rain, I could keep the windows open without too much worry.  Easy, breezy, beautiful.
Then they got installed.
And I cried a little. (a lot)
I didn’t calculate that the floor was going to be raised 4 inches when I ordered the windows. Now, a couple of you might be saying, “Hey, silly girl, you could have asked them to install the windows a few inches higher.”  And to you, I say, “Nice try.”  The space at the top of the window is completely taken up as the header, so no dice on moving it.
When I stand in front of the window, the divider between the top and bottom part is right. smack. dab. in front of my eyes.
Sad face, y’all.  
But!  But!  But!  See that chair right there?  That was my saving grace.  It kept me sane.
If you sit in the chair, the view is p-e-r-f-e-c-t.  And, since this room is going to be the family room with a nice, relaxing seating area, you’ll almost always be sitting and enjoying the view.  BOOM.  
Whenever someone came over and walked through the sunroom family room Florida room, I ordered them to sit in the chair and tell me how great the view was.
But it was still dark, guys.  Still depressing.  Oppressive.
And so I took a little look-see at some of the photos of rooms that made me happy:

(via)

(via)
One thing connected them all.  Beautiful, painted wood ceilings.
So, we busted out the paint sprayer and got bizzy, yo.
It’s SOOOOO much easier to paint a room when you’re not freaking out about the floors.  I got started on the board and batten walls prior to laying the floor.
Getting better….

I did the top of the walls in the same color as the rest of the house.  This room can be viewed from just about every other room in the house and I wanted to keep a sense of continuity with the design and colors.

Then it was time to get down on bended knee and lay some flooring.

I’ll do a separate post on the flooring sometime soon.  I’ve got lots of opinions on this particular style of flooring and it’ll need its own soapbox.
Once the flooring was done, it was time to take a little break and celebrate for a minute.
I think the paint and flooring, even though it’s dark, really added a lightness to the room.  I love it.  Like, lovelovelove it. This photo was take just after Christmas.  I’ve since added the actual board and batten, my office, some built-ins, draperies, and a laundry room. I can’t wait to share the rest of the room’s details over the next week.  Tomorrow, we’ll talk about making easy built-in shelves.  Get your tools ready!