Fall Mantel (and a tip for scaring your mailman)

If you’ve been with me, you’ll remember I built our fireplace mantel just before Christmas last year.  And when I say “just before”, I really mean it.  I was practically touching up paint and wrapping presents at the same time.

See?

Once I built the mirror to go above it not long after, it kinda just sat like that up until this past weekend.

Certainly nothing wrong with it.  I prefer the clean, stark lines for sure.  However, not that most of the BIG renovations are wrapping up, it feels really, really good to putter and decorate and tweak things.  I haven’t had a chance to fuss over little details for almost a year.  I’ve been too busy laying flooring or trimming out rooms or tiling showers or, or, or….

I hit up a local greenhouse/farm stand and scooped up a few gourds and pulled out my awesome black crows.

No, not those Black Crowes.

I’m talking about this little guy:

How great is he, right?  I think I paid a dollar for him at a Dollarama.  Totally worth every penny for his cool, aloof presence all up in my mantel.

The candles were an awesome find in a Target clearance aisle a million years ago.  They’re battery-operated with timers and have a lovely, low glow at night.  I think I paid about four bucks for each of them.  Not bad considering a single, similar candle at Pottery Barn goes for $29.50.  Come on now…
The creamy, white gourds (are they really just mini pumpkins?), white beans and candles contrast perfectly against the dark wood of the mirror and our little feathered friend.  I also scored some free succulents at that same greenhouse and teamed them up with a simple, white pot.

Nailed it.

Now, let me get back to that crow for a minute.

He seems harmless enough, right?  Well, he has a bigger, badder brother.
In an attempt to Halloween-ify the front porch, I stuck his big brother in my oh-so-sad boxwood next to my front door.  I had intentions of getting some sparkly bats or spiders added to the wreath on the front door, but, somehow I got sidetracked (shiny things!) and my outdoor decorating stopped after I put the crow in the boxwood.  
I had completely forgotten about it and was doing the dishes in the kitchen when I noticed the mailman come to a dead stop before he got to my porch.  His entire body was motionless, except for his legs.  He crept up to the mailbox (also next to the front door), and extended his arm just enough to quietly and carefully slip the mail into the box.  He stepped gently off of the step with his eyes fixed on something and backed slowly away.  The entire time, I’m standing there, water running and dish-in-hand, confused.
And then it hit me.


You guys, he thought it was real.  He thought it was a real crow.  It must have been the absence of anything else even remotely resembling Halloween decorations.  Just this lone, menacing bird staring him down.

Since then, he has scared 100% of the visitors on my porch.  Including my husband and children.
He’s a keeper.
Advertisement

How (not) To Install Window Trim

Just so that we’re clear right from the very start, I’m not a professional.  Like, at all.  Occasionally, I take some ugly shortcuts in a project in an effort to save time, money and sanity.  Actually, it’s usually to save all three.  Simultaneously.

This is one of those projects.  Don’t say I didn’t tell you off the bat.

Let’s just move forward and get through this together, okay?

After our window wall got ripped down to the studs, we were left with this:

Drywall went up and looked like this:

Unfortunately, I didn’t get too many pictures of the actual process of putting up the window trim.  With this particular bank of windows, I chose to get funky and make up the trim as I went.  Basically, I bought a 4×8 sheet of 1/2 inch MDF and had the store rip it to the sizes I needed.

When you do this, keep in mind that it OFTEN results in inaccurate cuts.  When that happens, you have two options:  1. Re-rip it at home on your table saw or with a circular saw (this is really only if it ends up oversized), 2. Suck it up and just try to fudge your measurements to deal with the minor inaccuracies.  I usually go with option numero dos.

How pretty is that pile of crap in the backyard?  So pretty!
The drywall guy would just toss his scraps out of the 2nd floor window as he worked upstairs.  Then, he’d go out in the back at the end of the day and clean it all up.

Once I had my MDF trim all nailed in, I added a decorative bead of trim at the top and filled in the nail holes and some of the gaps with wood filler.  I threw on a coat of primer and two or three coats of Behr’s ‘Polar Bear’ white.

Then I needed to contend with the big, huge, giant, ugly gaps at the bottom of the window on the sill.  Right about now is where my carpentry credibility starts breezing out of this window.

Since the window measurements were a little ‘off’ in some spots, the trim I put up was a little ‘off’ in some spots.  To make up for this, I added some scraps of 1/8 inch shims to get my sill trim to lie flat.

You’re welcome for the awesome photography.

When I dry-fit the sill on the window, it seemed a little wonky.  So, I figured some construction adhesive would help with stability.

About that construction adhesive…..

Remember how I said I sometimes do things in an effort to save a couple dimes?  Well, I found an unopened tube of Liquid Nails, but I could NOT open that thing to save my life.  I sliced off the tip.  Nothing.  I stuck it with a long framing nail to try to coax it out.  Nothing.  I tried squeezing the tube.  I broke the whole end-piece off.

So I did what I feel any other frugal homeowner would do.  I grabbed a butter knife and started digging.

Yes, in hindsight, I should have used a plastic utensil.  But this was a fancy occasion.

And I started spreadin’.

Like butter on toast.  Thick, poisonous butter.
Then I placed my sill trim back on top to make a delicious sandwich.

But I was left with a rather thick gap on the underside.

A spare piece of trim salvaged during demolition and a couple coats of semi-gloss paint made everything look a bit more tidy.

And within hours, it became the stage for Rudolph and his gang of wayward misfits.

She’s A Brick……Wall (Before and After)

So the fireplace mantel was looking……. a little washy.  Matchy-matchy with them there walls.  And the concrete nothingness was even more apparent.

So, I grabbed some paint.  And I done painted.  And a somewhat magical thing happened.
(brick is Glidden’s Unicorn White – the walls are Glidden’s Shadowbox)

The old concrete voids just kinda…..disappeared.  Prior to painting, I was stressin’ about how the heck I was going to make fake, little brick façades.  I was scheming to use some 1/4 inch mdf, beat them up a little and then adhere them to the wall.  But you know what?  Not on my radar right now.  Painting out the wall really helped to shorten my ‘to-do-now-because-it’s-driving-me-nuts’ list.  And that, friends, is a good thing.

However.
Can we just say b-o-r-i-n-g?  That’s the most neutral wall in the history of neutral walls.  I could feel the above-mentioned list lengthening.
Every time I sat down on the sofa, I looked at that wall and thought ‘it needs something — some contrast’.
And then John and I got the flu.
So I had to stare at that wall a little longer.  I couldn’t move.  I was so tired and miserable and gross.  But my DIY blood is thicker than influenza.  I don’t know if that makes sense.  I marched out to the garage (in my pajamas – in the middle of the day), grabbed my trusty Kreg Jig and got jiggy wit’ it.
(“You got a – Prada – bag with a lotta – stuff in it – give it to your friend – let’s spin”)

While I was in the garage, I grabbed my Kreg, a bigass mirror and some pine 1×5 boards and got to work.  In between coughing fits.
Here’s my Kreg that John jigged up for me.  Get it?  Jigged?  Forget it…..  
The writing on there says,
“Make me something pretty.  Love, John”
I mitered the boards and then drilled pocket holes on two of them.  A small bead of glue and some 1.5″ Kreg screws later, I had a simple frame.
I carefully laid the mirror face-down and added some mirror clips.

One I screwed all the clips in, I said a prayer and turned the giant behemoth of a mirror over.
Whew.  That was hard.  Now it was time to get to the ‘contrast’ part of this project.  I taped off the mirror and applied one coat of Minwax’s Dark Walnut stain.  
It’s like a little miracle in a little can.
A couple things to note:  

1. Wear gloves.  This stuff is stain.  It will stain everything it touches.  Including your hands.  And you’ll look like you have a strange case of reverse-vitiligo when you pick your kids up from the bus stop.  

Ask me how I know.  Dammit. 
2.  Crack a window, would ya?  Ventilation is a must with this product.  Whenever I stain something, John *always* walks in the door and says, “It smells like death in here.”  It never fails.
After a single coat, the mirror looked like this:
Now, had I not been sick, I might have remembered to stain the back of the mirror first.  Why?  When you put a frame up against a mirror, a small amount of the back side of the board reflects into the mirror.  I forgot to do this, even though I know better.  To get around it, I had to drip gobs of stain along the edges of the mirror in an effort to get the back of the board to soak it up and not reflect the light wood color.  It worked in most spots.  
Once finished with the stain, I did *not* let the stain dry fully and just slapped a couple thin coats of polycrylic on that bad boy.  You’re supposed to let the stain dry fully.  Mama don’t got that kinda patience.
Once the polycrylic was barely dry to the touch, I whipped it up on the mantel and reclaimed my place on the couch to continue being flu-ridden.  This time, with a much nicer view.

Now, I’m itchin’ to put some art up on the wall to the right of the mirror.  Maybe some subway prints?

TDC Before and After

Come On Baby, Light My Fire. Place.

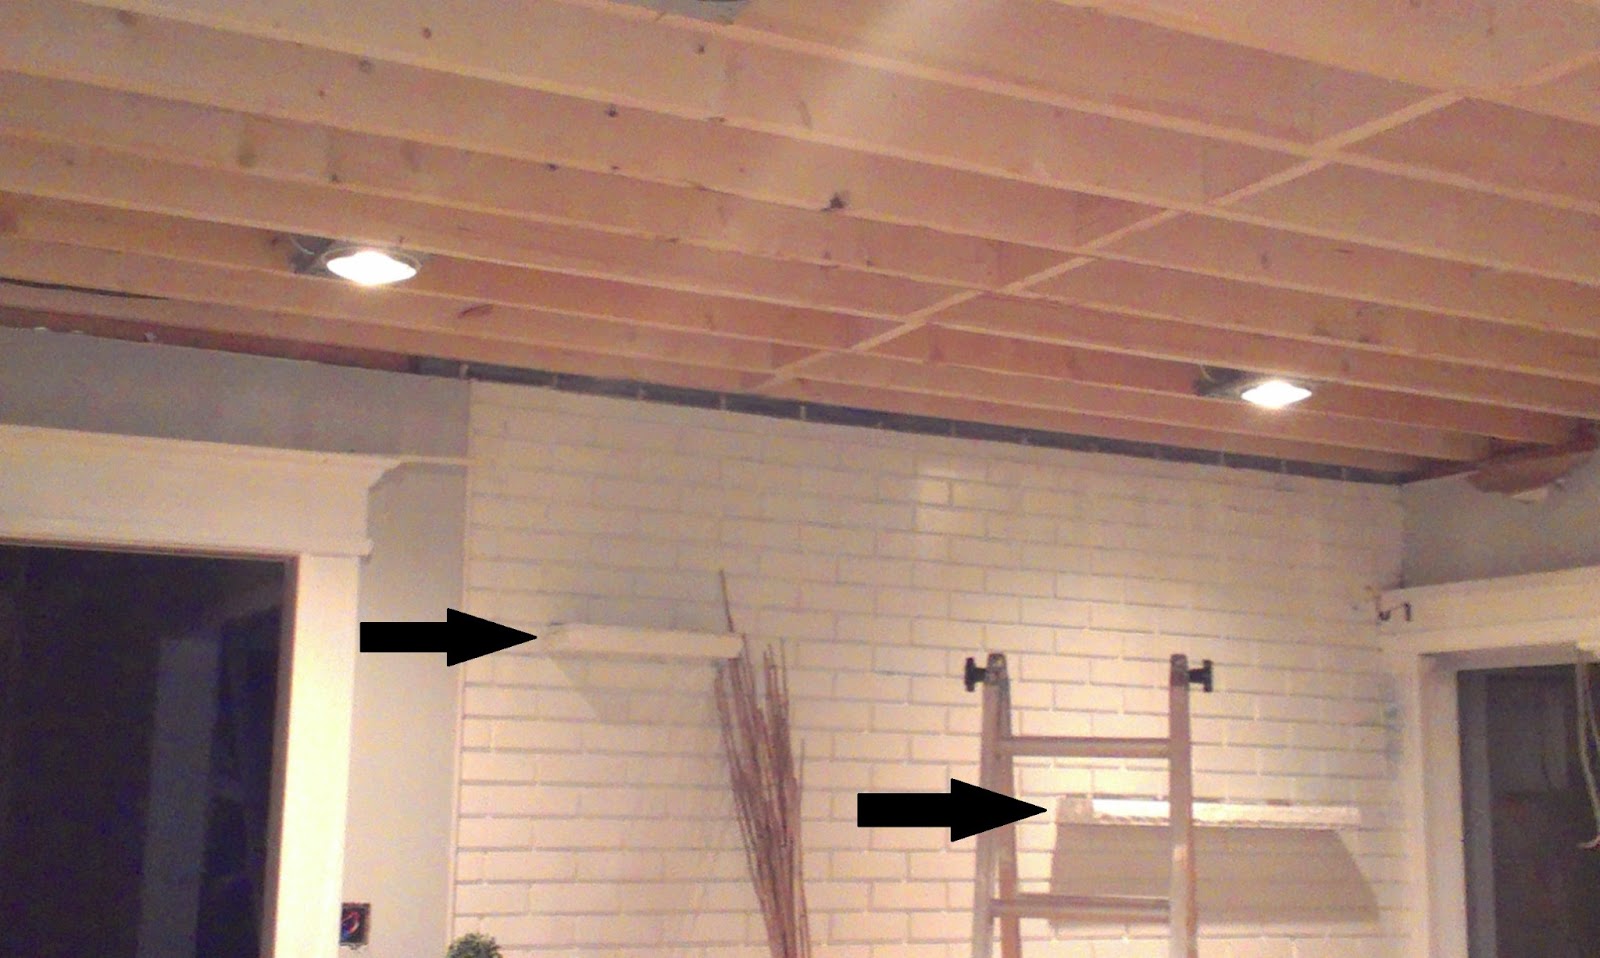
Let’s keep this show moving and get to the rest of the living room, shall we?  One of the walls that had me scratching my head was the fireplace wall.  As you can see in this terrible photo, we had these awesomesauce concrete floating shelf things that jutted out of the wall at what appeared to be random spots.

I’m sure they *weren’t* random and that they were lovingly and carefully crafted by someone in the 50’s or 60’s, but I just didn’t appreciate them.  Most importantly, they interfered with my master plan.  Everyone knows you don’t mess with that.  So they had to go.

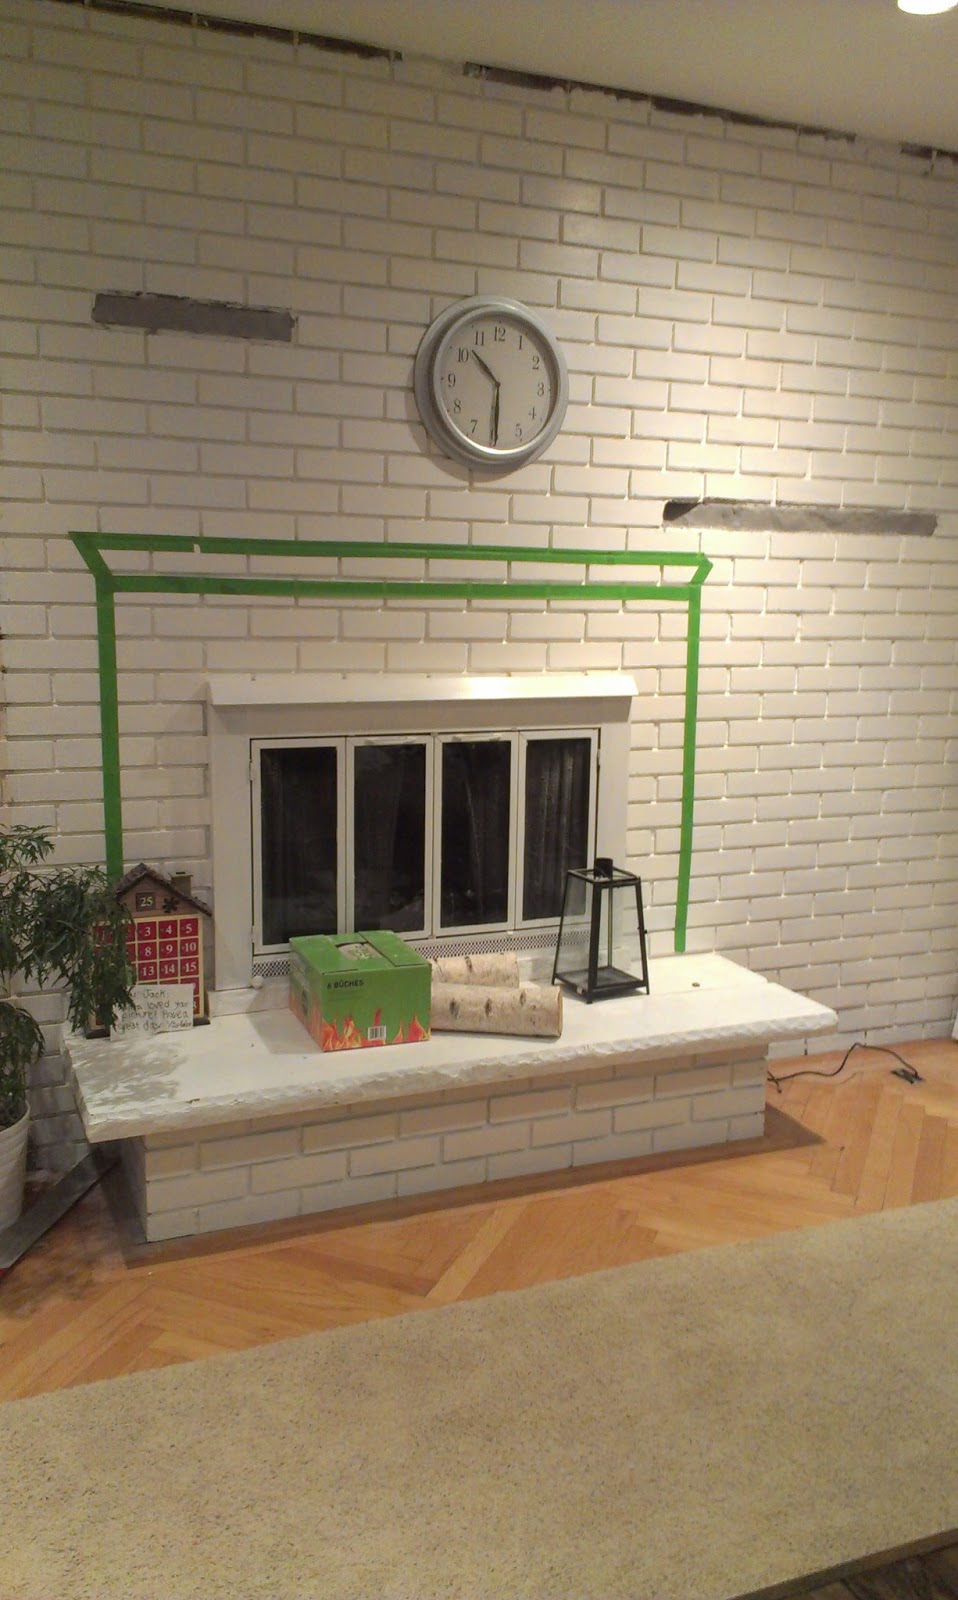
My builder worked his magic (which was also his hammer and chisel) and knocked off the slabs-o-awkward and this is what I was left with.  I was originally thinking that I would re-tile the wall in some crazy, dramatic stone or maybe even just drywall over it and start with a nice, blank slate.

But then I changed my mind.  Strange.

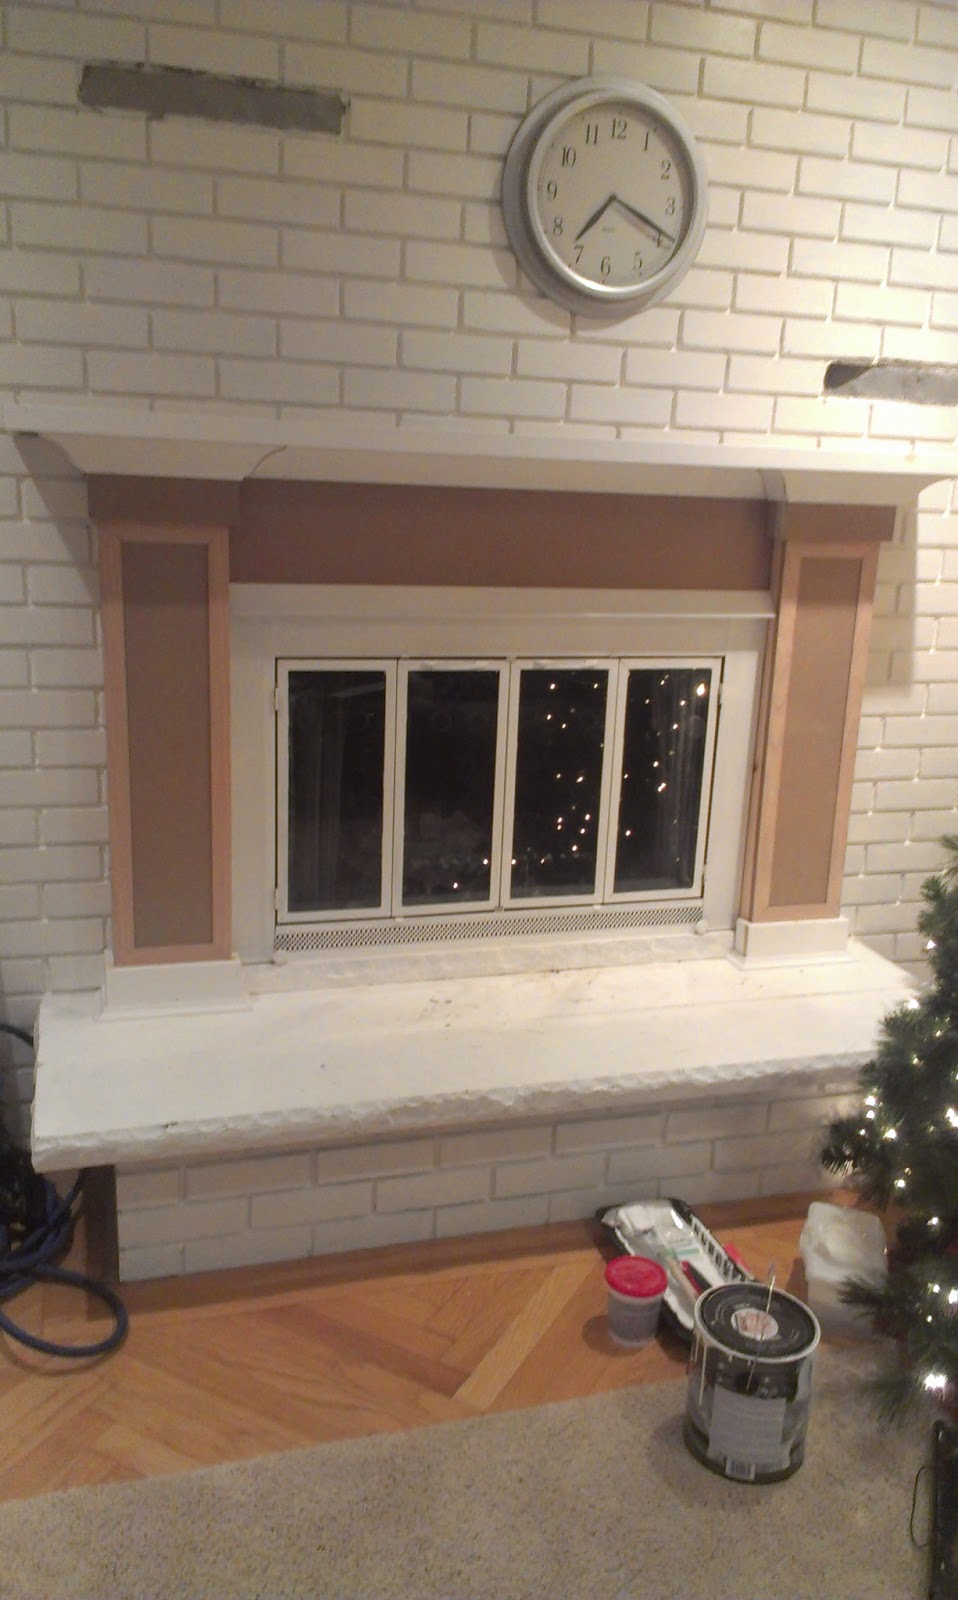
So, I decided to keep the brick, but now I was fixated on a proper mantel.  I think it was like three weeks away from Christmas in this photo and I was scheming.  Scheming of a way to get those stockings hung by the chimney with care.

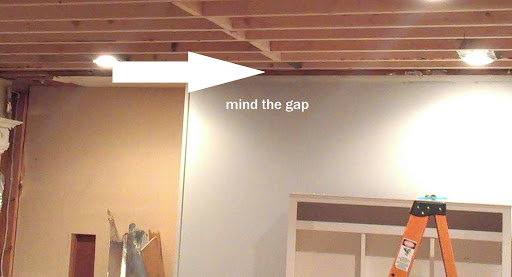
But the scheming was taking a little while.  I made everyone live with the crazy mantel chalk outline of death for a little longer while I wrapped my head around how I was going to do this.

The tape stayed up longer than I’m actually going to admit.

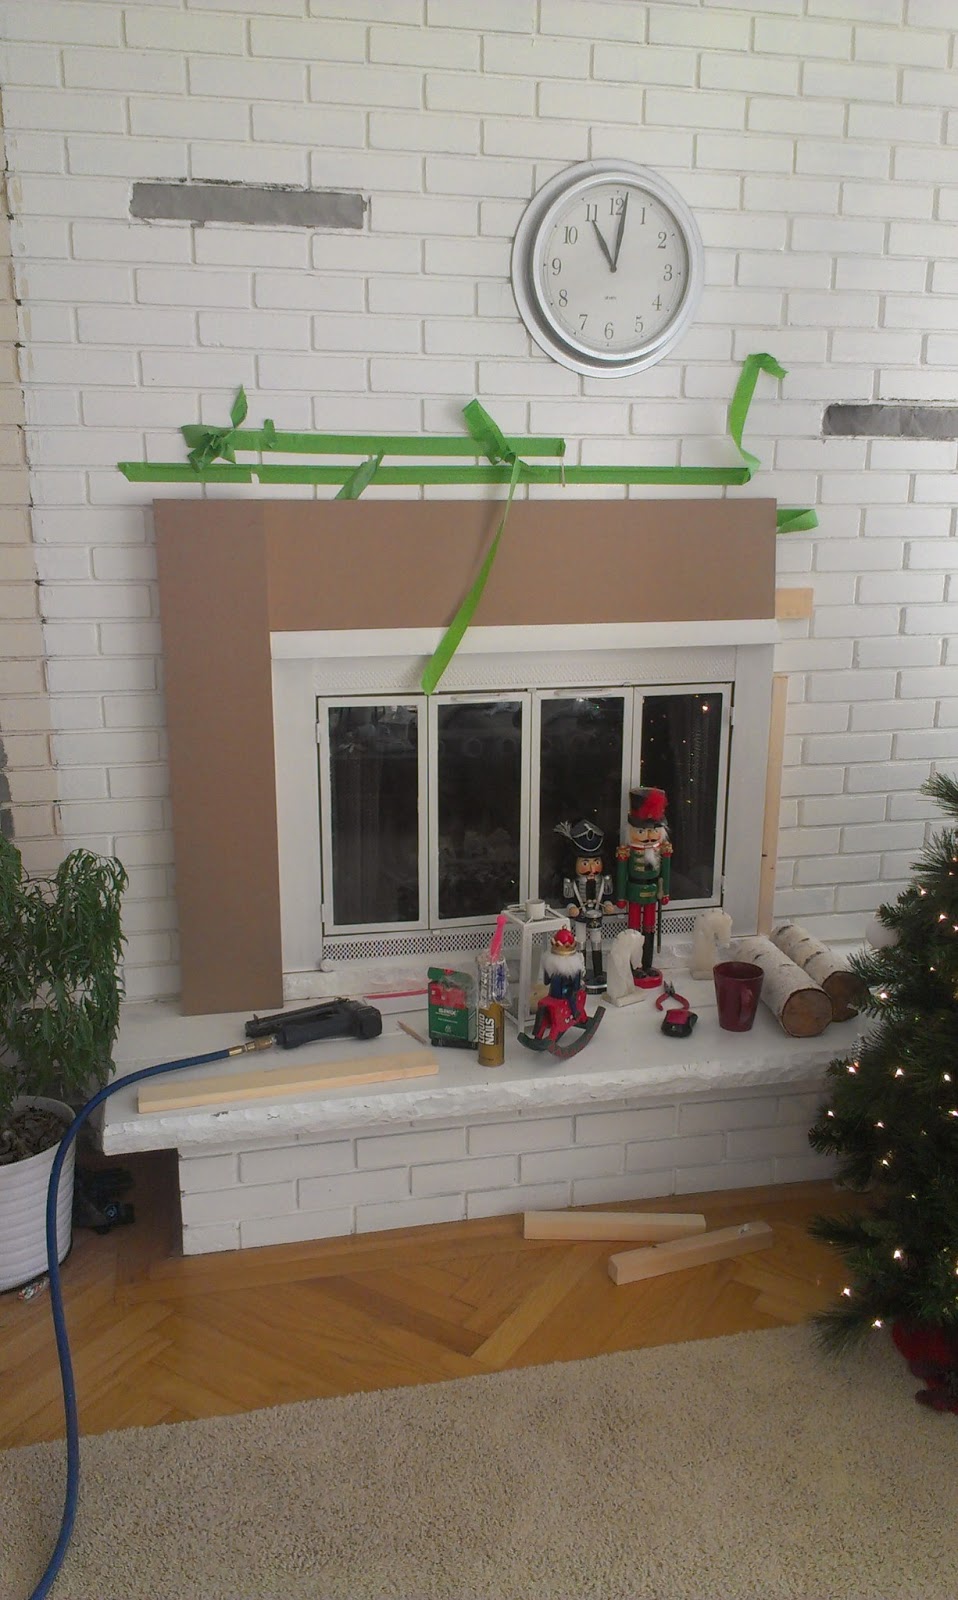
I started by looking for some inspiration.  I pinned many a pin.  I tore out magazine pages.  I scoured and studied as many tutorials as I could get my hands on.  I was on a mission, y’all.

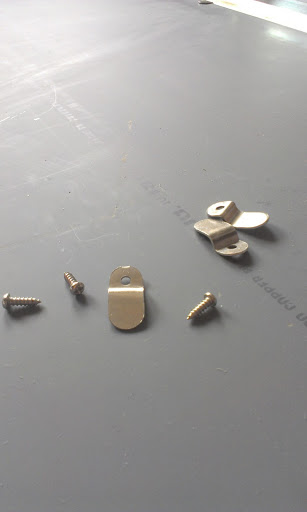
I was also on a mission to not spend ANY money out of pocket.  I knew I had a bunch of supplies and yes, it would be WAY harder to customize the mantel according to what I had on hand, but I knew it would feel good to know that I didn’t break the bank trying to make my vision materialize.

So I dove right in.

I like to think that my little team of nutcrackers were cheering me on.

Using my fancy, high-tech tape outline, I was able to gauge the maximum height that I wanted the finished product to be.  Sometimes I lose sight of the overall project dimensions and end up with craycray proportions.  I really didn’t want that to happen with what would probably be the focal point of the room.

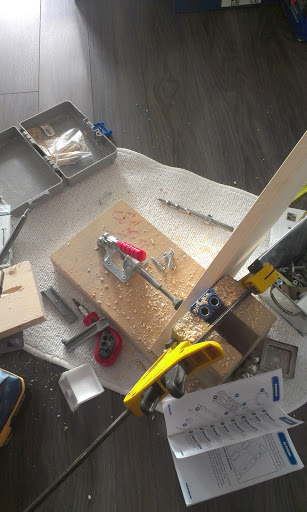
I started by adhering 2×2 pieces to the brick using a masonry adhesive.  They were going to act as my cleats and allow me to attach my mdf frame around the fireplace with my 18 gauge nail gun.

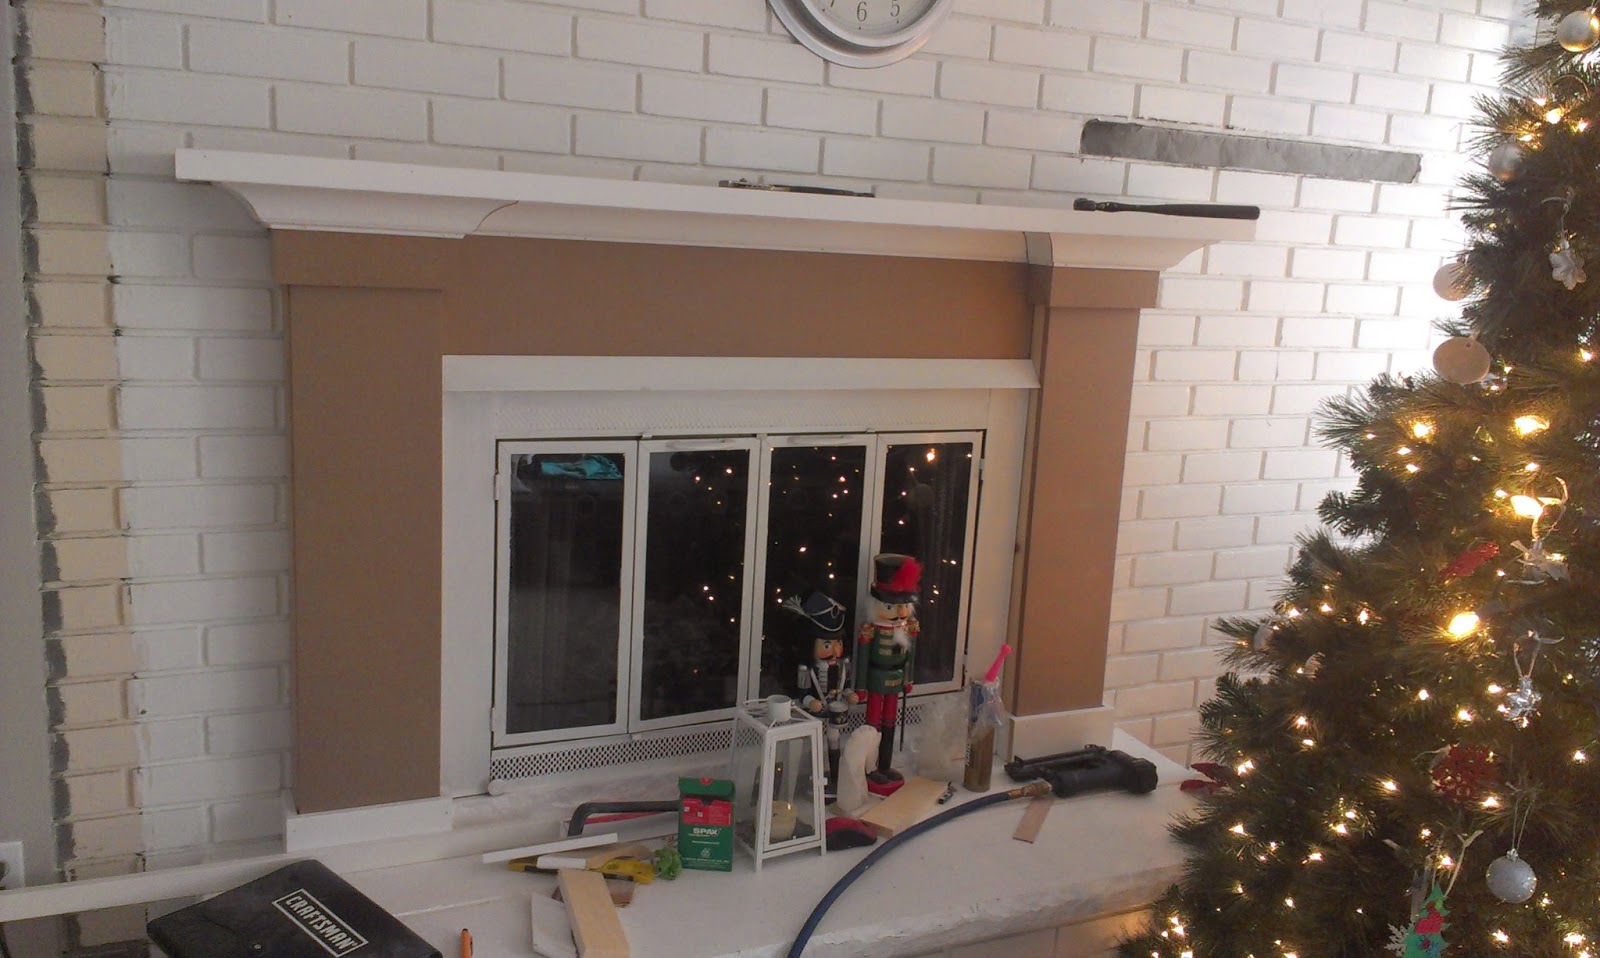
Then I had to cut the crown.

And the world went dark for a couple hours.

I could NOT, for the life of me, get this stupid crown to meet up properly.  I was reusing some crown that was used in our old bedroom before we tore the ceiling down and I went through a LOT of scrap.   I eventually got it to meet up close enough at the corners and just sanded  the bejeezus out of it.  It’s not terribly noticeable in person and if anyone walks up to it and points it out, I’m going to hand them a cookie and kick them out of my house.  You’ve been warned.

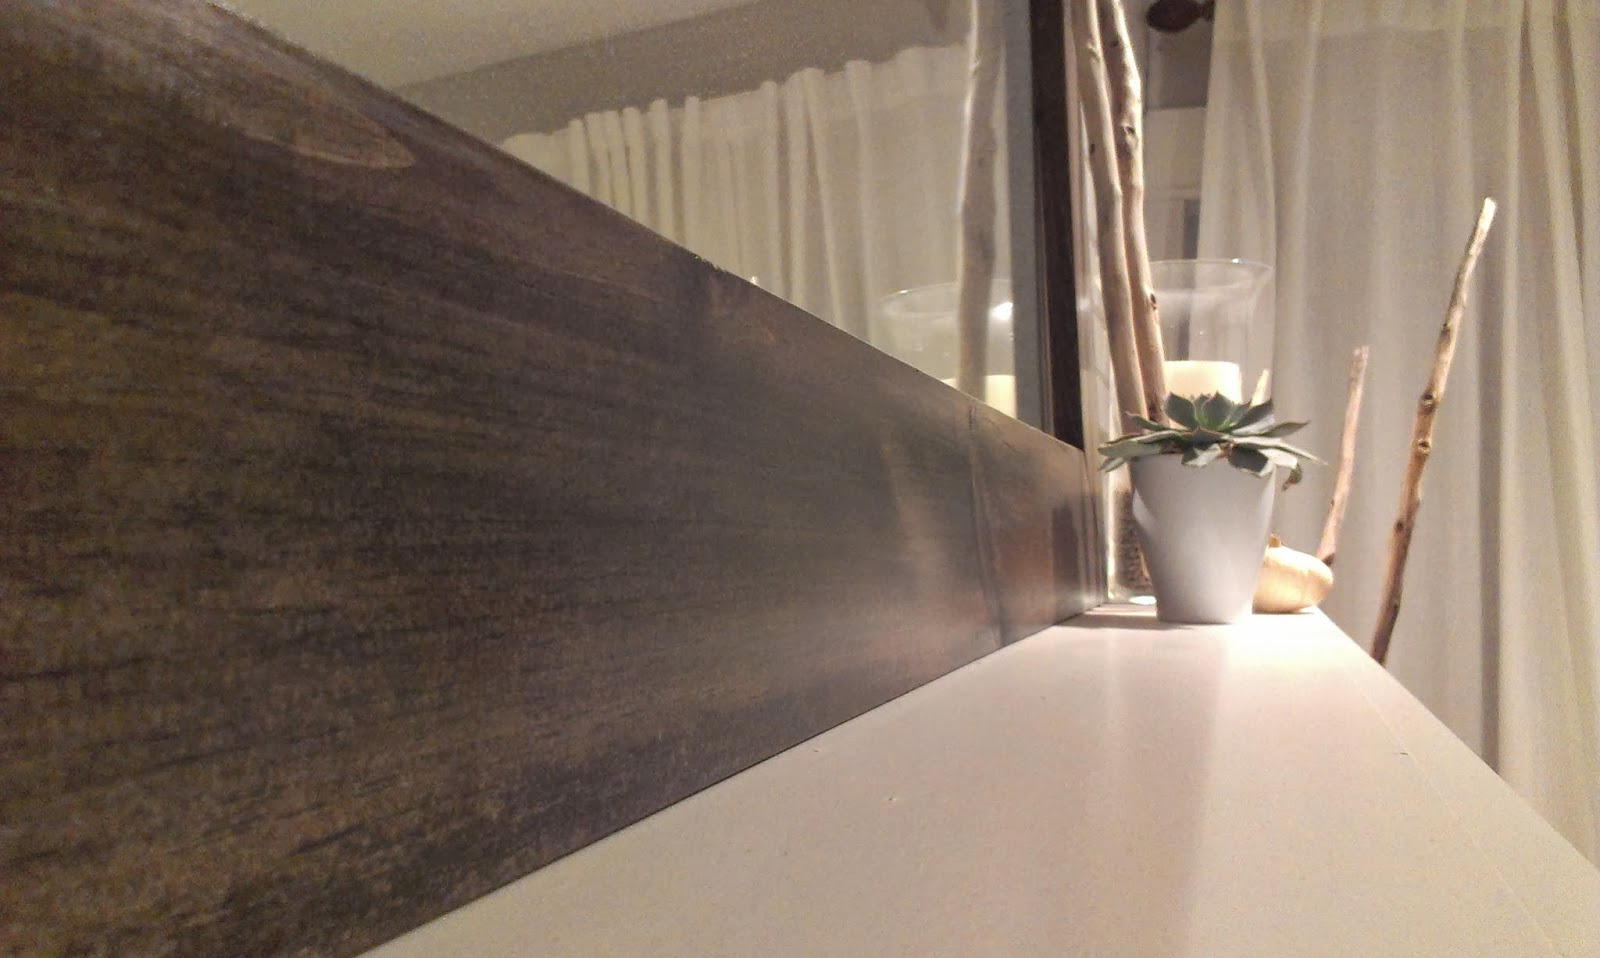
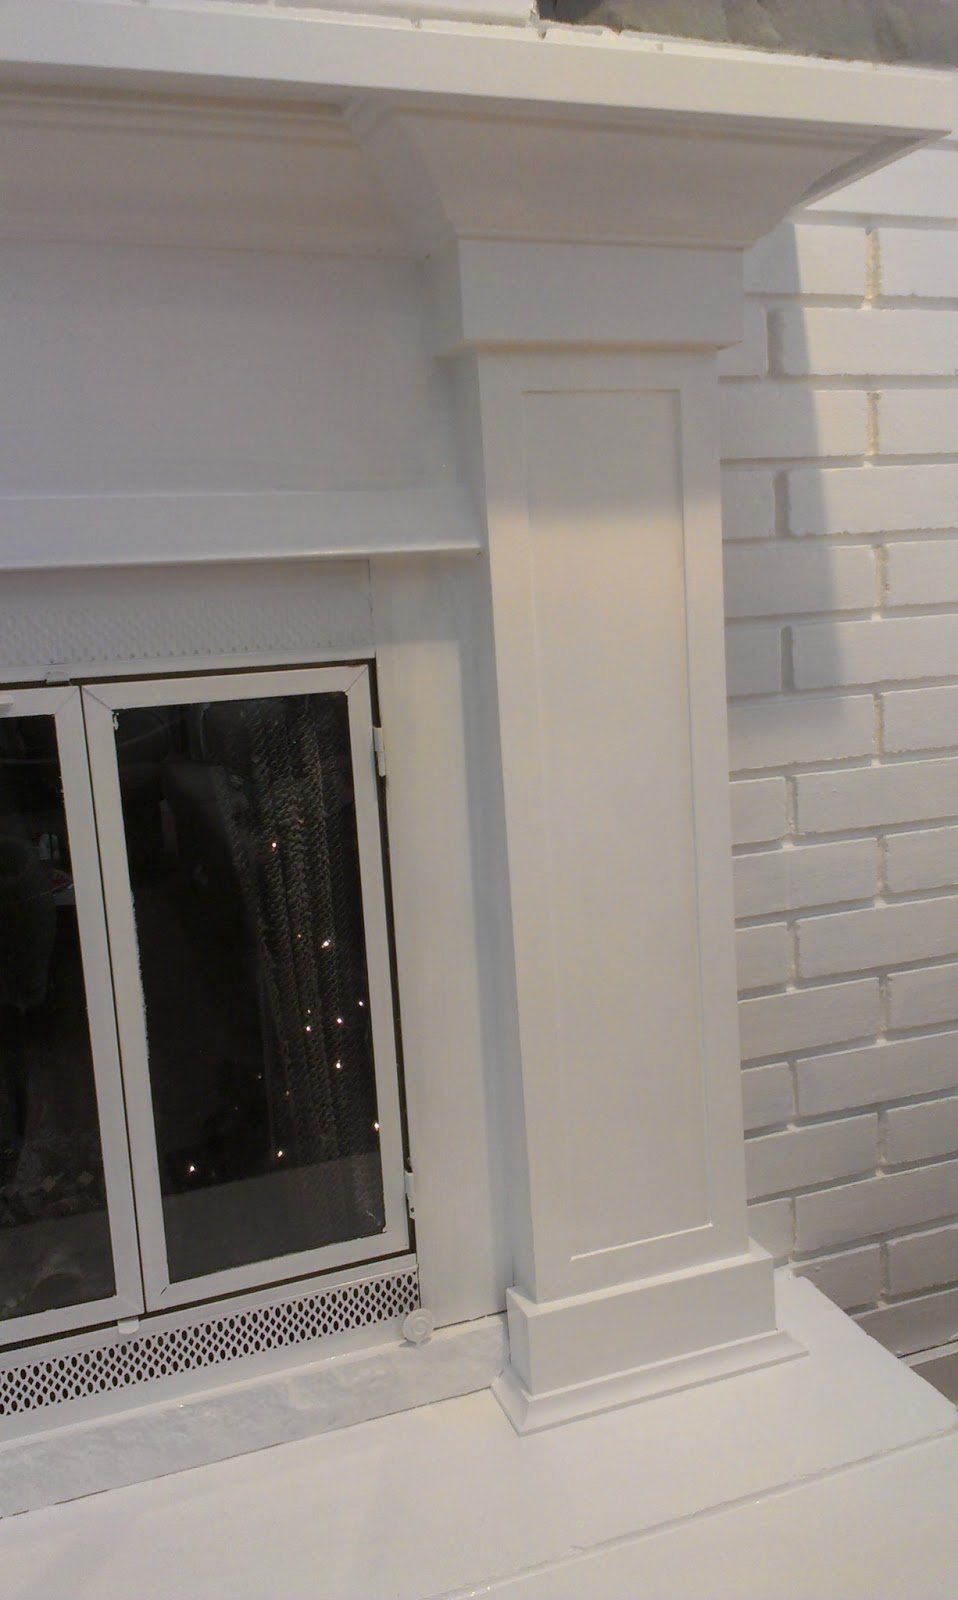
Once I got the frame worked out, it looked a little plain, so I found some mahogany shim scraps that the drywall guy used to square up the walls prior to boarding.  I mitered the corners and glued them on to the face.

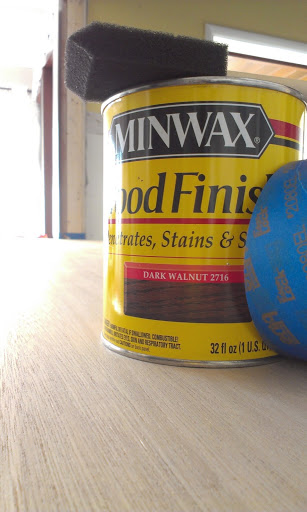
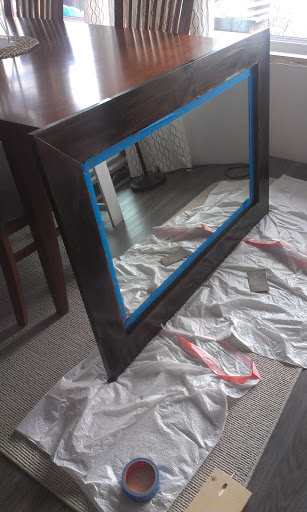
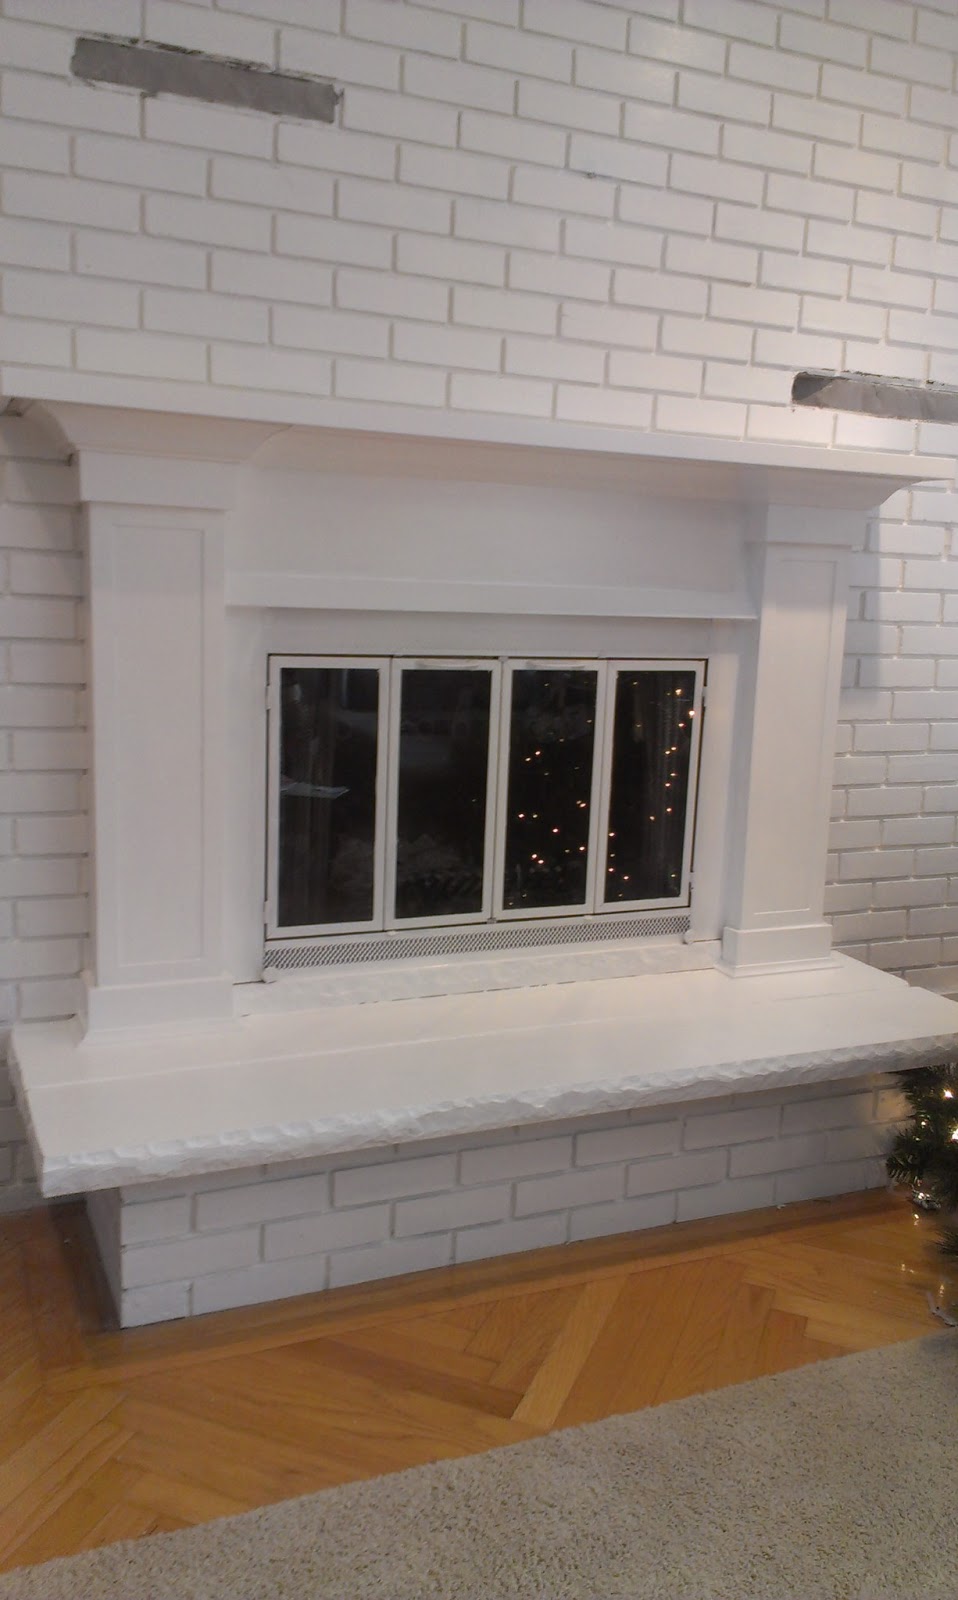
Then it was time to slap some paint up on this old new girl.

Pretty neato, if I do say so myself.  But there were some nagging issues:

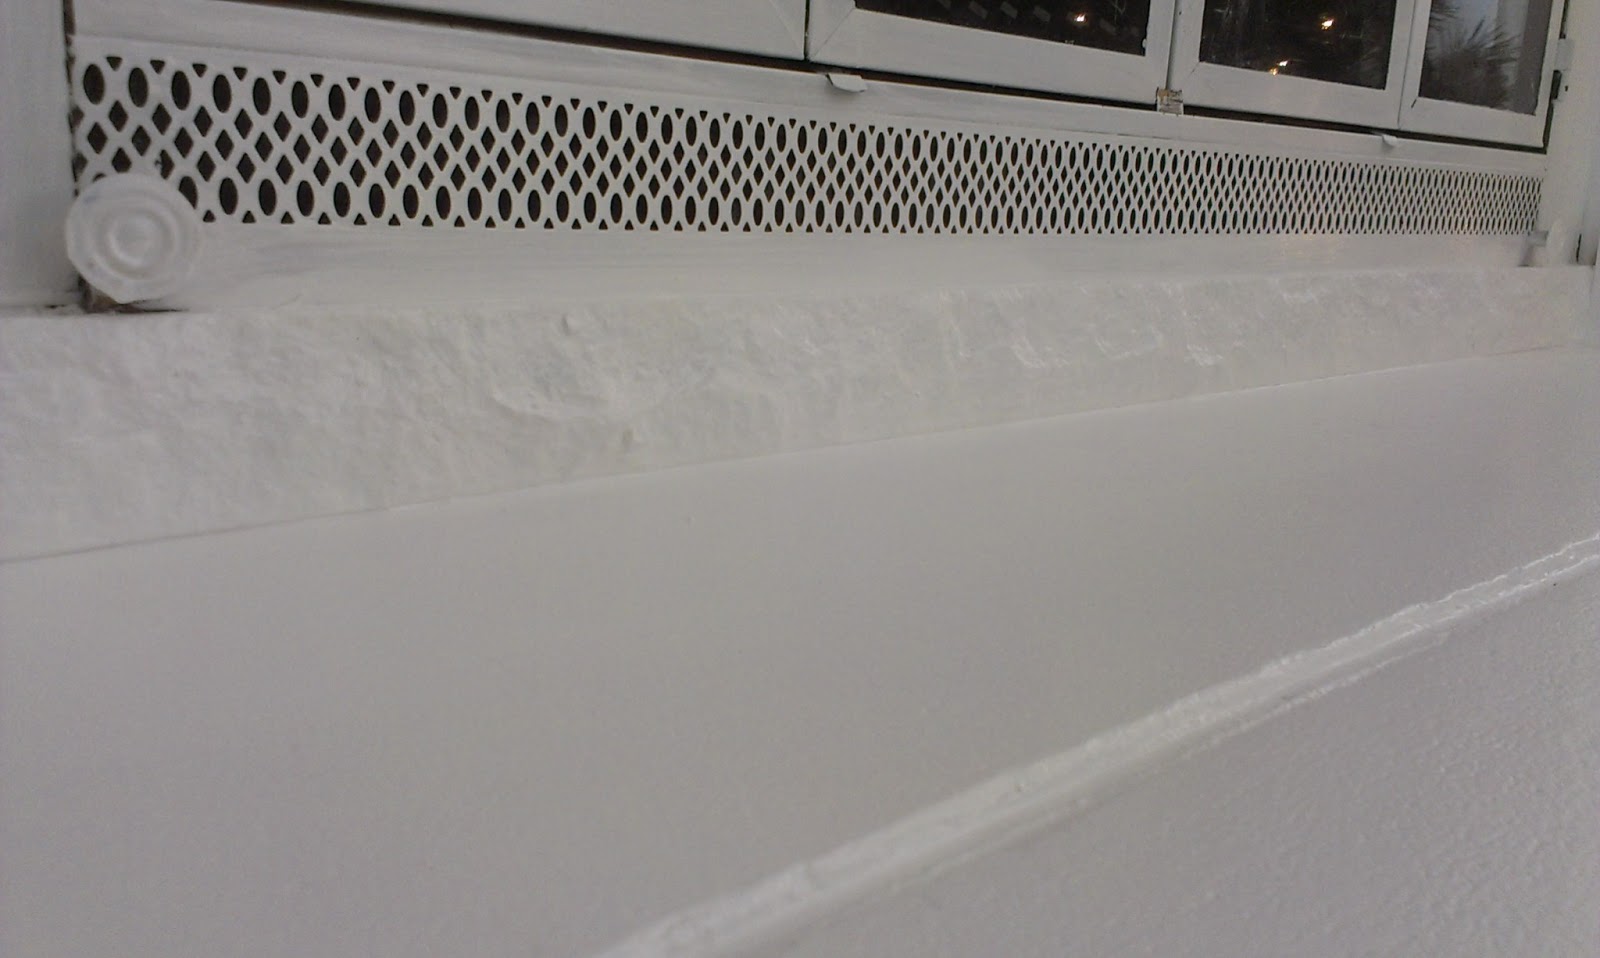
She needed to get the old Dap treatment.  Oh, the sins that are hidden in my home because of this stuff…

Check out the after:

Smooth as a baby’s bottom.  What’s that?  You don’t believe me and want a closer look?

Perfect-o.

One more look?  Two?

About a week after I finished, I was looking through some of the inspiration photos I had filed before I started and came across this:

I pretty much NAILED my inspiration photo and I wasn’t even using it as guide.  Crazy.

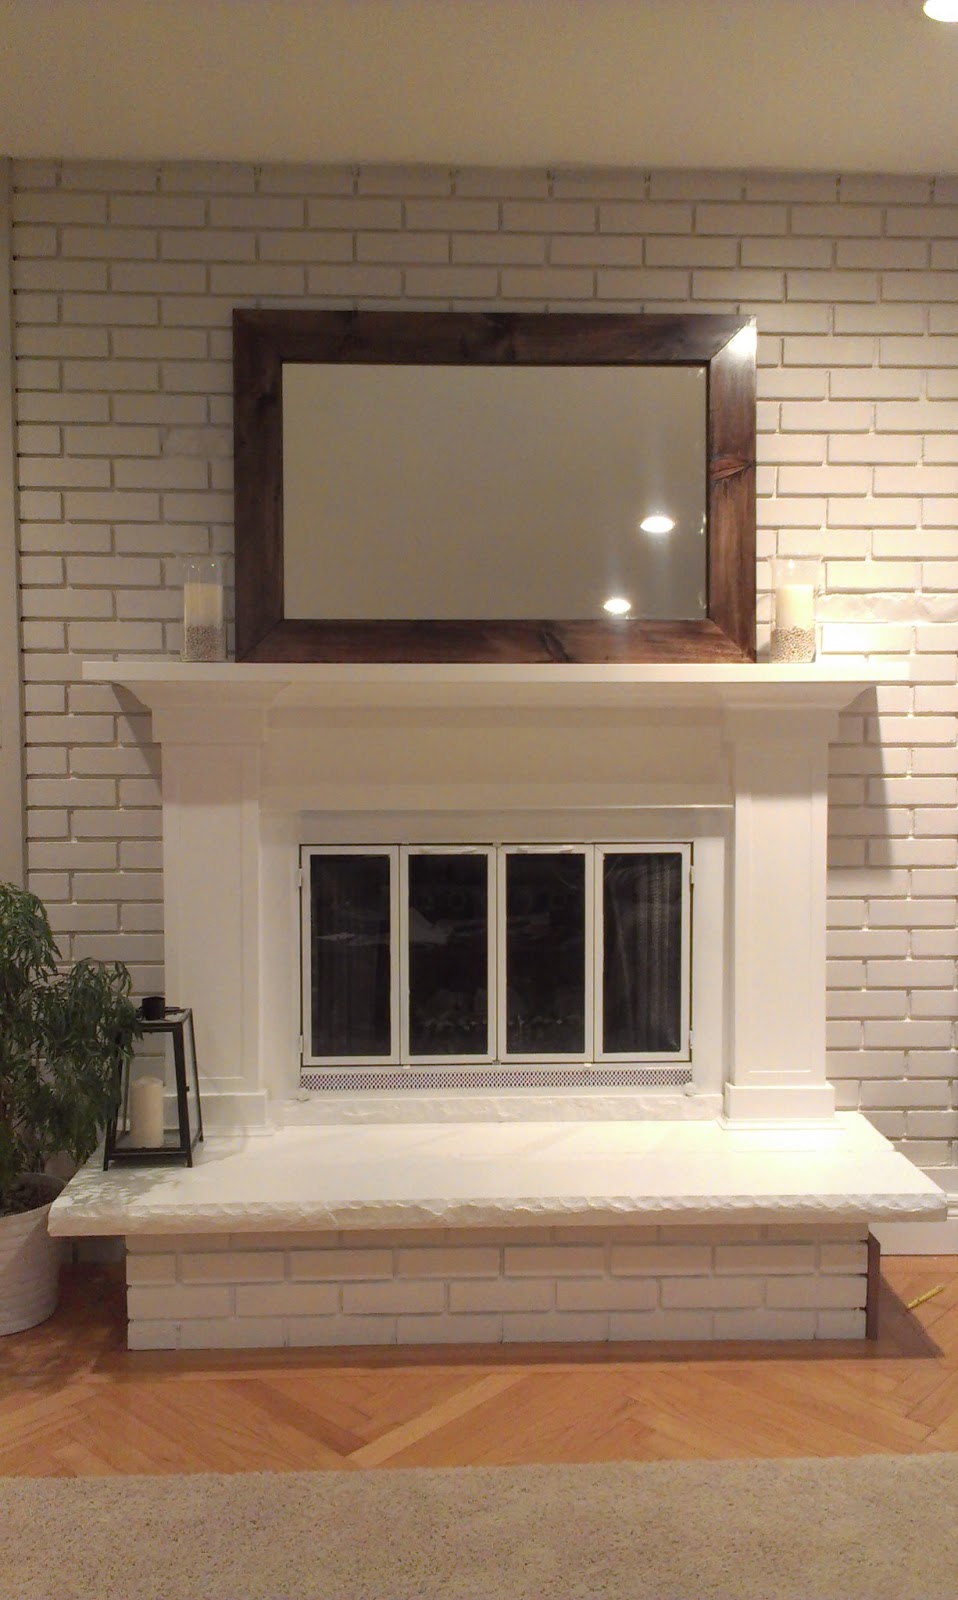
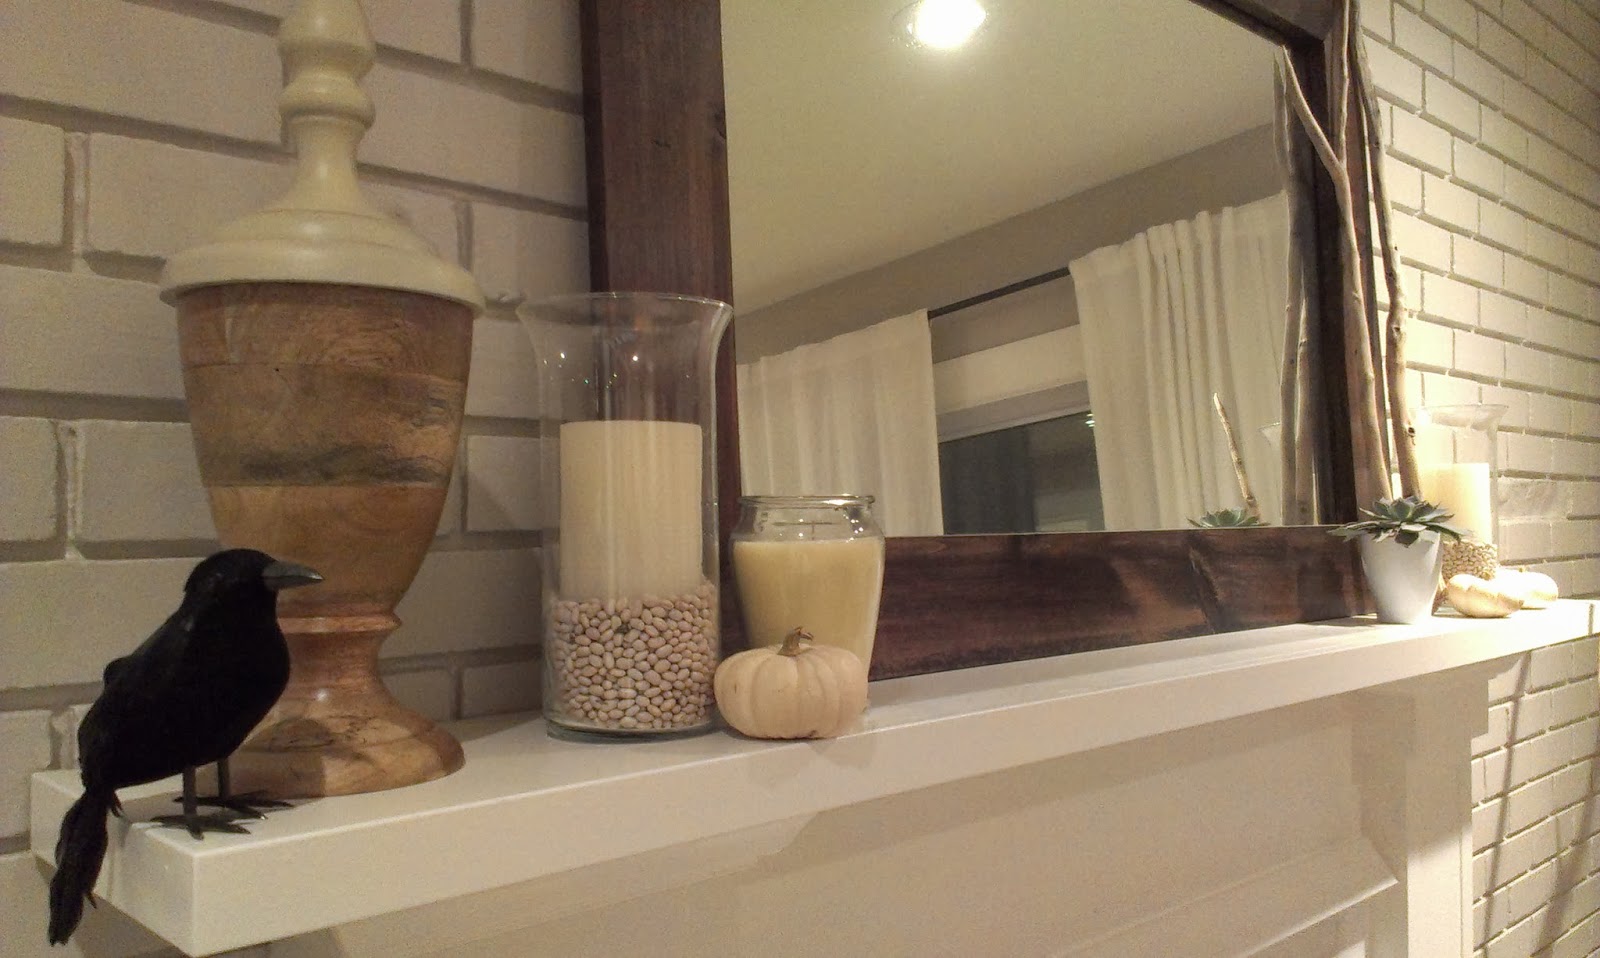
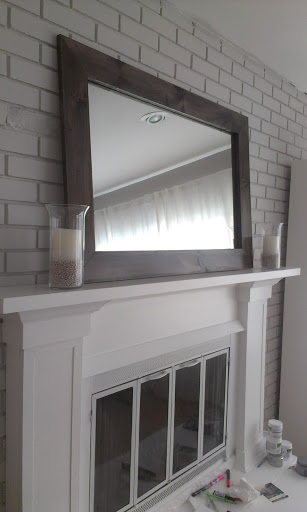
When all was said and done, the white mantel looked a little washed out against the white brick wall.

Stay tuned for my next post to see how I remedied that situation *and* managed to do some camouflaging with the old floating shelves.  Oh, the suspense!

I Can See Clearly Now, The Wall Is Gone. (Before & After)

Let’s get to some fun stuff, shall we?  Renovating the first floor involved ripping off our living room ceiling and installing a bajillion (okay, eight) recessed lights.

Having never lived anywhere that had recessed lighting, I LOVED the upgrade.  I couldn’t wait to get the ceiling drywalled and painted and install the trim kits for the lighting and and and….  But then our drywaller (is that a word?  Drywall technician?) said, “Yo, I ain’t drywallin’ this joint unless you tear down the walls and I get to drywall them, too.”  Okay, he didn’t say it exactly like that, but it was close.  And when he said that, I looked at him like this:

(via)

 Here’s the deal, when we rebuilt the ceiling/added the second floor joists, an almost two inch gap was left along the top edge of the wall.

This would mean that when we put the drywall up on the ceiling, we’d have no other choice than to add crown molding to the room to cover up the space where the wall and ceiling wouldn’t meet.  I wouldn’t say that I was opposed to it.  I love crown molding.  I hate installing the stuff, but I love it nonetheless.  In the end, we decided to just rip the damn drywall off the walls and get the entire room re-drywalled along with the ceiling.  It ended up being cheaper this way if you factor in the cost of a nice, chunky crown trim, the time it would take me to install the molding, as well as the added expense of placing me into a mental institution because oh my God why can’t I ever get those stupid angles right with crown molding???!!!!

Ahem.  Excuse me.

So, down with oppression!  Down with the existing drywall!

A strange thing happened when we tore the drywall down.  I could see the new staircase!  And I didn’t want to cover it back up!  You can’t make me!  This my house!

We I opted to leave that wall open because I had visions of little feet padding down the stairs on Christmas morning, getting a glimpse of their gifts under the tree.  I was gonna yank out those 2x4s by the stairs and I thought a pretty railing would be the cat’s meow and that it would bring a little more interest to that side of the room.

Then the inspector shot my ideas down like Paula Abdul’s cold-hearted snake.  Apparently he was all concerned with the “structural integrity” of my house.  He told me I couldn’t cut out the studs.  And I looked at him like this:

Psht.  What does he know?

Turns out, a lot.

The second floor’s support beam rests on those very 2x4s.  So, taking them out means I could be seriously compromising our casa.  I was torn.  I knew I wanted to keep it open and fresh and bright, but I had those stupid studs to contend with.  The inspector suggested that I install another, stronger support beam to run across the top of the ceiling in place of the studs.  But by that time, we had already started installing the drywall on the ceiling.  And that would mean ripping down the ceiling, drawing up an addendum to submit to the town for structural approval, paying more $$$ to get a support beam, scheduling the change with the builder……

I said fo-get it.

I told the drywall guy to drywall around the studs.

Oh, yes.  I did.  And he looked at me like this:

And then he hooked a sister up.

And then it sat like this.  F O R E V E R.  I didn’t know what I was going to do or how I was going to figure this hot mess out.

And then I started playing around with some boards and came up with this:

Figuring out those 40-degree angles just about killed me, man.

Living Room Staircase

And this is how it looks today.  I still have to figure out how to get it to pass code.  Town building code requires that the spacings be no more than four inches in width.  It’s that whole baby-head rule.  If you follow me on Pinterest, you’ll notice that I’ve been pinning a bunch of staircases to glean some ideas.  I think I have it figured out, so you’ll just have to stay tuned to see what I do.

So, just to recap, this is what I started with:

And this is where I ended up:
Living Room Staircase

Pretty big difference, huh?

TDC Before and After

Raise Da Roof

You.  Go.  Girl.  Raise it!

Back to the living room ceiling.  Remember when I showed you that the living room was annihilated in the span of an afternoon? He’s how it went down, ummm….off.  First, the builder’s crew carefully and gingerly peeled back the awesomesauce acoustic tiles on the extended ceiling.

He knew I was taking his picture, but I never said nuttin’ ’bout no blog.
So, in the interest of privacy, he gets the black bar.
And  just so we’re clear, he *does* have a right arm/hand.
Eventually, we were left with this framed out spaceship.  The house was insulated with a funky, metallic paper, which I think acted as a sort of vapor barrier?  I don’t know what the deal was with that.  

Hole. In. Mah. Roof.
And then the builder went from ‘careful’ to ‘just rip that shit down, already’.

And then we FREAKED THE HELL OUT BECAUSE OH MY GOD OUR INSULATION HAS ASBESTOS IN IT!!!

Except, upon further research, it didn’t.  So, I called off the asbestos-freak-out-party and told the builder to just keep on truckin’.  Which, interestingly enough, he was already doing.

Now, let me just tell you, it is downright unsettling to have giant, gaping, holes in your house.  And it’s especially nerve-wracking when said holes occur directly above your face.  In your bedroom.

It’s like a tiny slice of heaven shining down on us.
Except it’s not.

All I could think about was the plethora of woodland creatures that were going to climb in and snuggle up with us in bed.  And by ‘snuggle’ I mean bite us when we wouldn’t share the pillow.  It would happen and you know it.

With all of the demolition, I was really hoping we’d find something cool and valuable.  Or a massive wad of cash wrapped in a rubberband hidden in the walls.  The only thing I found was an old tobacco can.

*NOT* filled with a wad of cash.

Le sigh.

Tomorrow, I’ll talk a little bit about how to keep kids safe in completely unsafe surroundings.  HINT: It involves a chair and some duct tape.   A lot of it.  Plus, I’ve got Elephant Buffet’s first ‘before and after’ project to toss your way!  Can’t wait to share it!