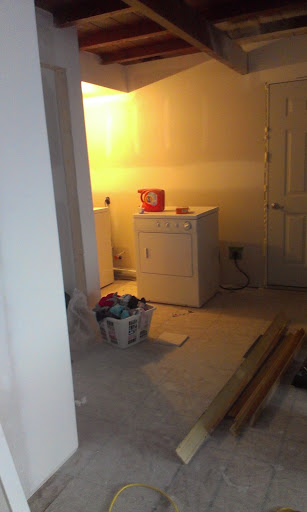
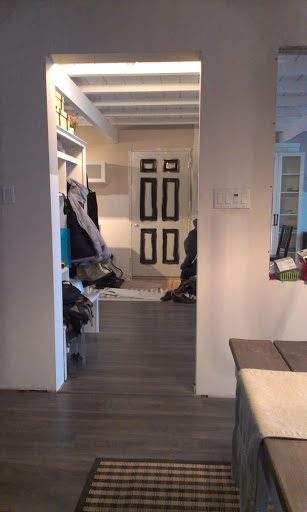
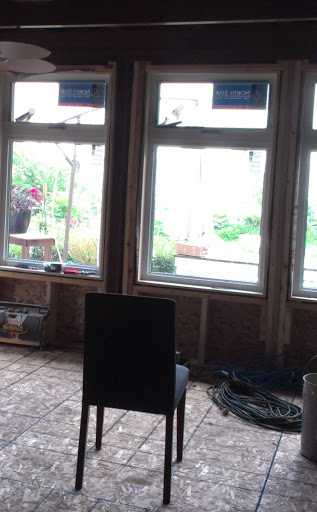
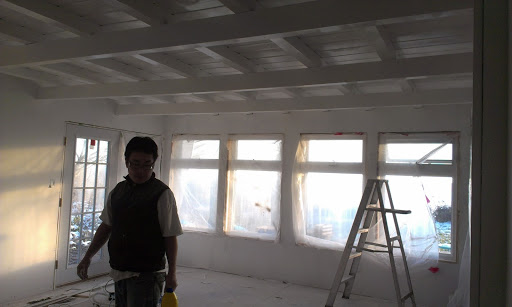
The laundry room/mudroom is far from done, but I think I’m on the right track. Let’s take a minute to show you what I started with:
I know, I know. You’re overcome with feelings of jealous rage, right? I can’t say that I blame you. Who *doesn’t* want a dimly lit, uninspiring place to do their laundry?
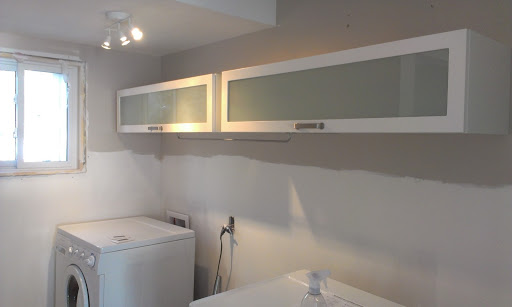
First things first, I needed to paint, install a couple wall cabinets, and ask John ever-so-nicely to hang a more practical light fixture.
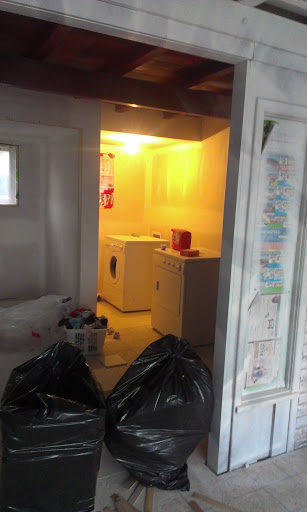
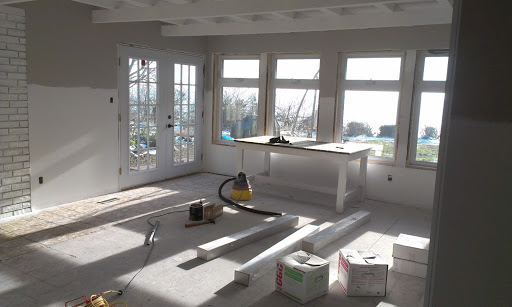
Getting better.
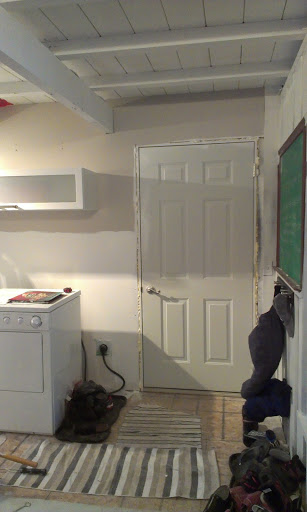
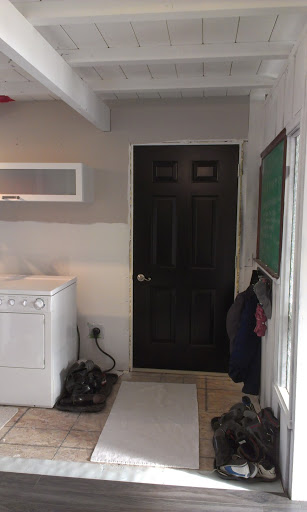
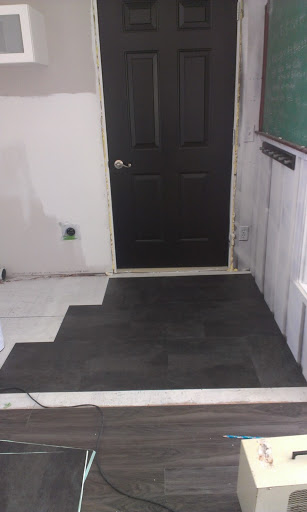
I’ve been seeing black interior doors everywhere lately and thought it might add some much-needed contrast to the room. Here’s the ‘before’ of the back door leading to the garage.
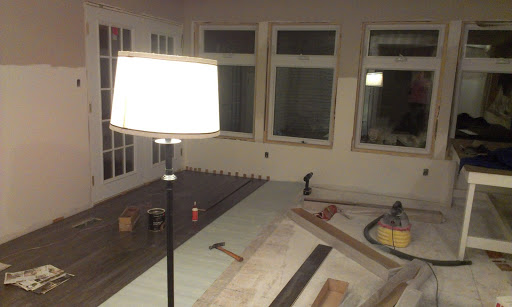
During:
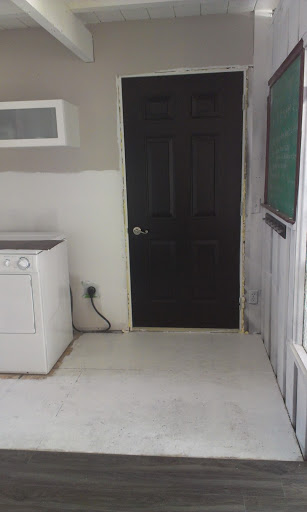
After painting:
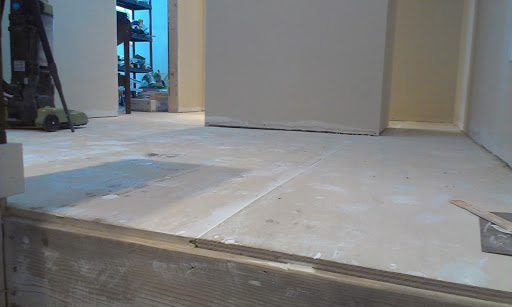
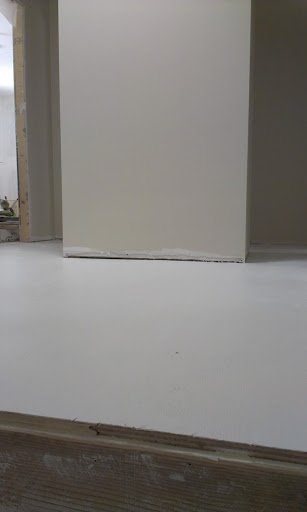
Next, it was time to address that dang ol’ OSB floor. For those of you not familiar, OSB stands for oriented strand board. It’s basically a process by which various strands or flakes of boards are glued together and kiln-dried. It results in an affordable and strong product that is most commonly used as flooring, walls and in the construction of roofs. It might be strong, but it sure ain’t pretty. Time to cover it up.
I toyed with the idea of running the flooring that I was using in the rest of the house right up to the door, but I changed my mind at the last minute when I thought of the amount of snow that we bring in through that door during the winter. That spot gets soaked. In the spring, summer and fall when I’m working on the landscaping I track in so much mud it’s almost scary. Plus, I wanted to do it quickly and most importantly, on the cheap. I decided to keep costs crazy low and go with a vinyl floor tile. I’m planning on putting in a stone tile for that area in the future, but for now, I just needed something (anything!) other than that OSB.
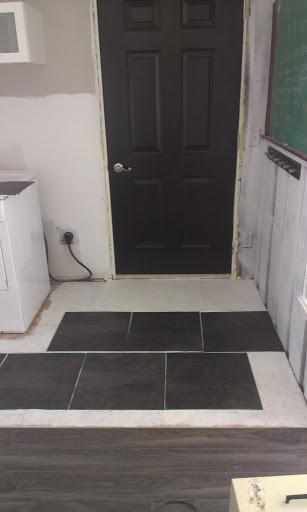
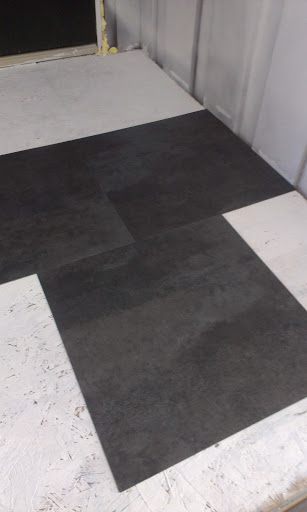
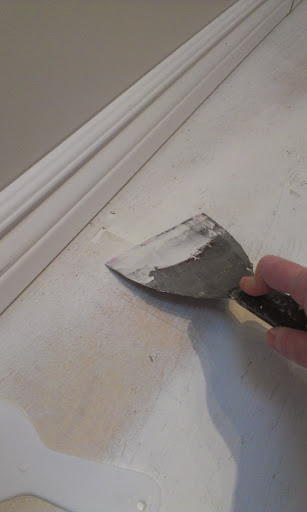
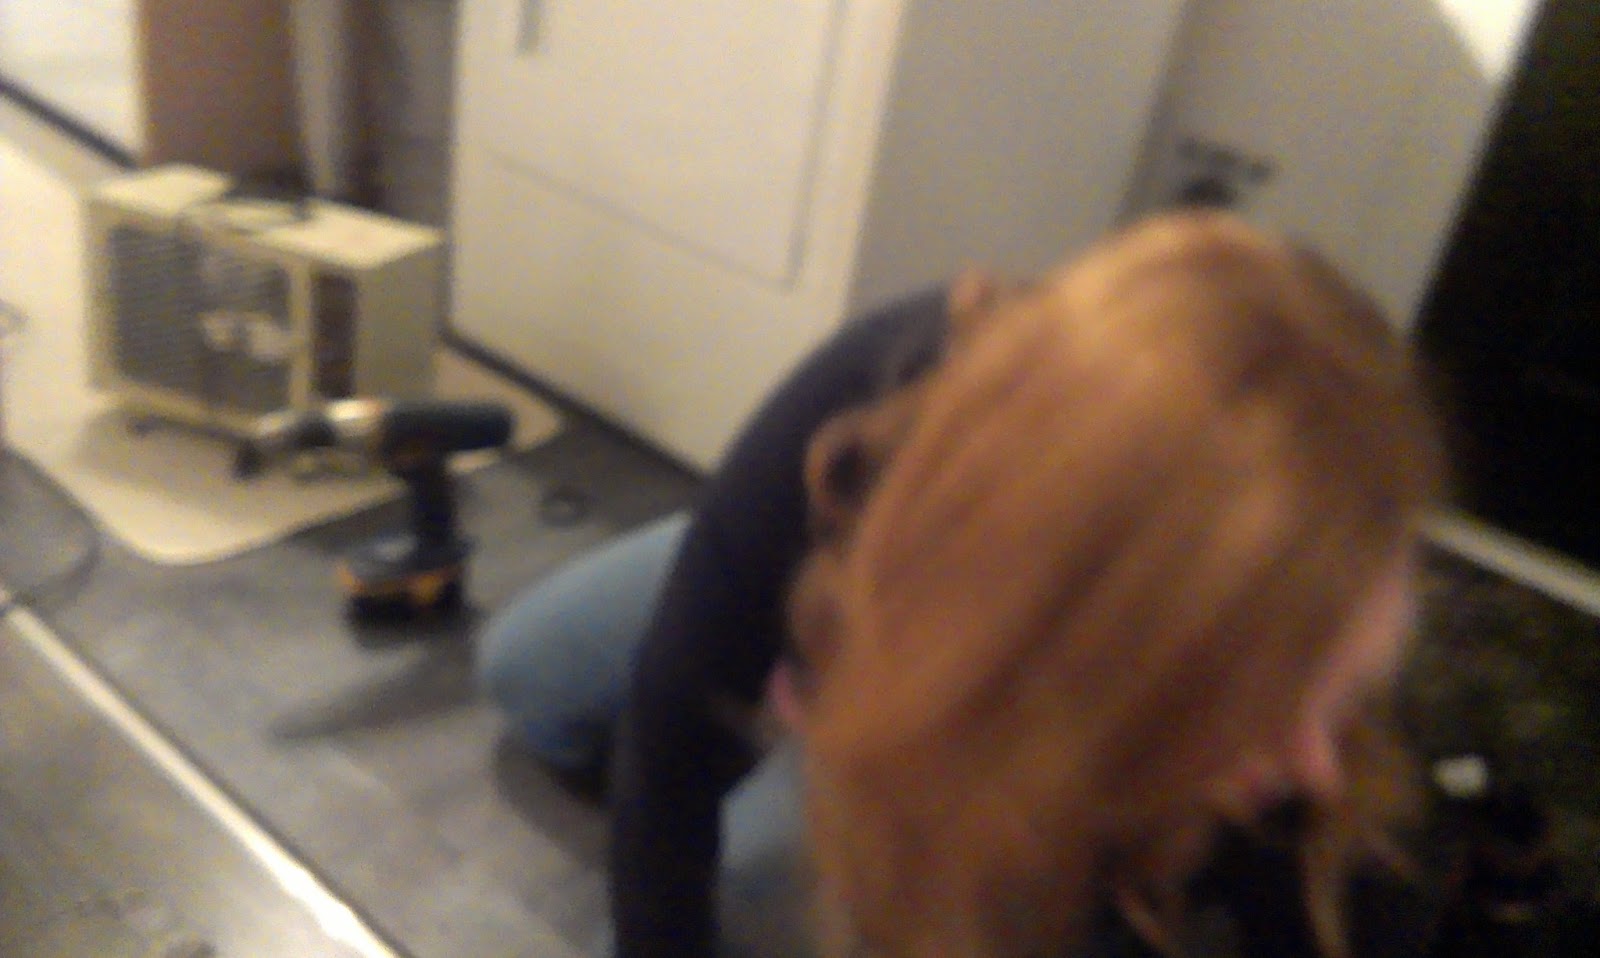
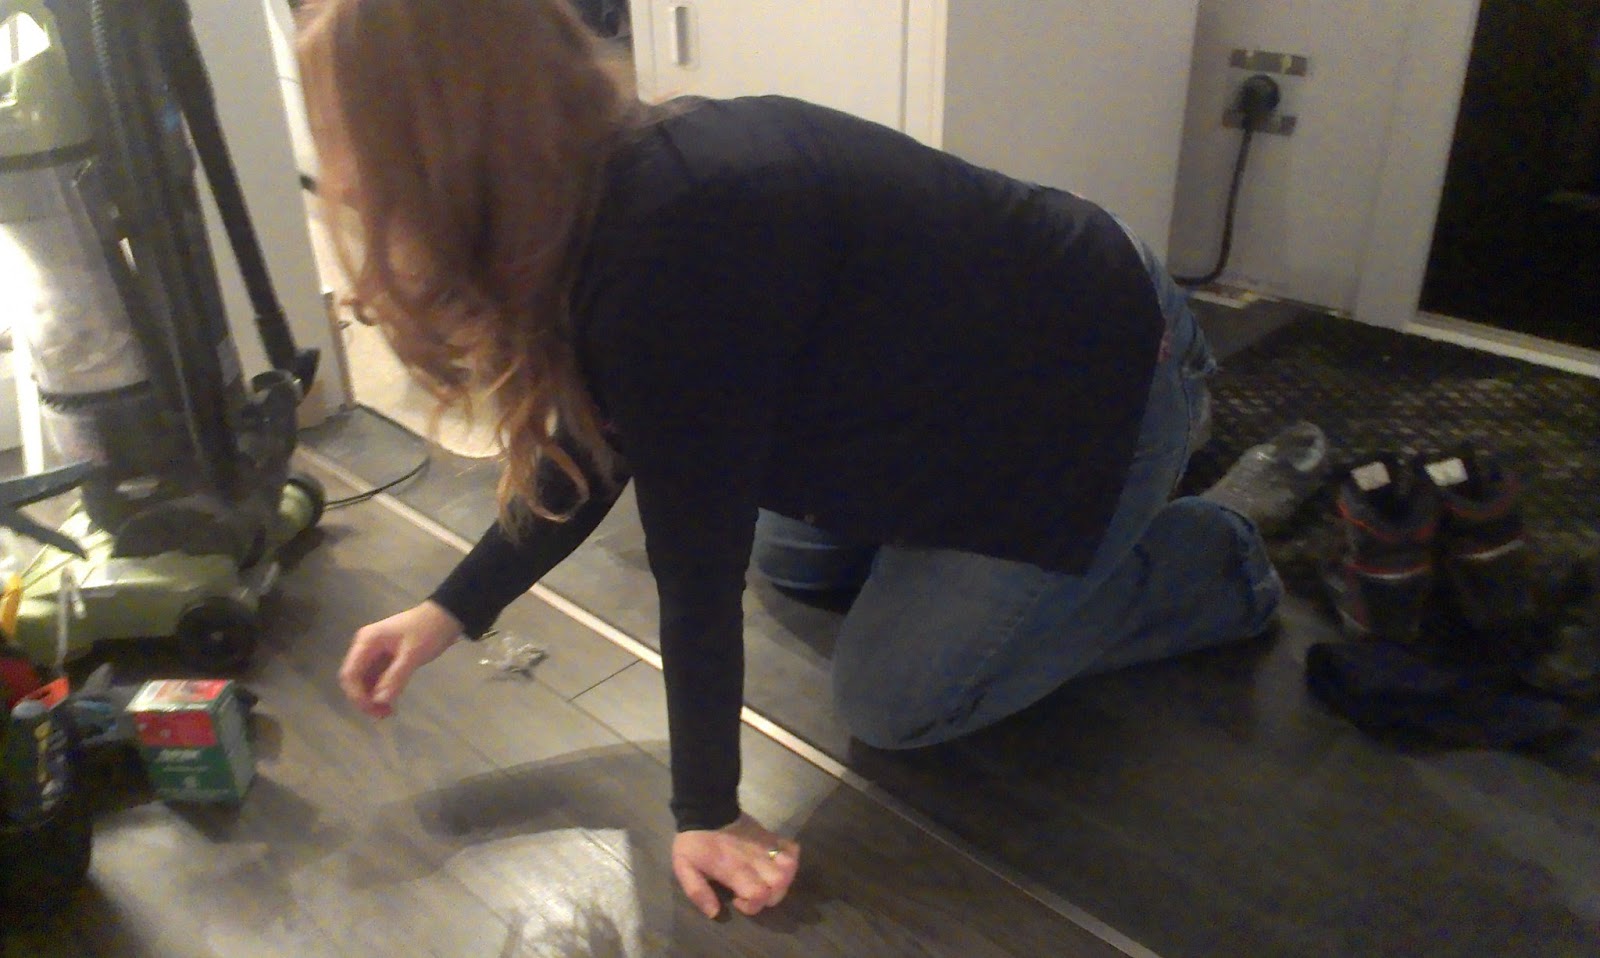
I found a nice 18×18 concrete-look tile at Lowes and started the process. The first step was to prime or seal the floor.
Done. The next step was to let it cure. Really? Oh, come onnnnnnnnn. I don’t have all day for this! The floor there is unimaginably cold. I set up a little space heater to help the process along and after an hour or so, started laying tiles. As a word of warning, I would advise AGAINST doing it the way I did. The primer/sealer definitely needs adequate time to cure on a room-temperature floor.
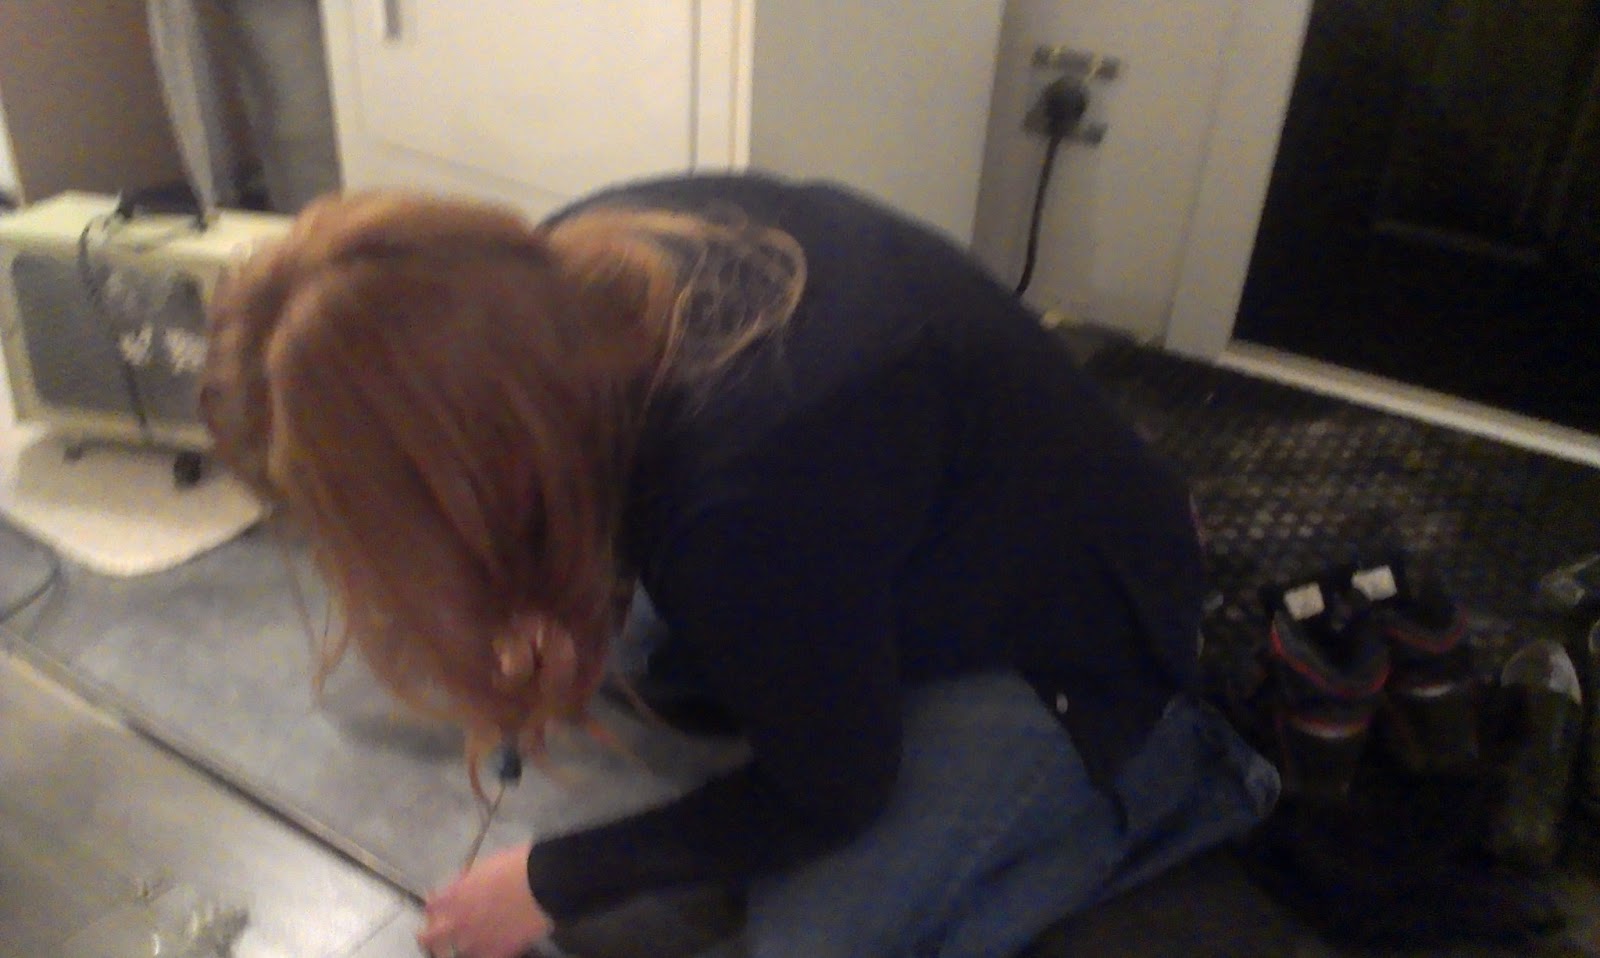
I laid out my tiles to see where I wanted the seams to end up. I knew that I wanted them to overlap the subfloor’s seams, so I started there and worked my way out in an offset pattern.
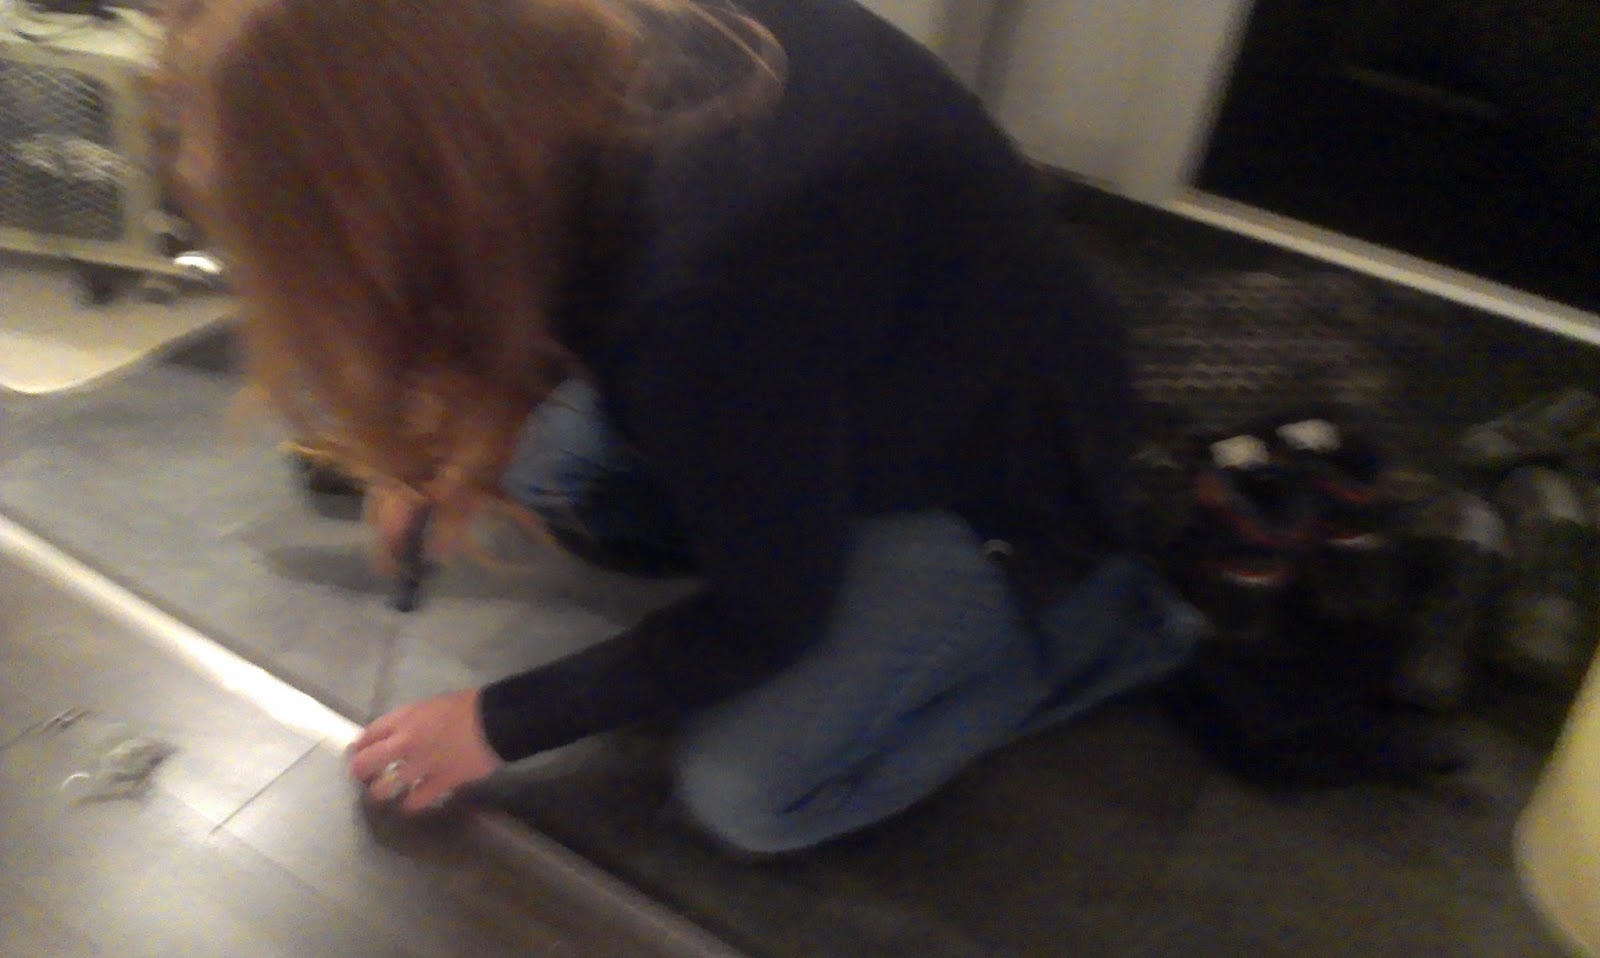
Once I was satisfied with the layout, I started peeling and sticking.
After every tile, I did a little bow-legged dance to really press it down and secure it to the floor. The instructions said to use a 100lb roller and since I’m just a smidge over 100 pounds (shut it) I figured sliding around on it would do the trick just as well.
After a few minutes (literally) I had this little section finished:
This was one of those super-fast projects that offered immediate gratification and I honestly think I need that once in a while. It can be a real challenge to stay excited about the billions of other projects that I have to do all over this house and having a quick one to get out of the way totally helps.
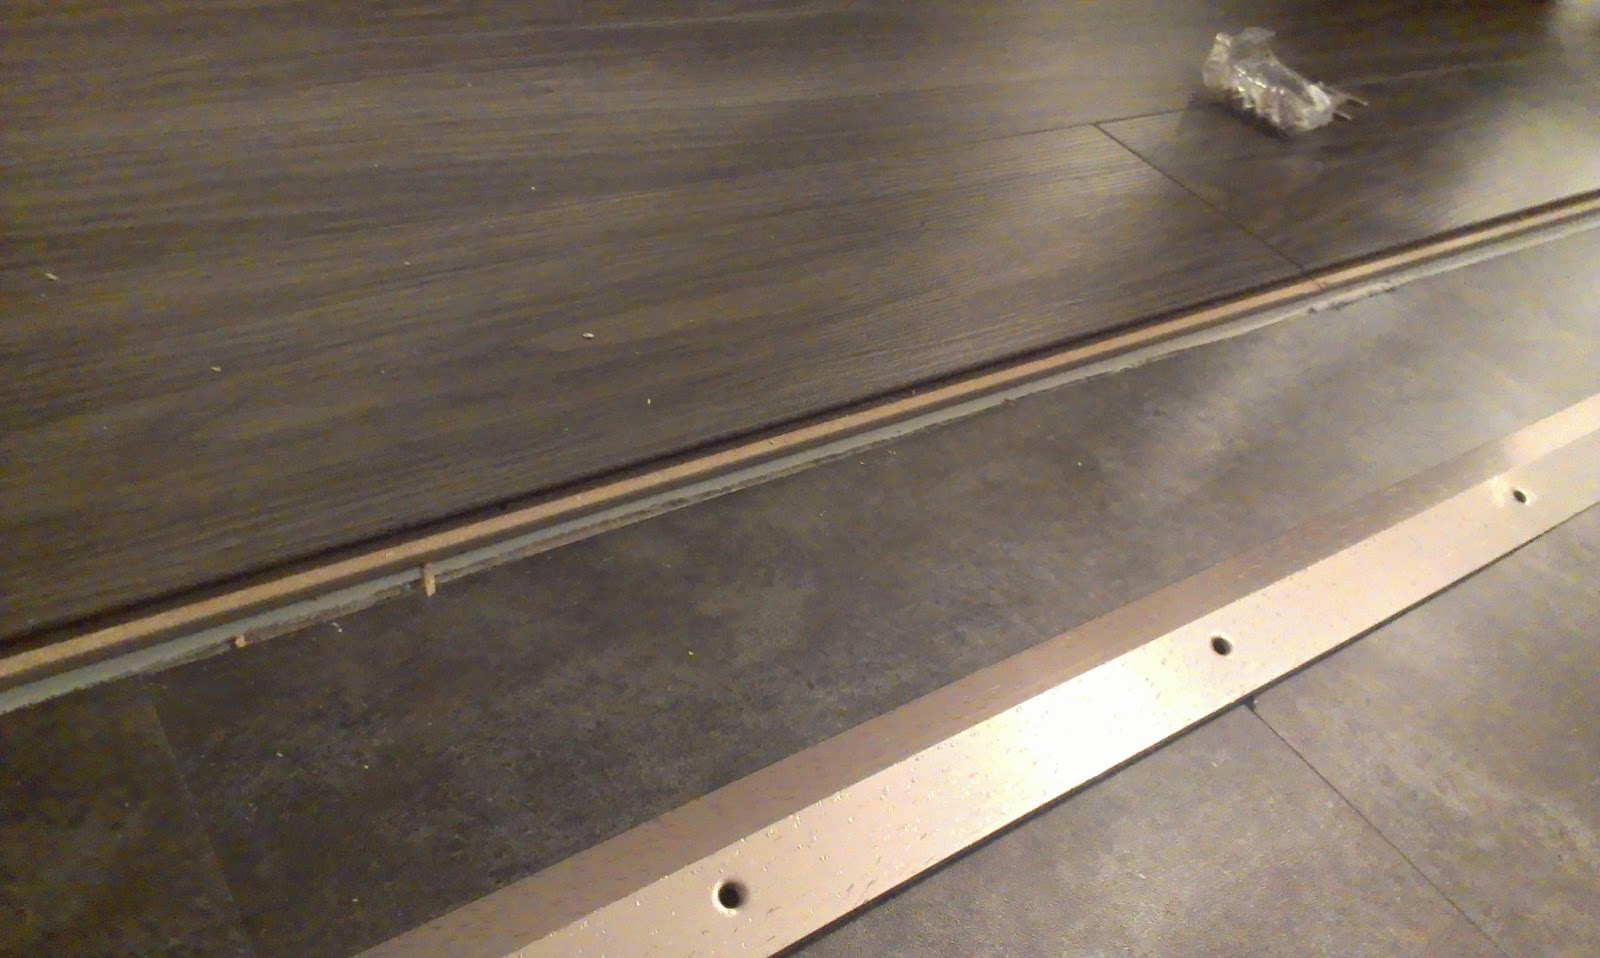
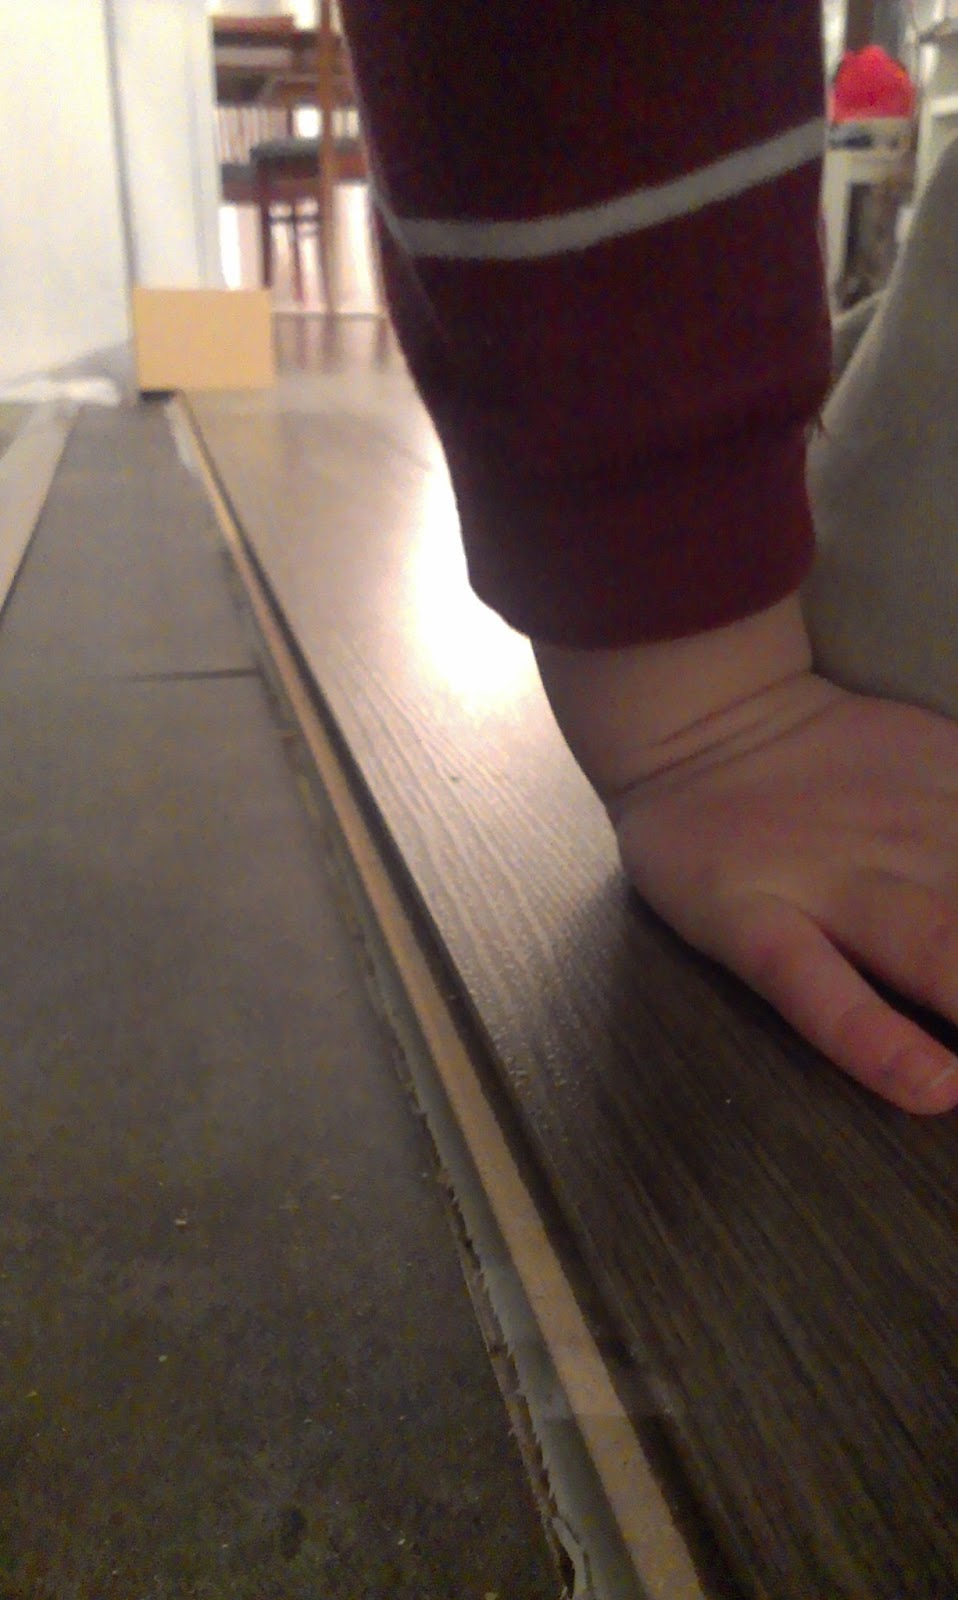
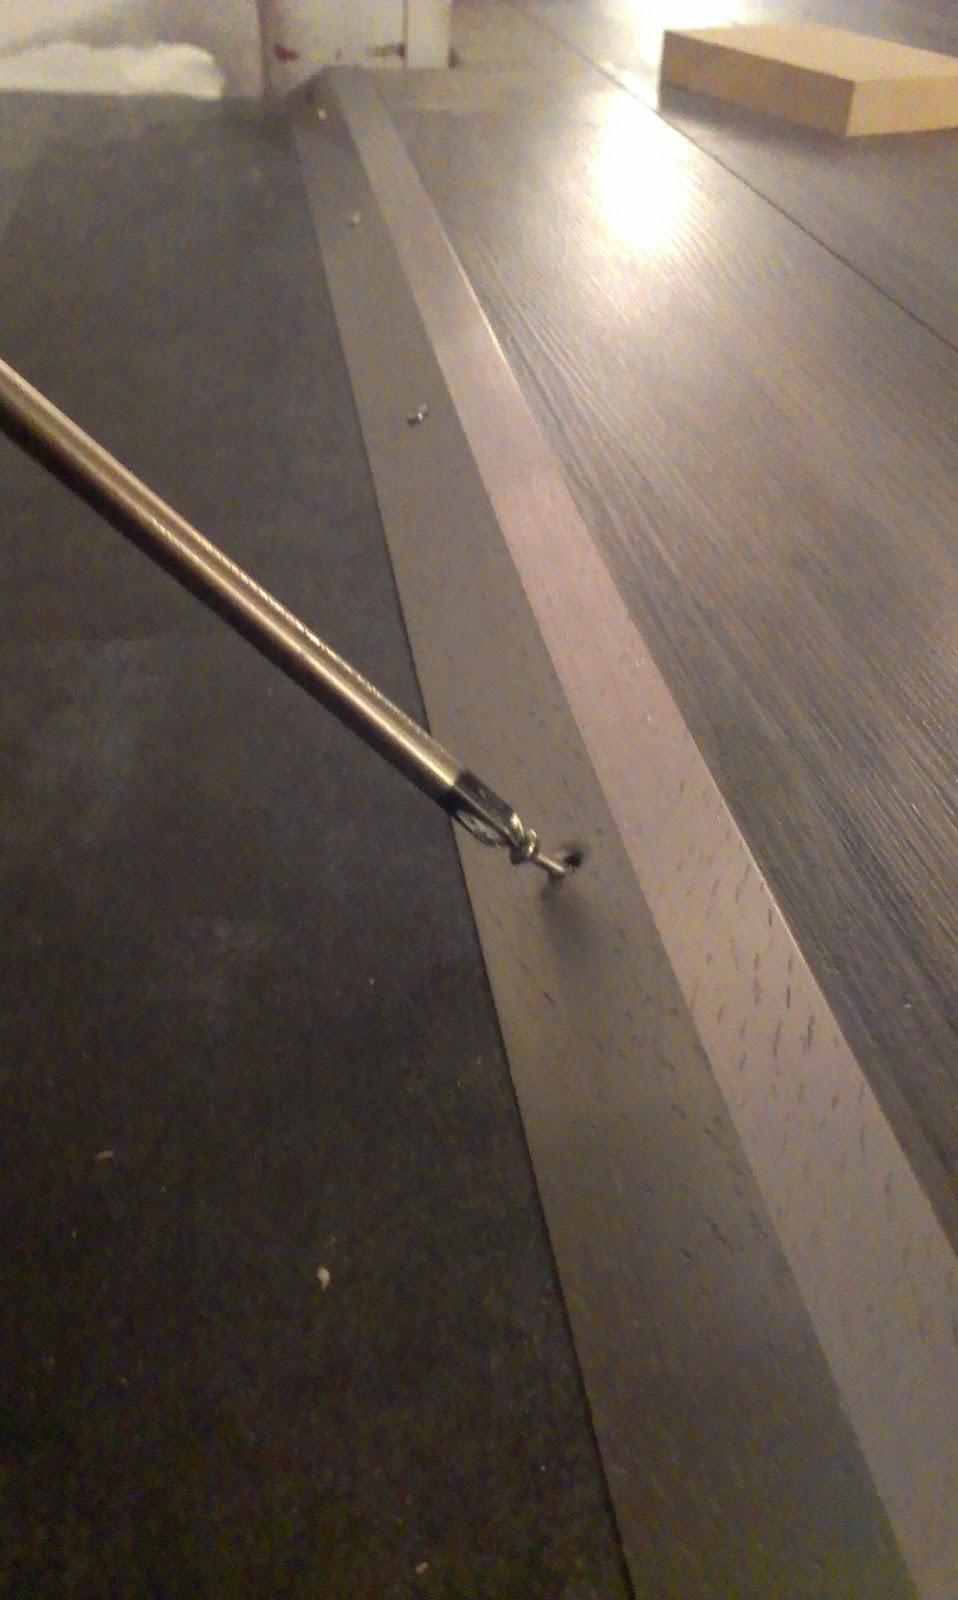
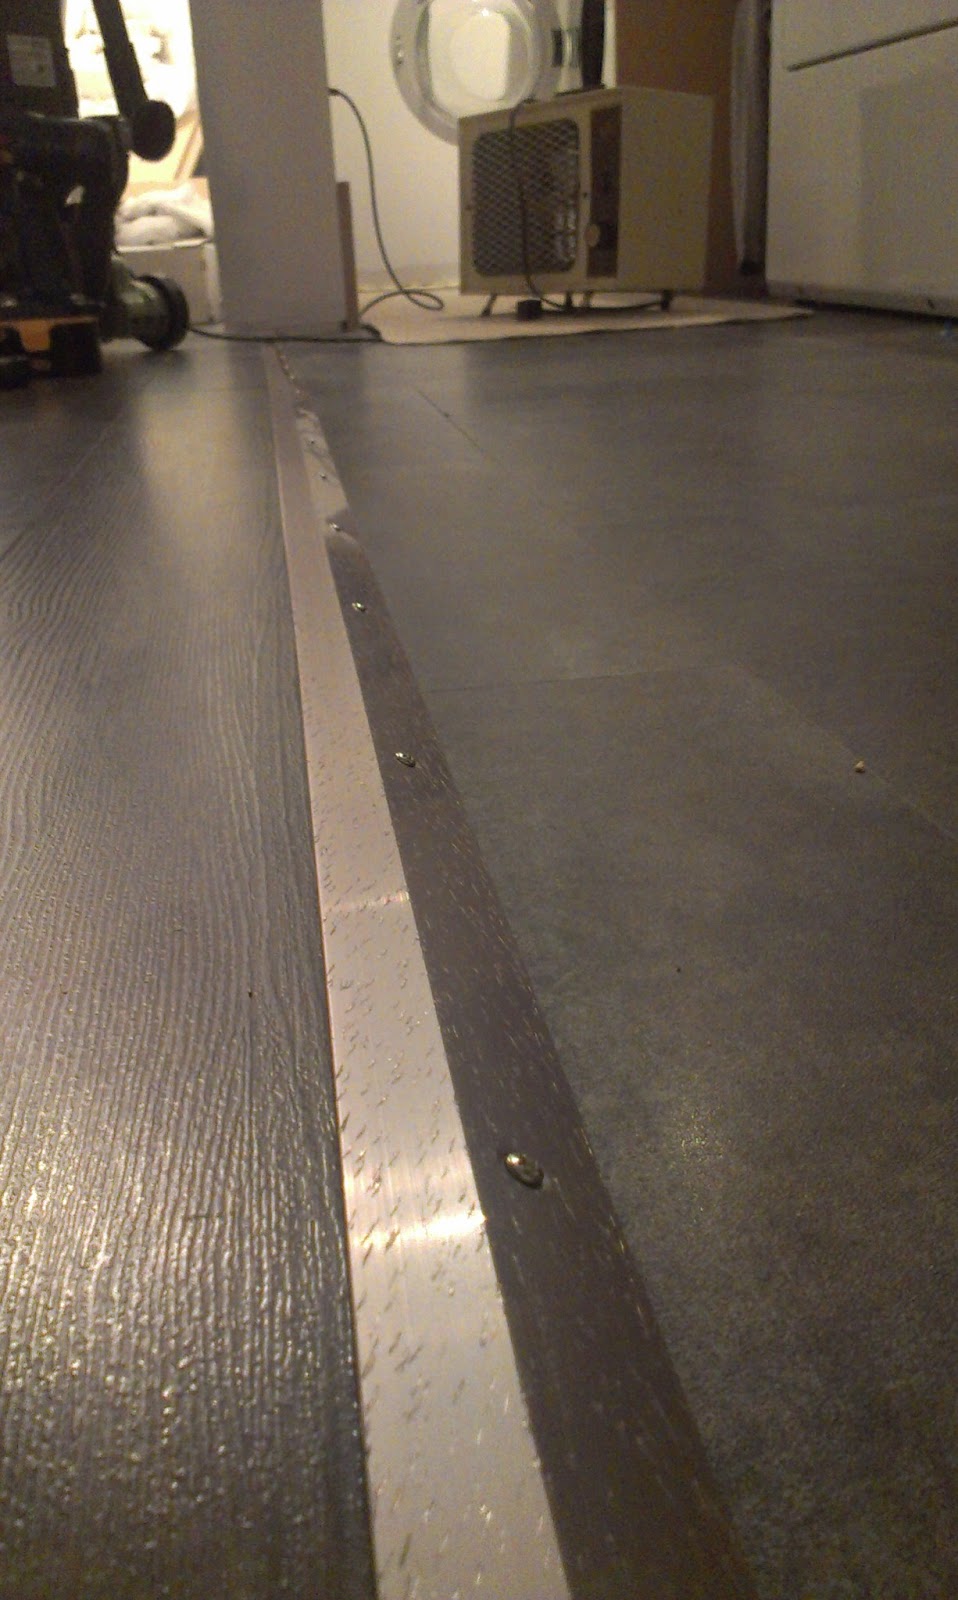
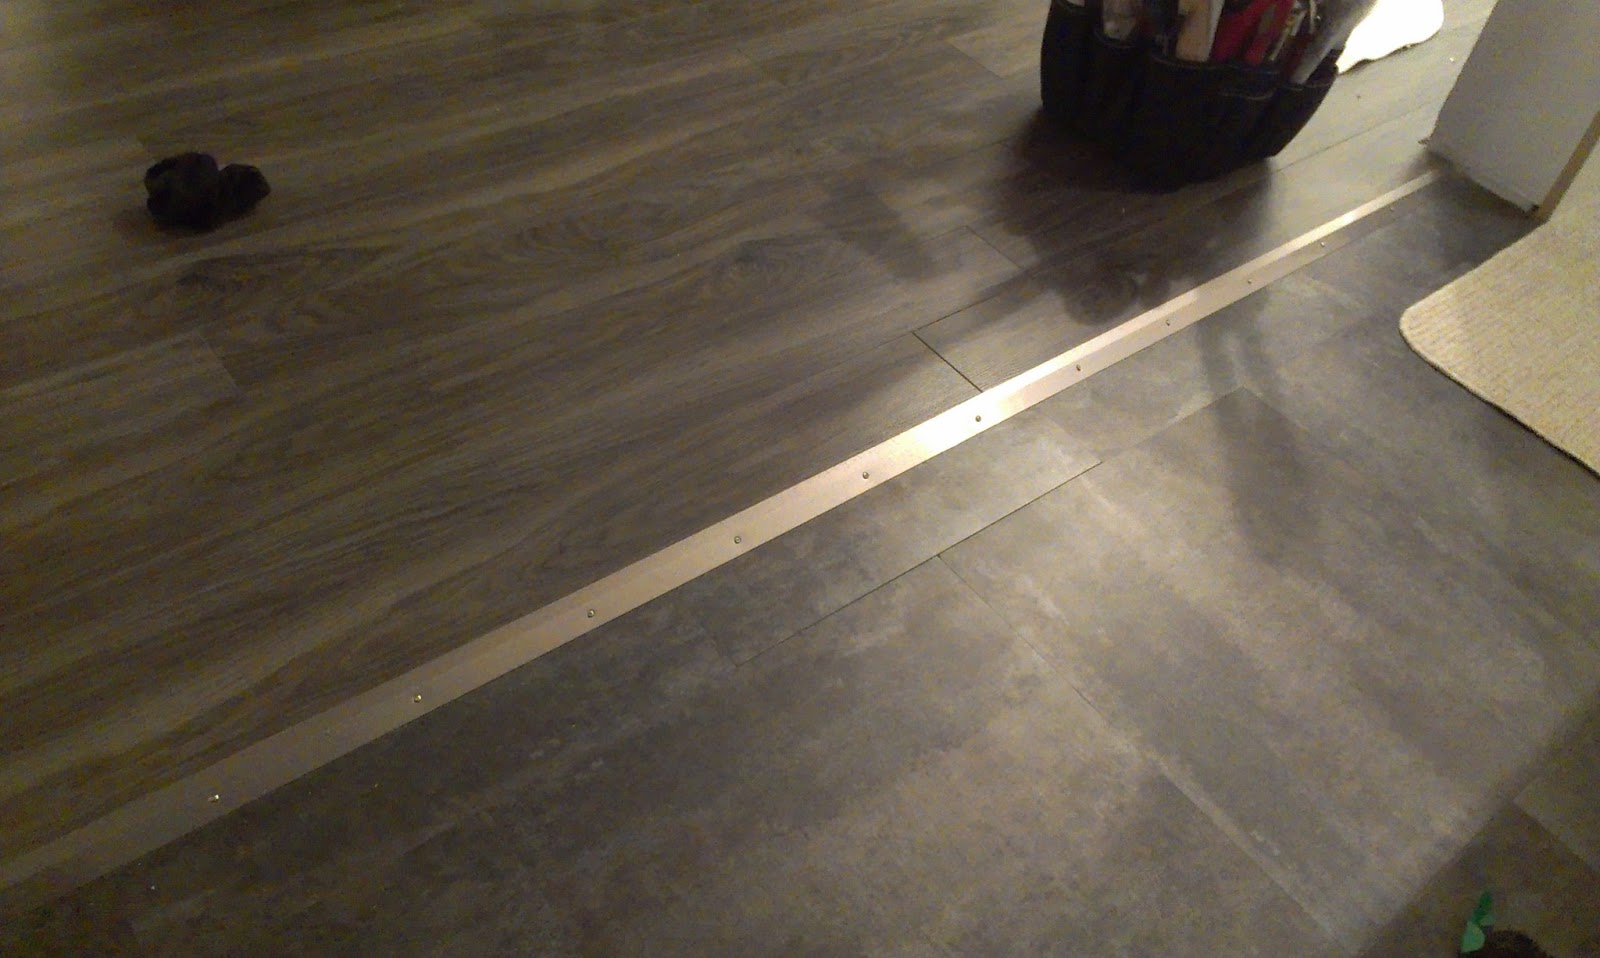
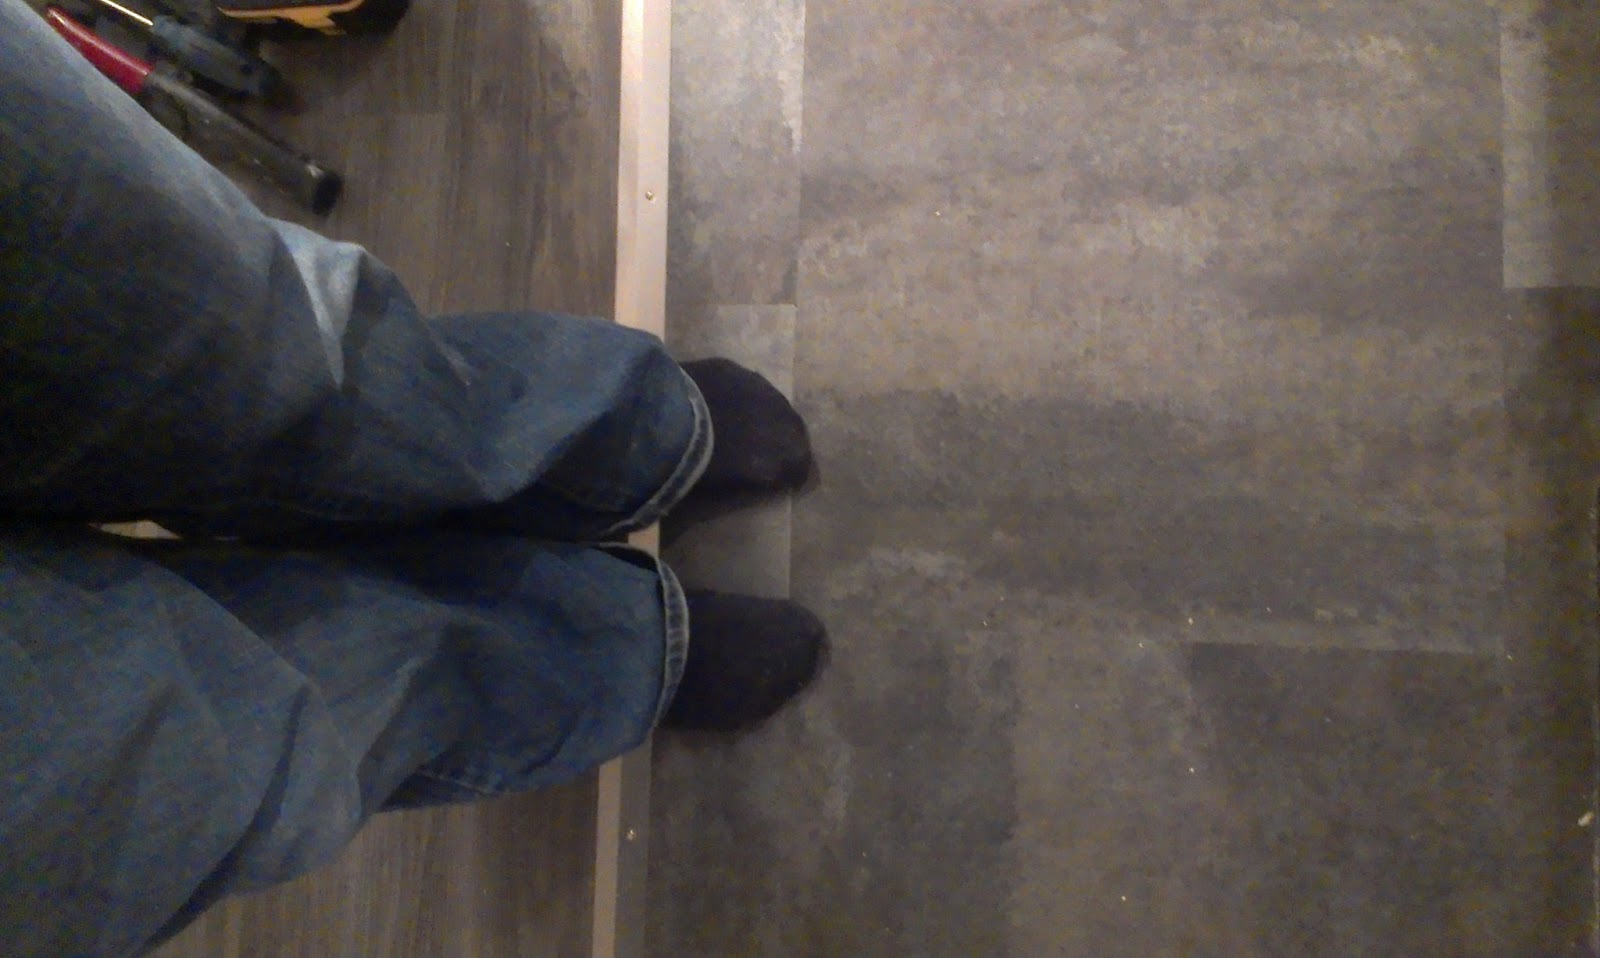
Once the flooring was down, I
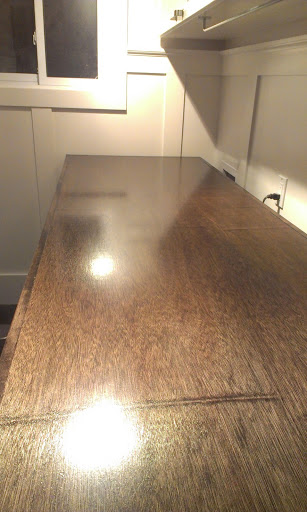
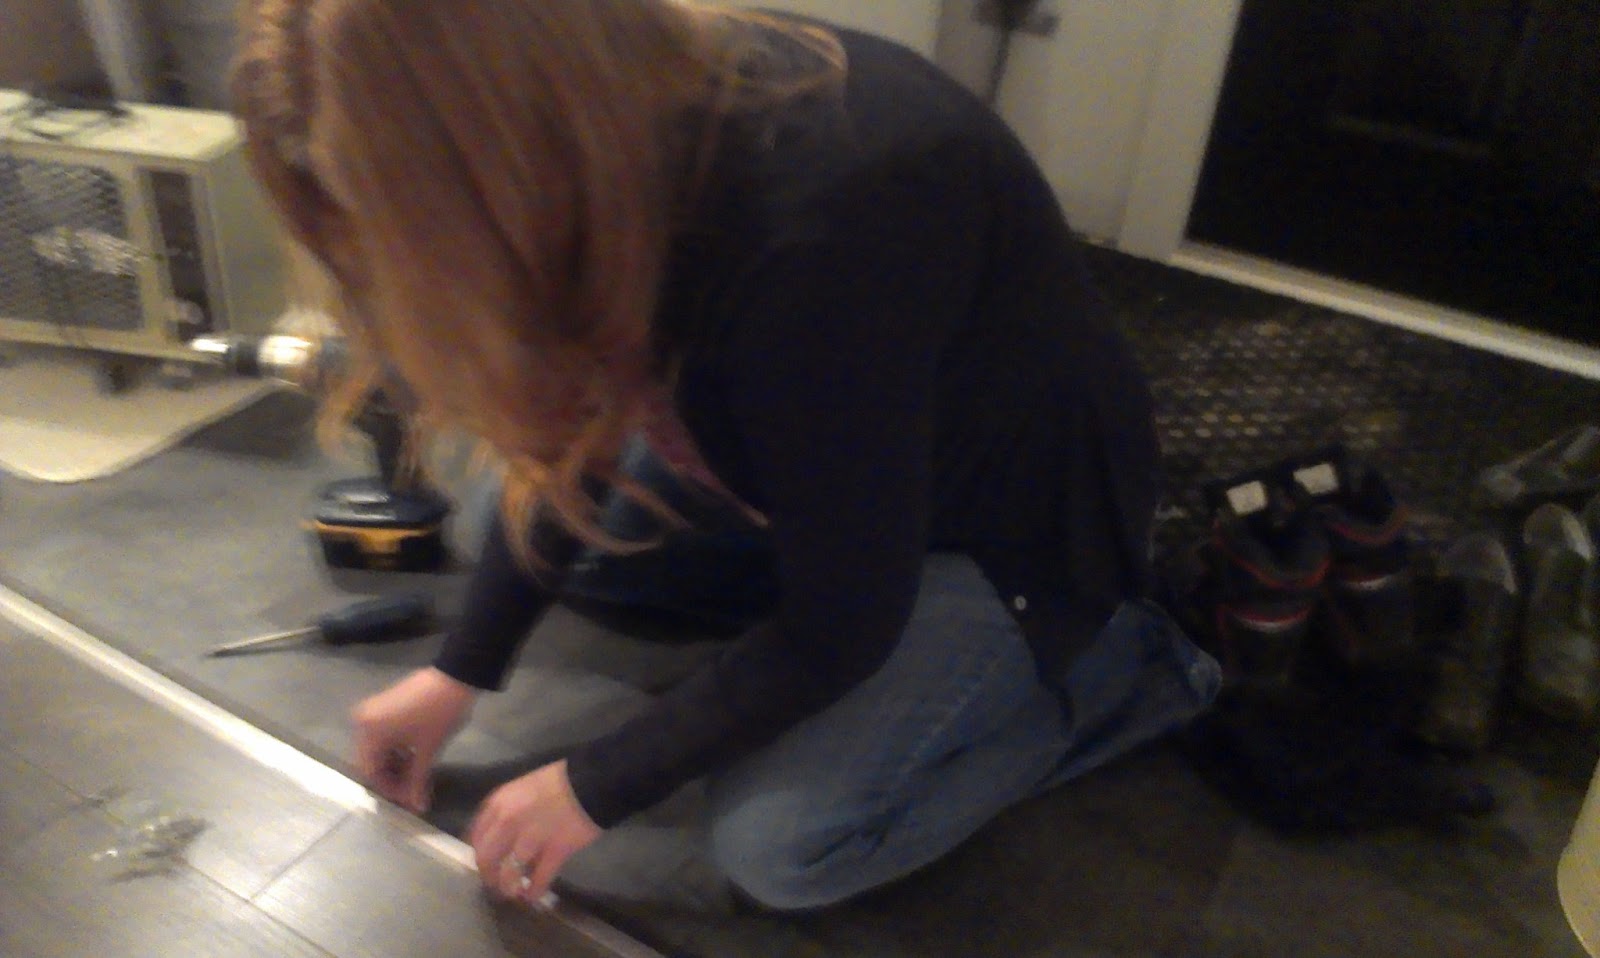
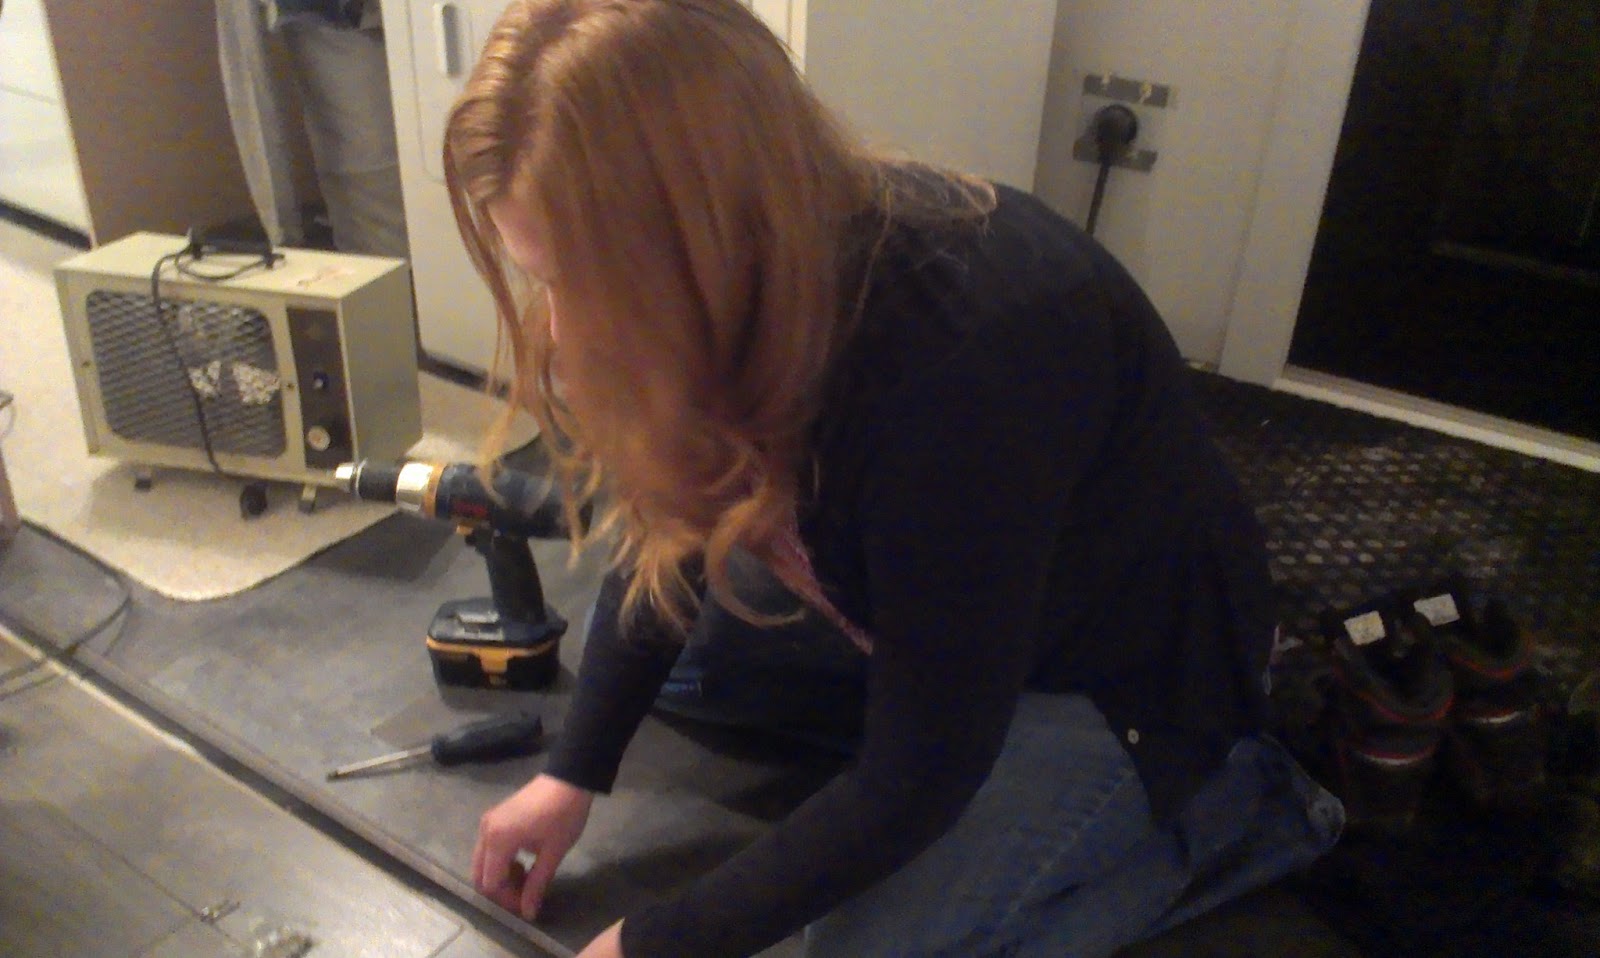
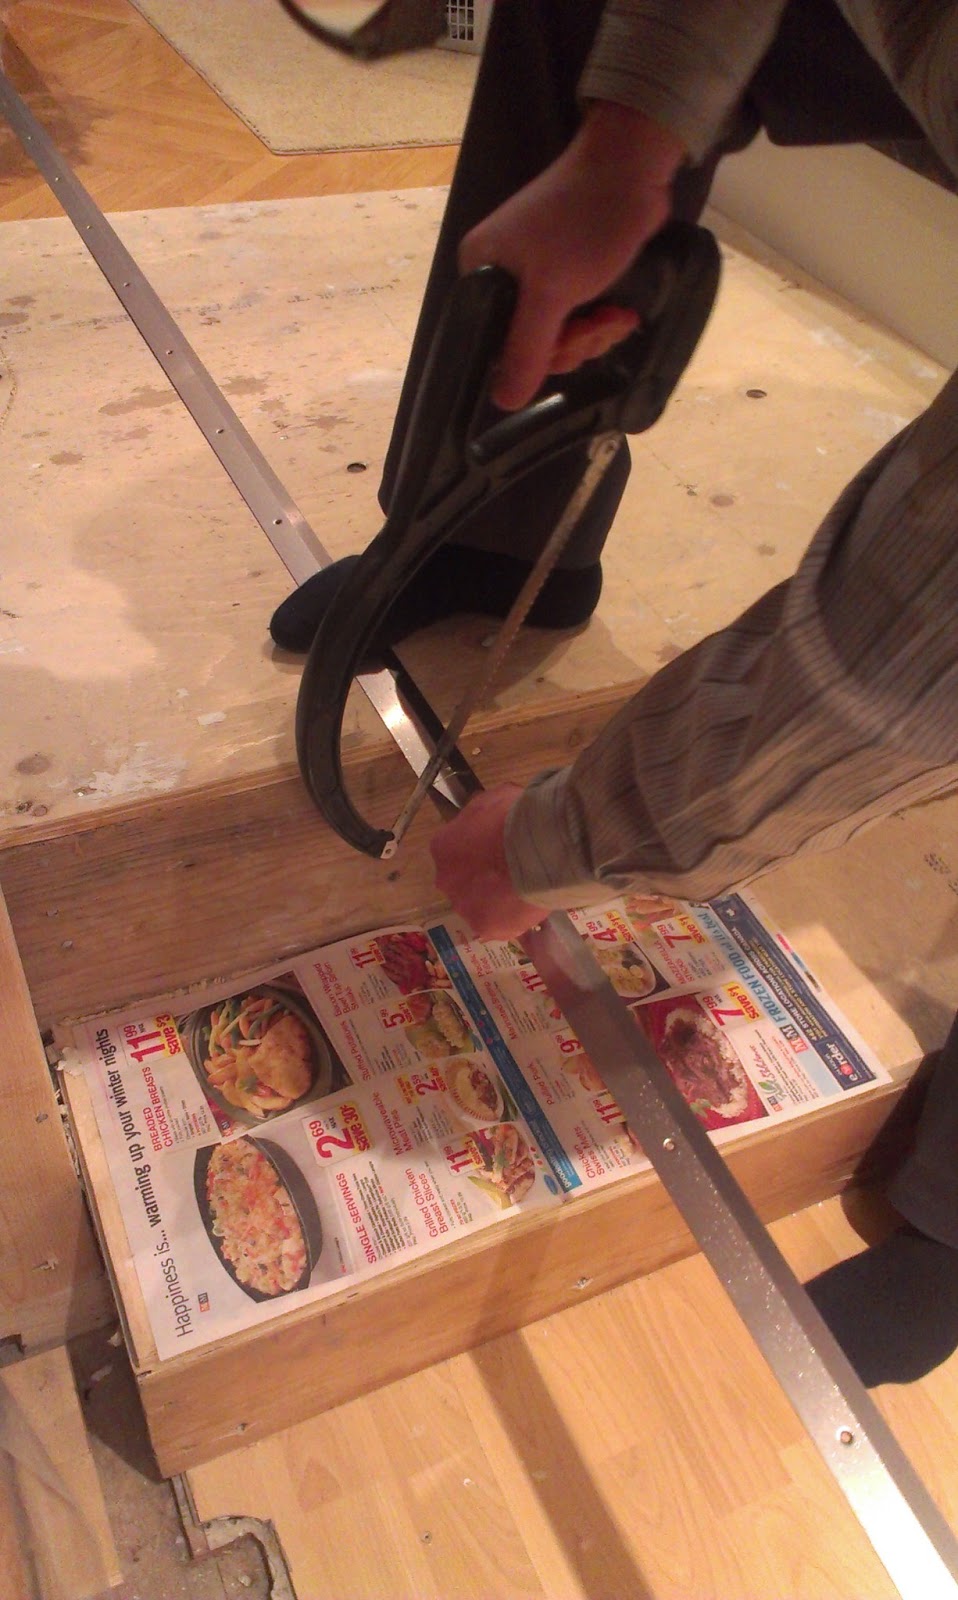
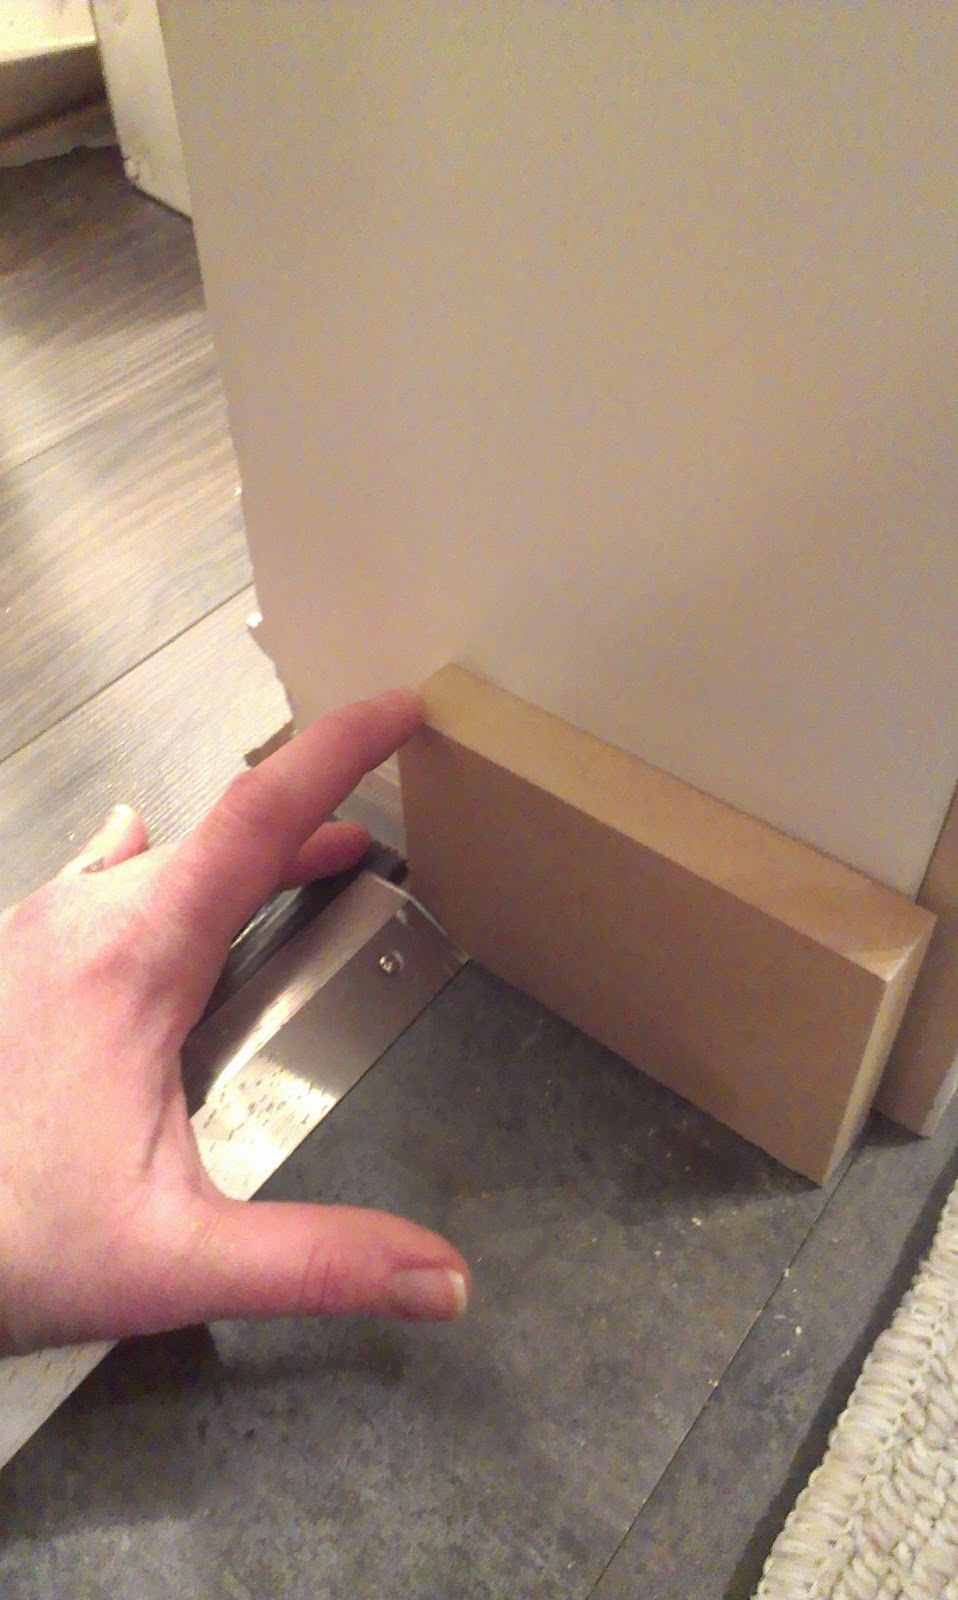
put down an equalizer strip and then it was time to bang out the laundry counter. Surprisingly, I took almost no pictures of this process. I think I just got into a zone and got to work.
I started with laying out a sheet of 1/2″ plywood along the length of the area that I wanted to cover.
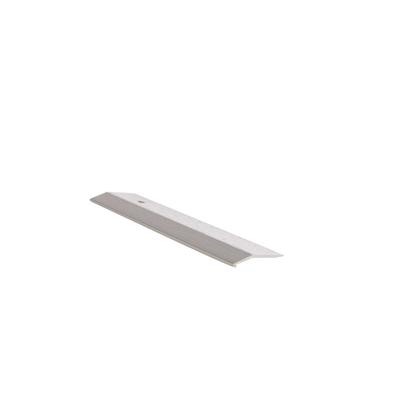
The sheet was *exactly* 8 feet long. That meant that I wouldn’t be able to clean up the edges like I wanted, but I planned on added a bullnose the same way I did with the
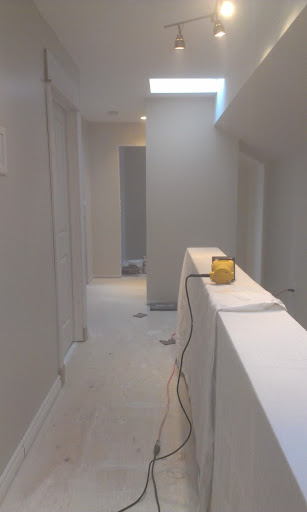
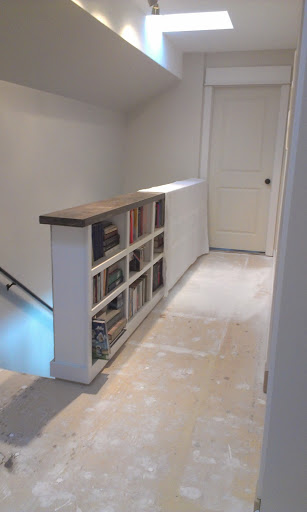
built-in bookcases before.
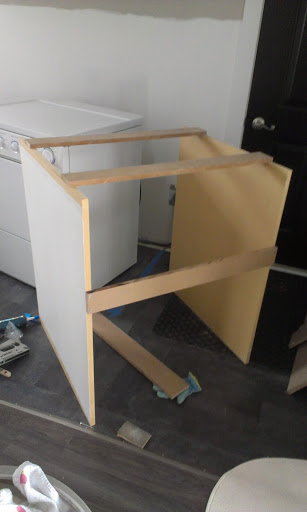
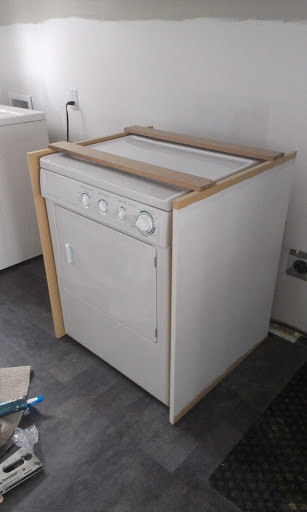
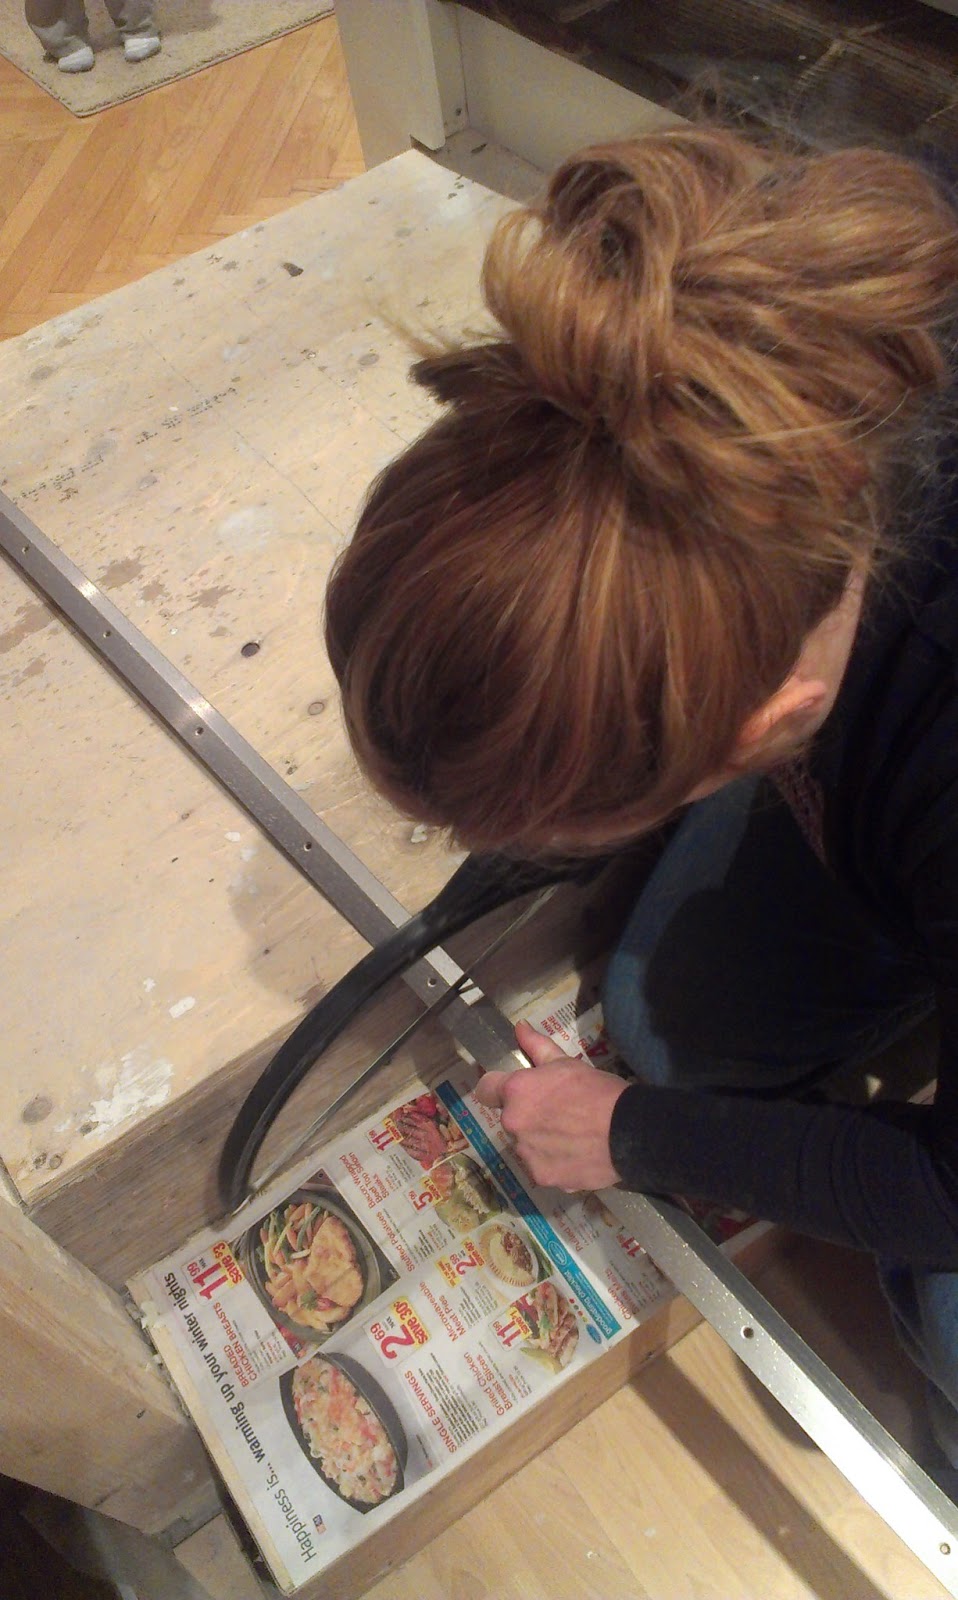
I made two support/base units out of MDF and fit them over the washer and dryer. I made sure that they didn’t actually touch the washer or dryer since the washer really gets hoppin’ along when it’s on its spin cycle. I didn’t want to risk damaging the base units or the counter with all of the jiggle wiggle. These units will also be attached to the end wall, as well as the back wall this spring when we re-route the ducting for the dryer and slide the whole counter back.
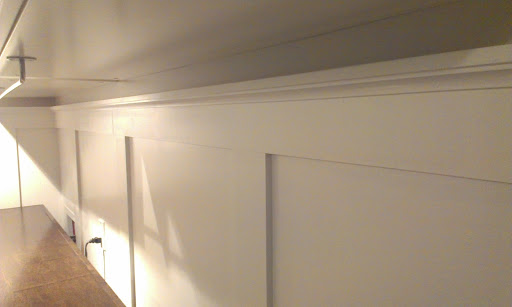
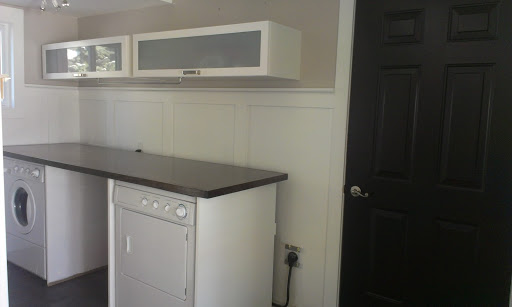
While I worked on the units, I also worked on finishing the board and batten in that area – and this is where we are now:
Sorry about some of the glare-y shots. I took some daylight ones that were just meh.
There’s still quite a bit to do in this room (hello, glaring dryer plug) and I’ll post a ‘Review and To-Do’ on this room later. For now, let’s take a quick look at that ‘before’ one last time:
Whew, glad the hard part’s over!