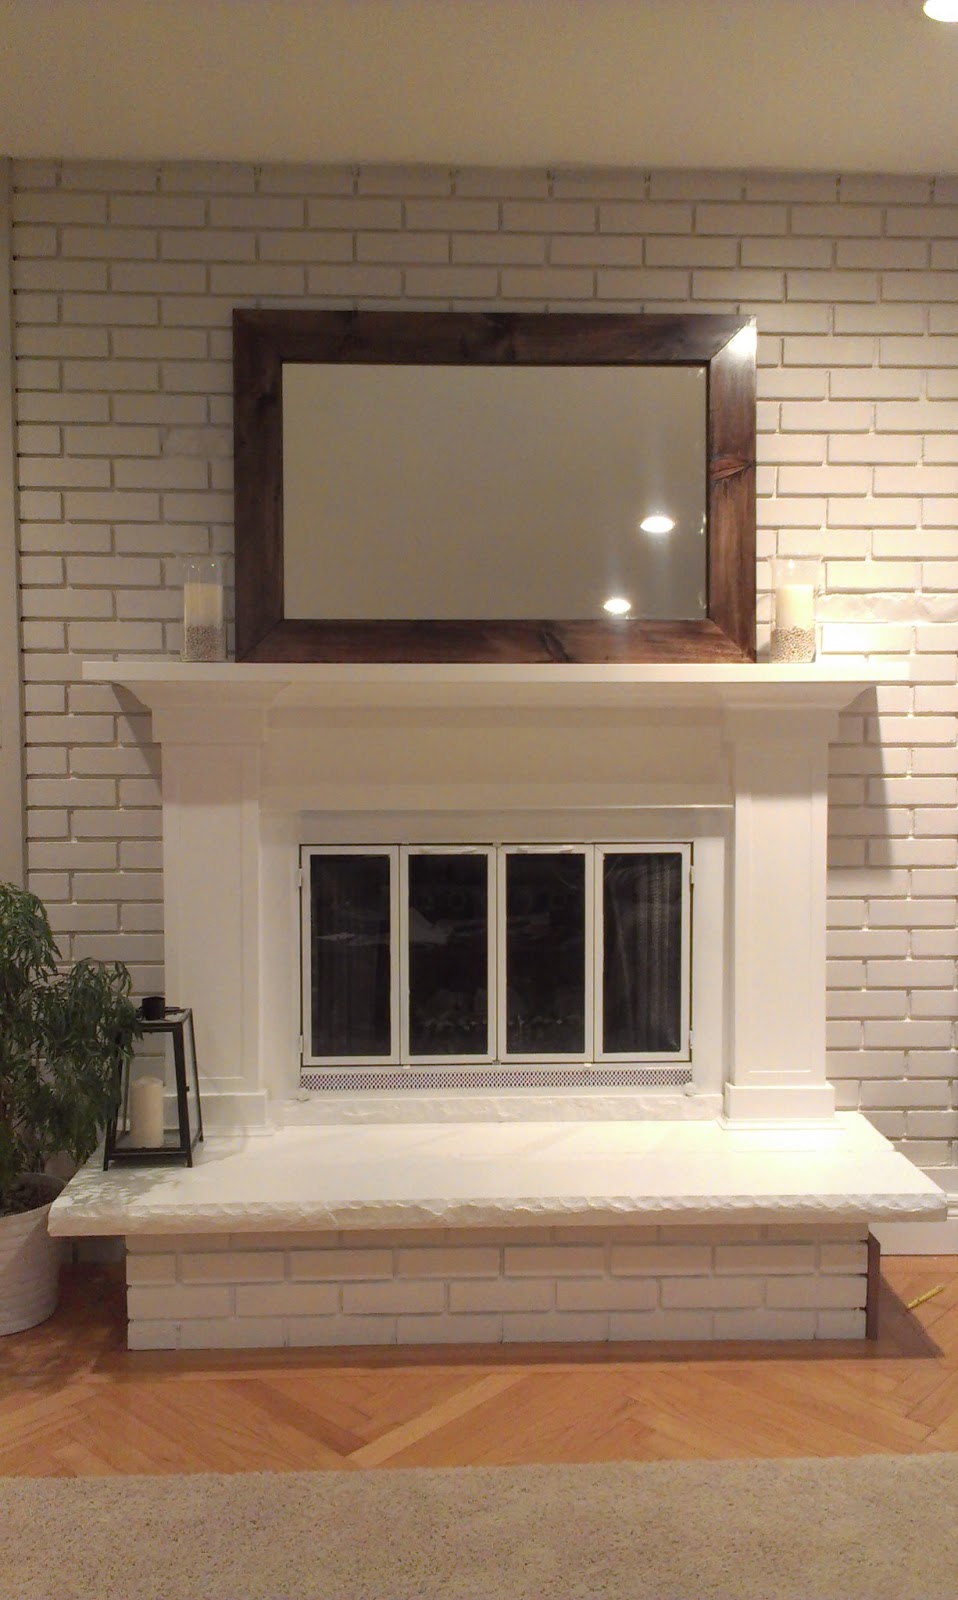
If you’ve been with me, you’ll remember I built our fireplace mantel just before Christmas last year. And when I say “just before”, I really mean it. I was practically touching up paint and wrapping presents at the same time.
See?
Once I built the mirror to go above it not long after, it kinda just sat like that up until this past weekend.
Certainly nothing wrong with it. I prefer the clean, stark lines for sure. However, not that most of the BIG renovations are wrapping up, it feels really, really good to putter and decorate and tweak things. I haven’t had a chance to fuss over little details for almost a year. I’ve been too busy laying flooring or trimming out rooms or tiling showers or, or, or….
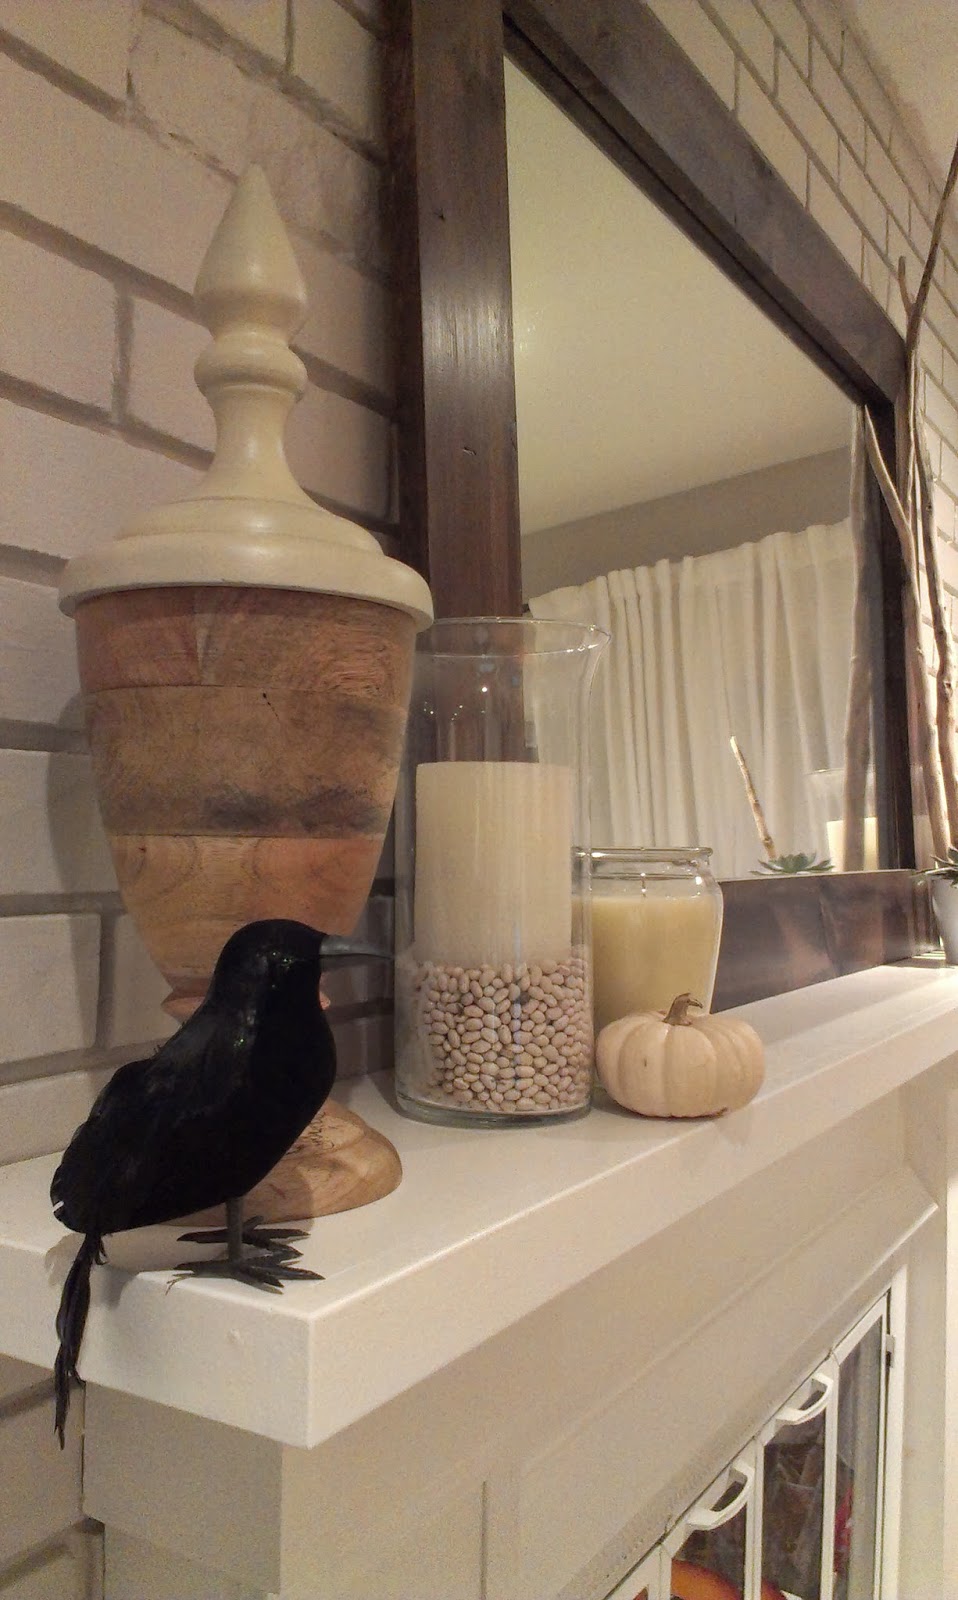
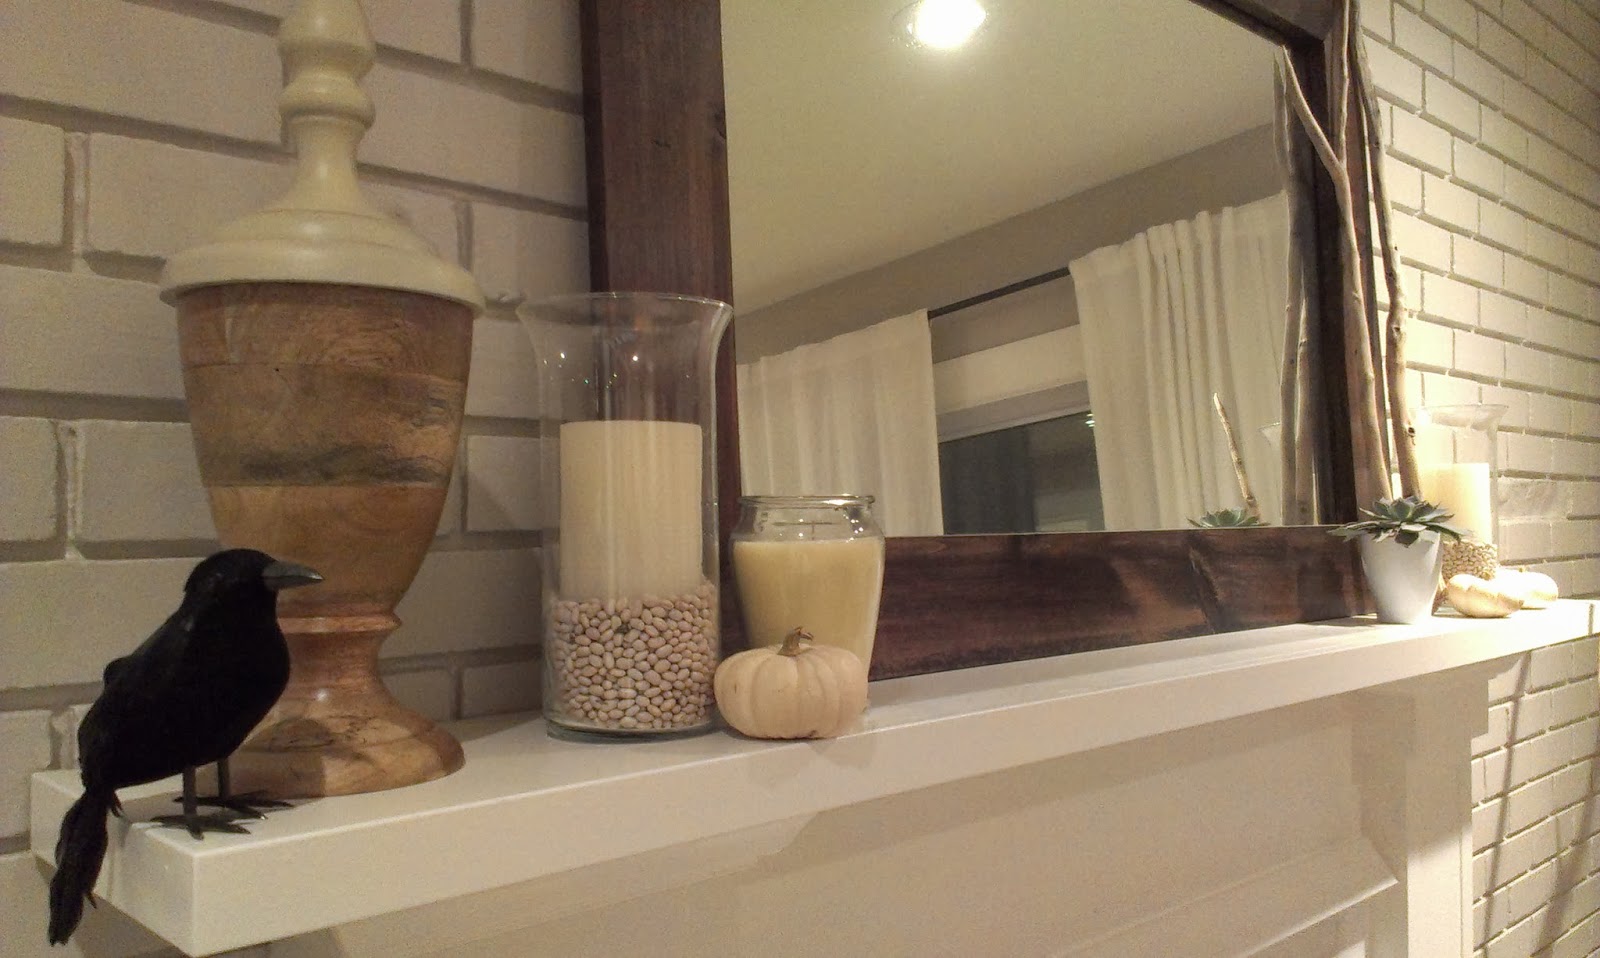
I hit up a local greenhouse/farm stand and scooped up a few gourds and pulled out my awesome black crows.
No, not those Black Crowes.
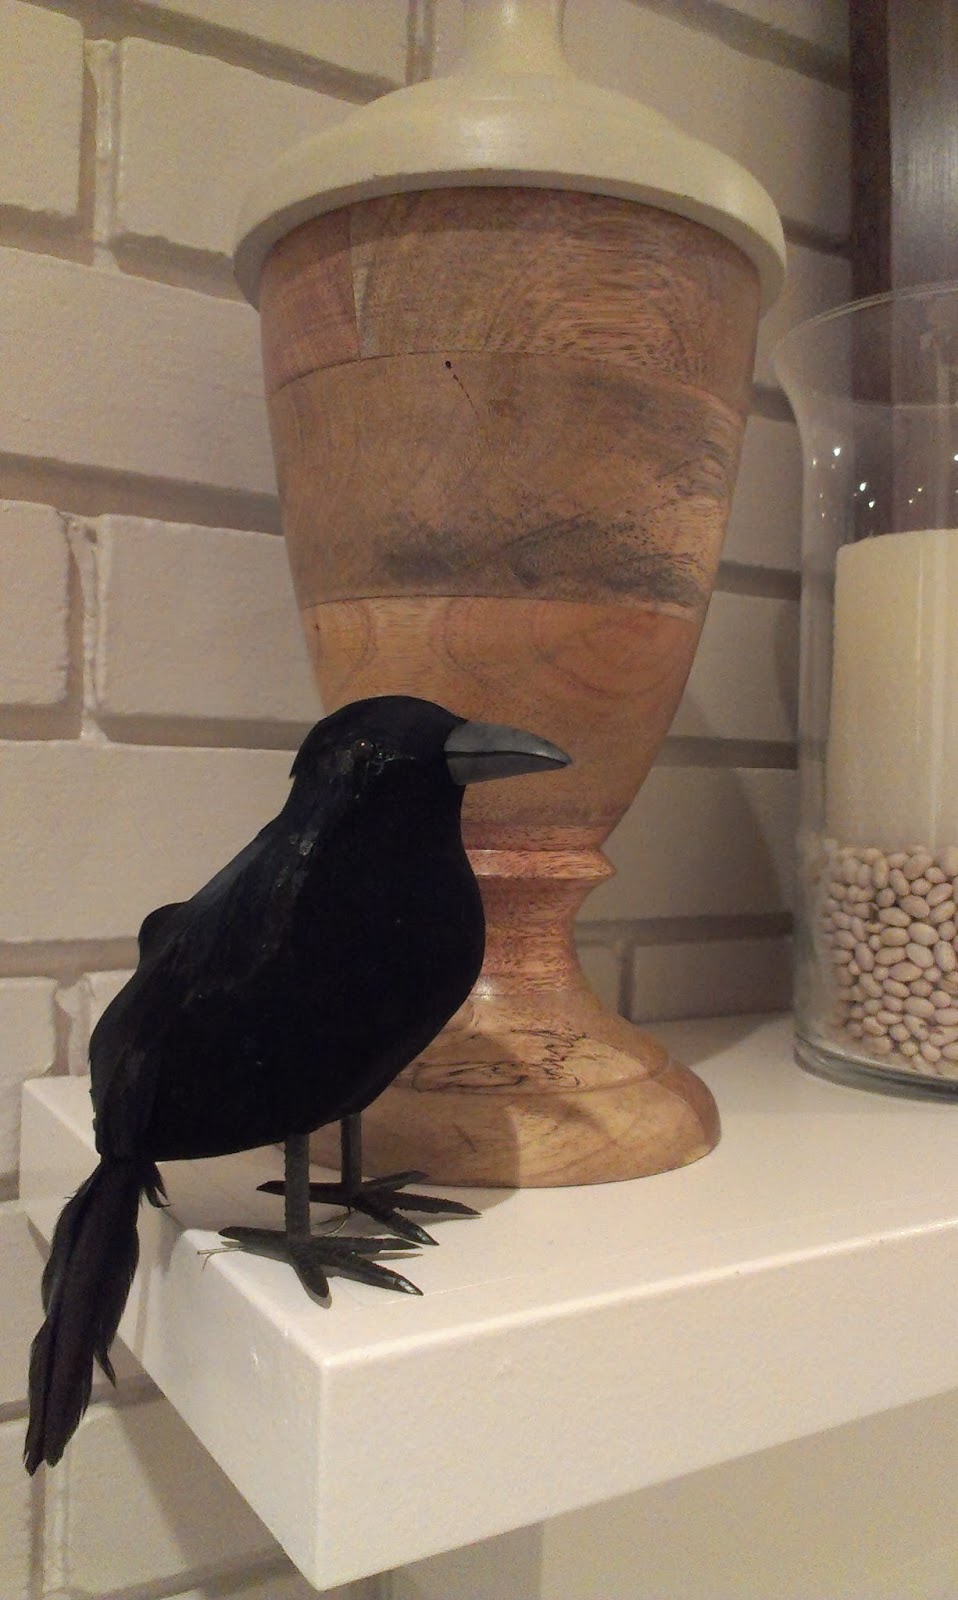
I’m talking about this little guy:
How great is he, right? I think I paid a dollar for him at a Dollarama. Totally worth every penny for his cool, aloof presence all up in my mantel.
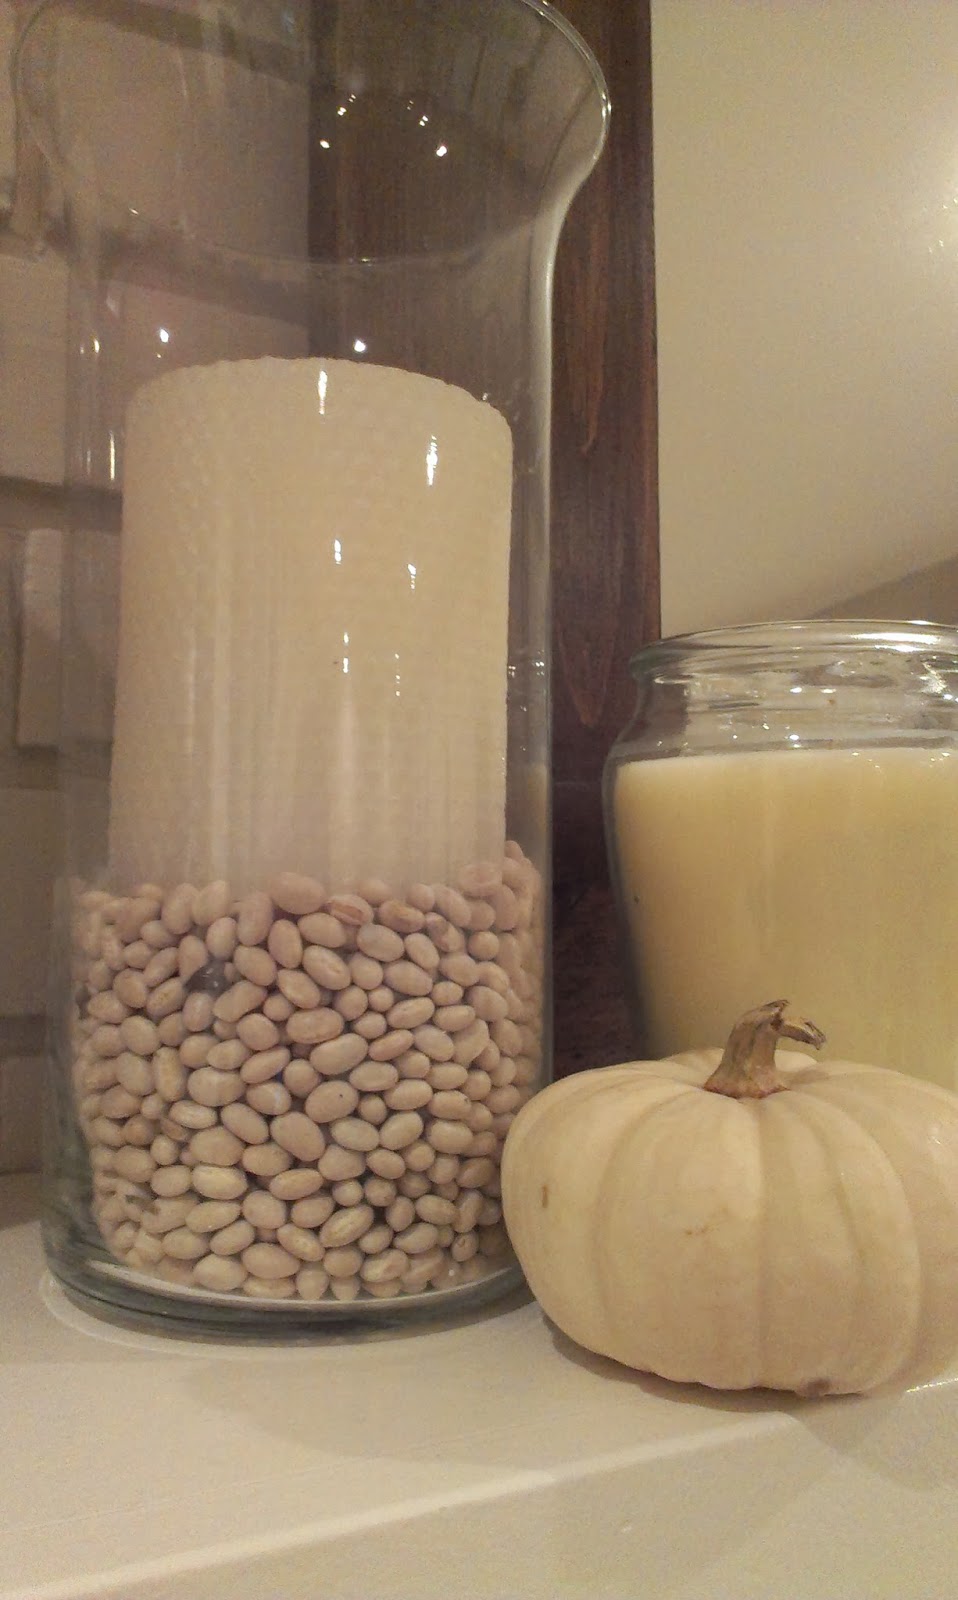
The candles were an awesome find in a Target clearance aisle a million years ago. They’re battery-operated with timers and have a lovely, low glow at night. I think I paid about four bucks for each of them. Not bad considering a single, similar candle at Pottery Barn goes for $29.50. Come on now…
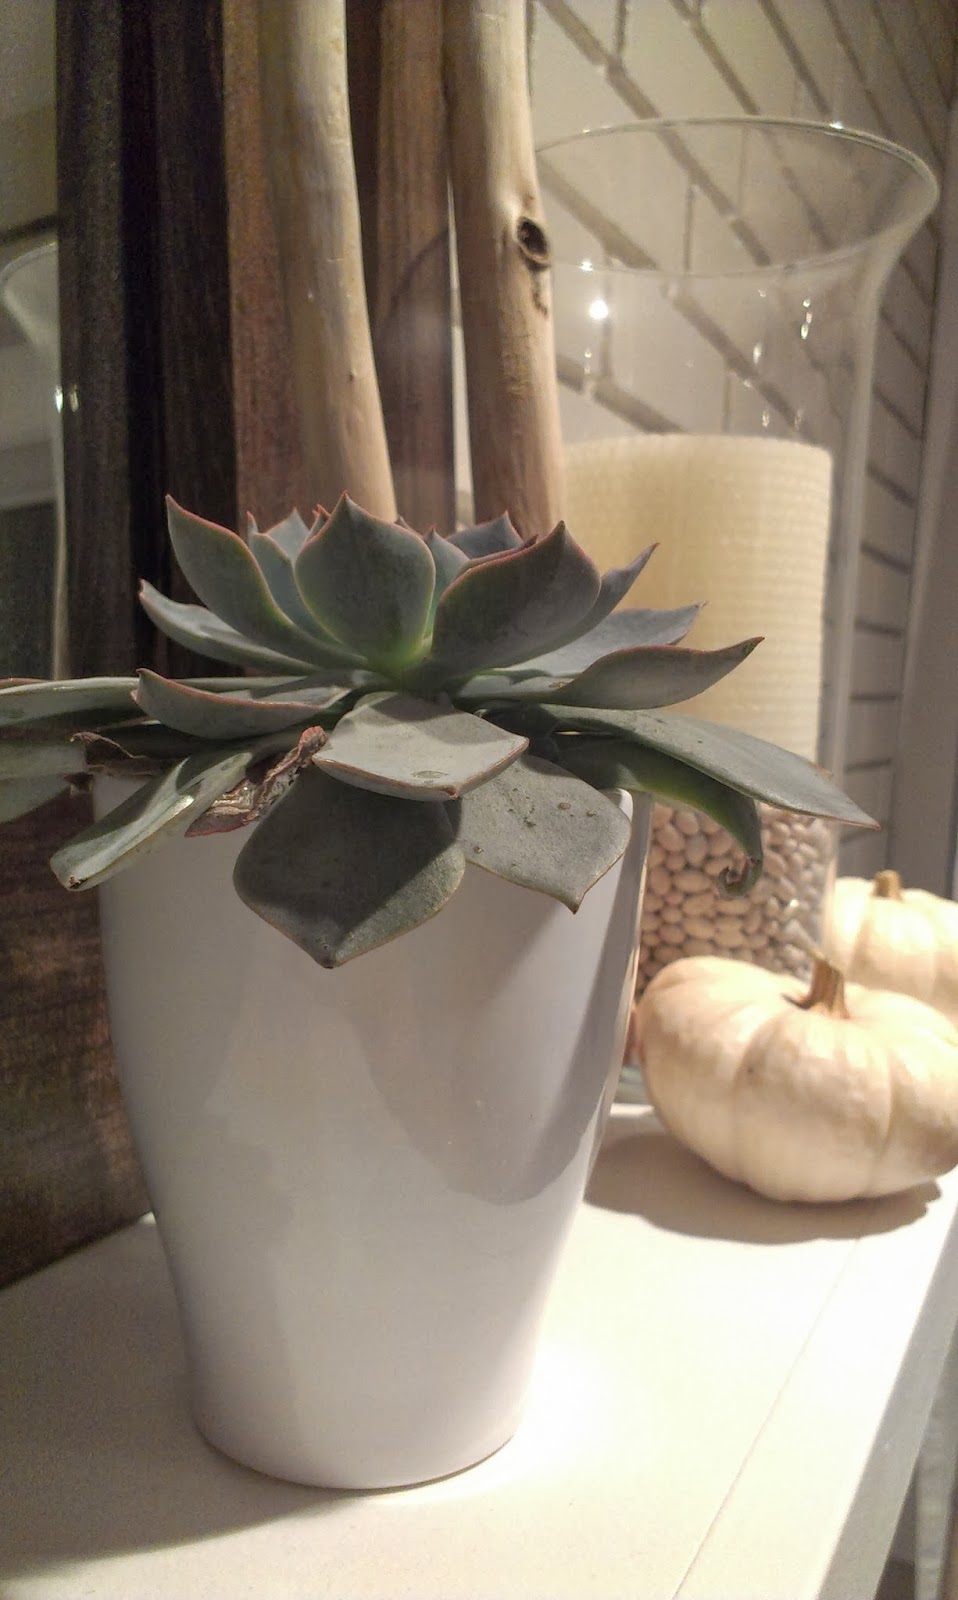
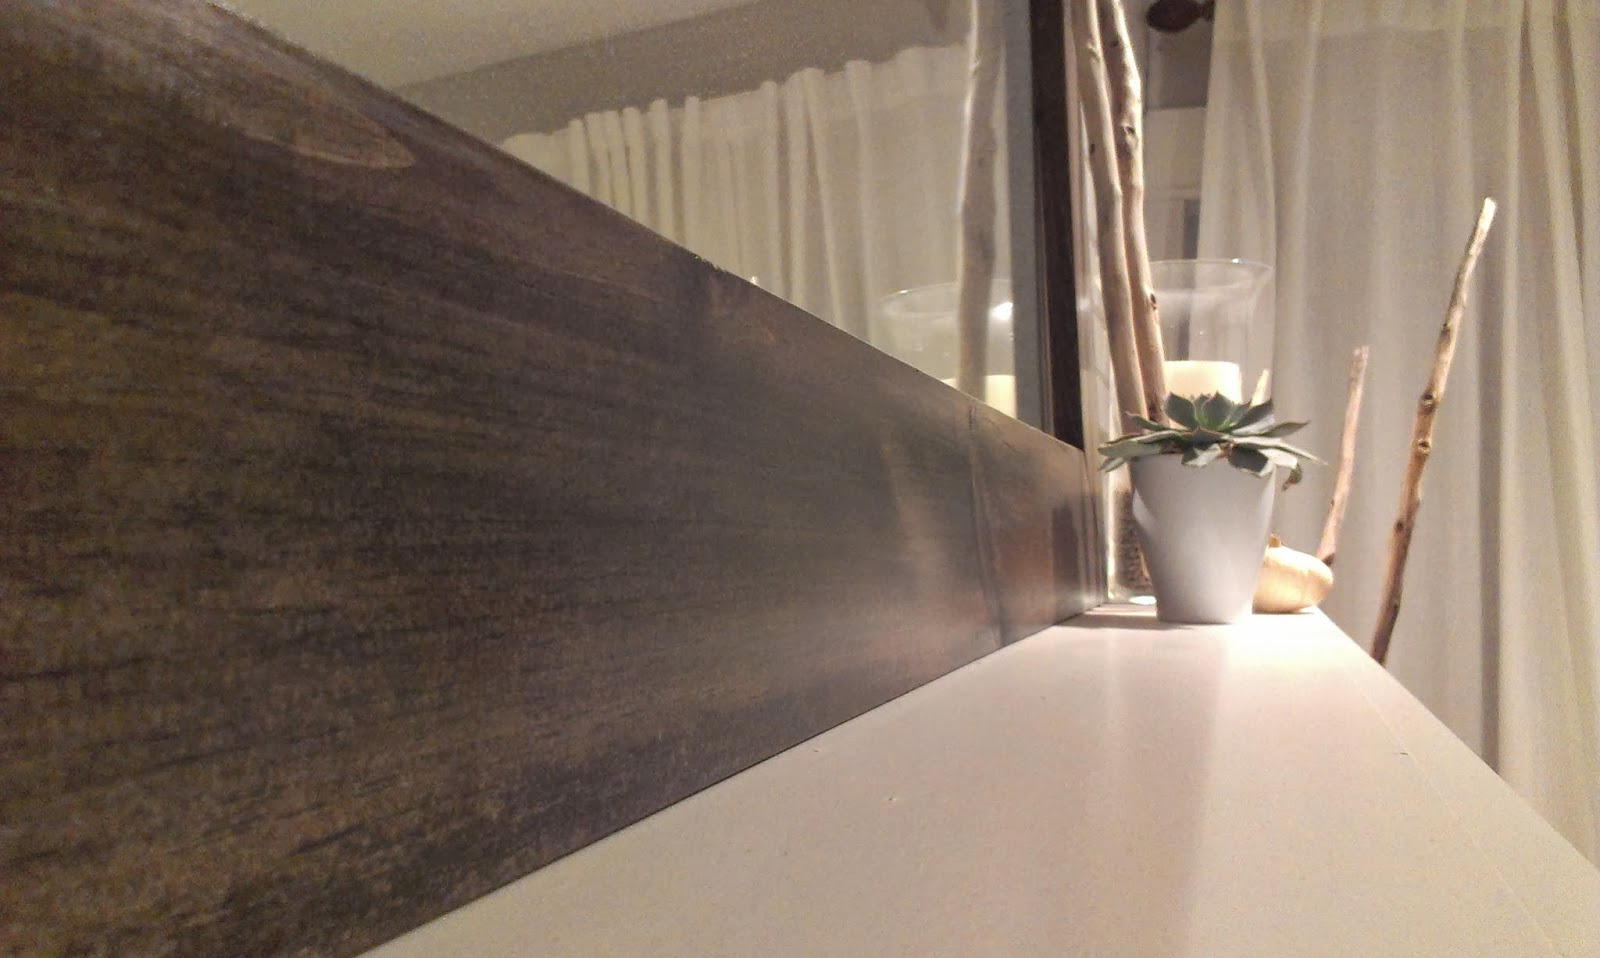
The creamy, white gourds (are they really just mini pumpkins?), white beans and candles contrast perfectly against the dark wood of the mirror and our little feathered friend. I also scored some free succulents at that same greenhouse and teamed them up with a simple, white pot.
Nailed it.
Now, let me get back to that crow for a minute.
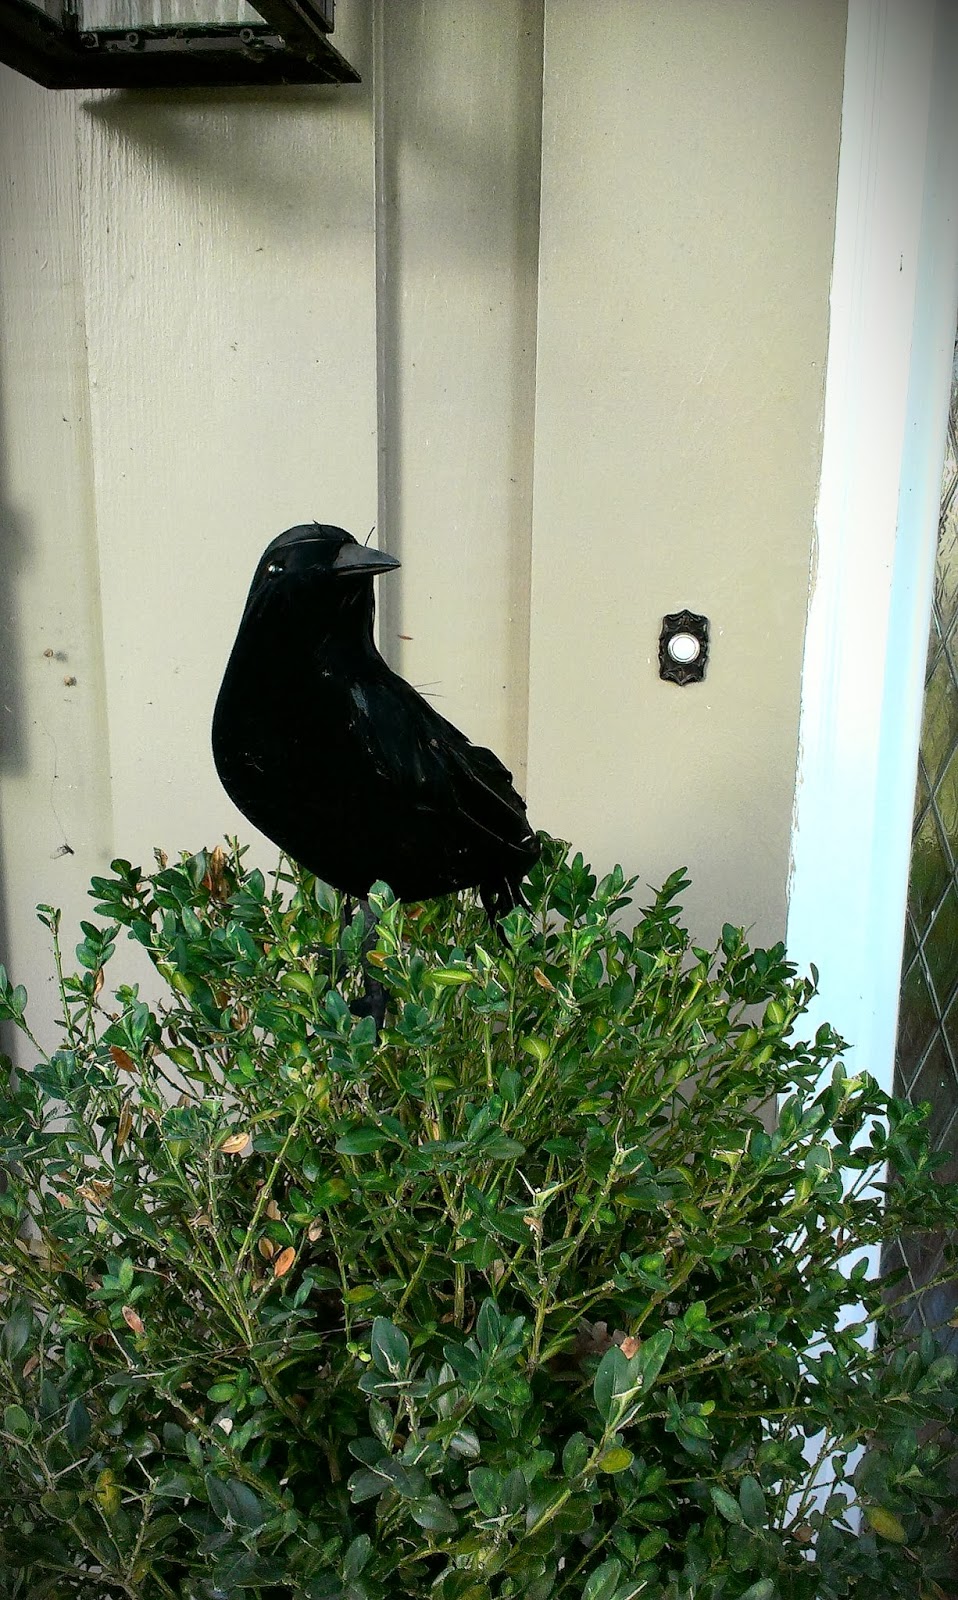
He seems harmless enough, right? Well, he has a bigger, badder brother.
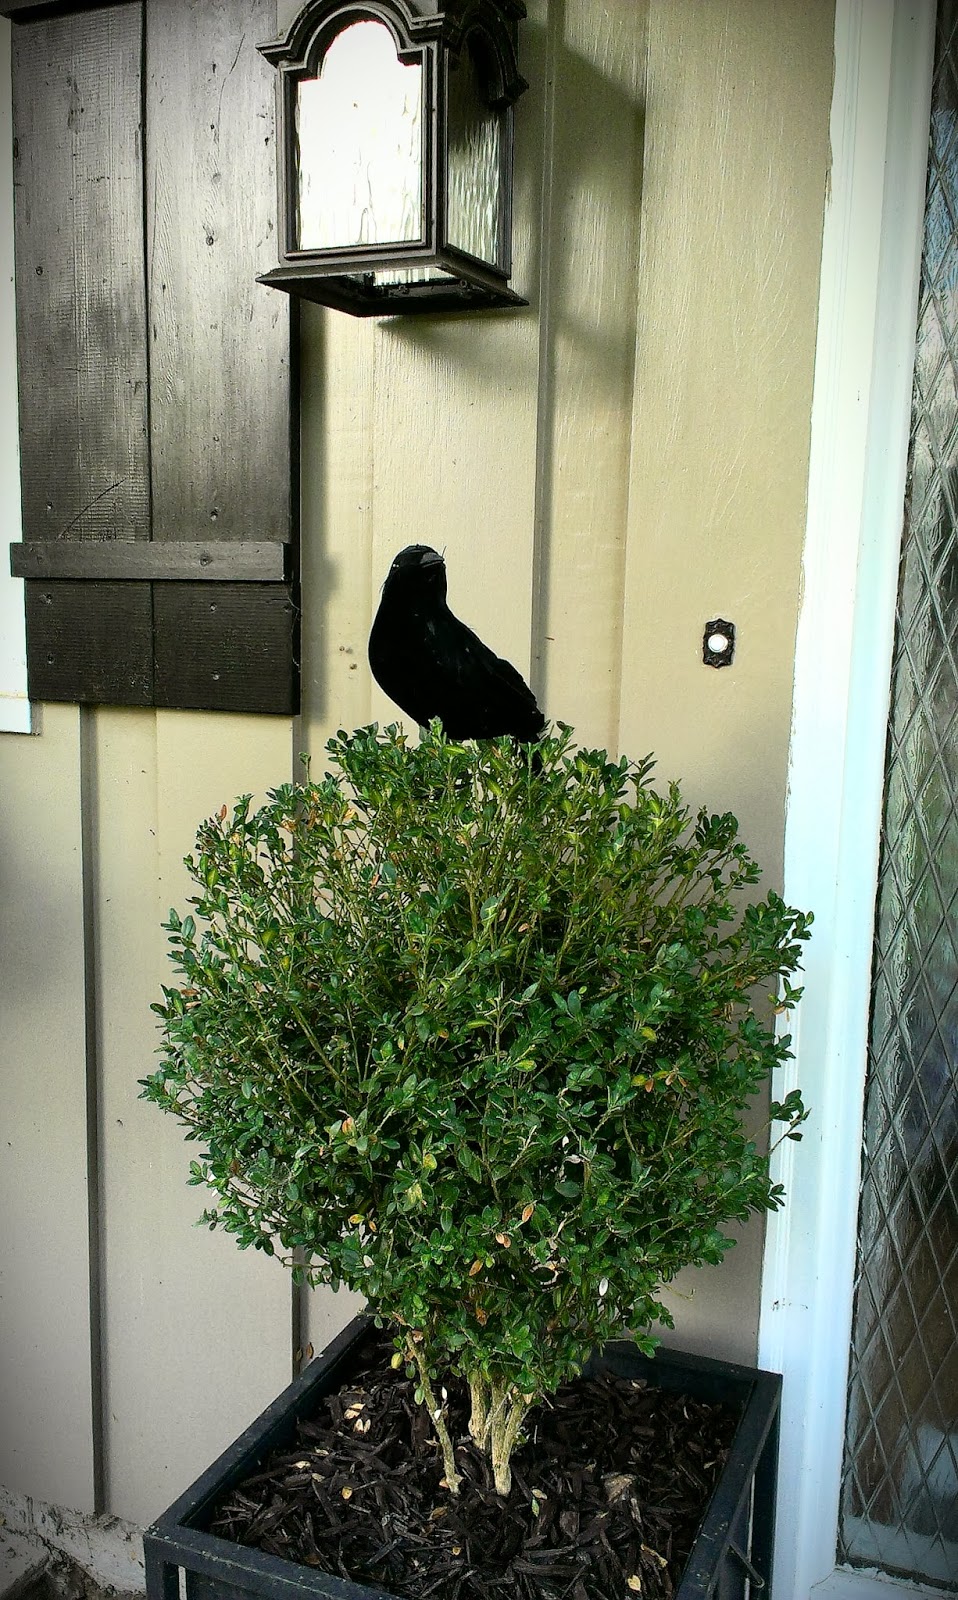
In an attempt to Halloween-ify the front porch, I stuck his big brother in my oh-so-sad boxwood next to my front door. I had intentions of getting some sparkly bats or spiders added to the wreath on the front door, but, somehow I got sidetracked (shiny things!) and my outdoor decorating stopped after I put the crow in the boxwood.
I had completely forgotten about it and was doing the dishes in the kitchen when I noticed the mailman come to a dead stop before he got to my porch. His entire body was motionless, except for his legs. He crept up to the mailbox (also next to the front door), and extended his arm just enough to quietly and carefully slip the mail into the box. He stepped gently off of the step with his eyes fixed on something and backed slowly away. The entire time, I’m standing there, water running and dish-in-hand, confused.
And then it hit me.
You guys, he thought it was real. He thought it was a real crow. It must have been the absence of anything else even remotely resembling Halloween decorations. Just this lone, menacing bird staring him down.
Since then, he has scared 100% of the visitors on my porch. Including my husband and children.
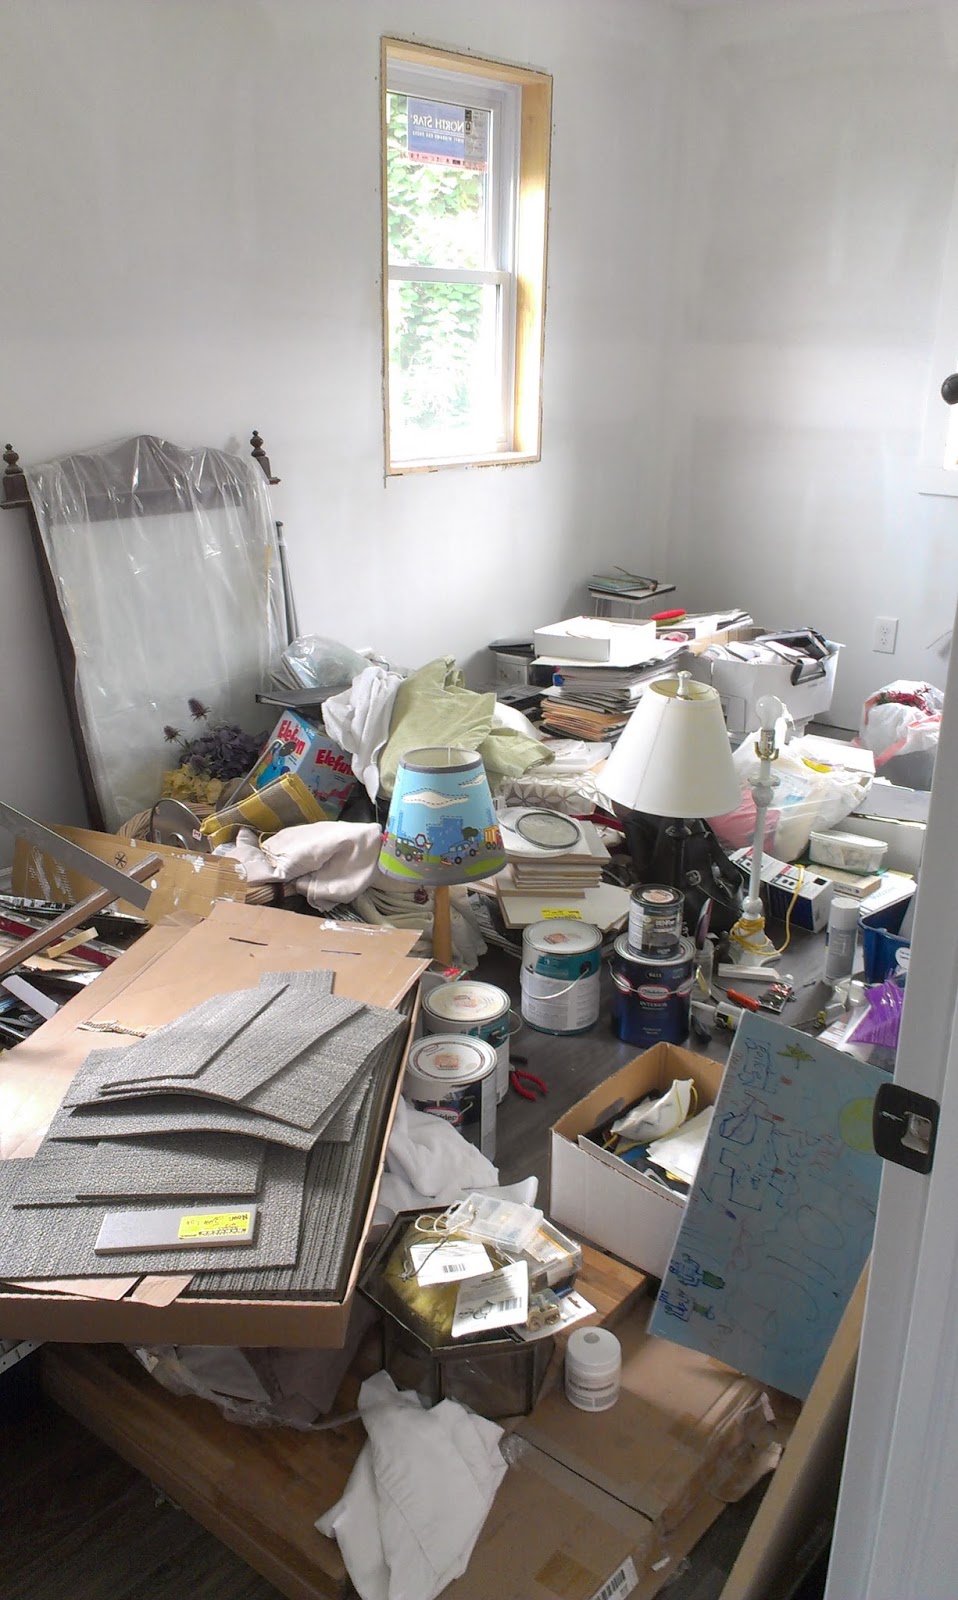
When we last spoke, the bedroom in question was looking a LOT like this:
I’ve been watching episodes of ‘Hoarders – Buried Alive’ just to prove to myself that I didn’t have a problem. This room has had become the catch-all throughout the renovation process. A life-size junk drawer, if you will. Someone’s coming over to visit? No problem! Open the door, literally throw something in, shut the door.
No more…..
That, my friends, is the result of six billion flights of stairs. Almost every single thing in this upstairs bedroom belonged in the basement. A basement that needed to be reorganized in order to accept the influx of *stuff* that I was about to introduce. So, not only did I need to clean out the entire basement, I needed to clear out this room, as well. You’d think I would have thinner thighs by now…
In order to get to this point, here’s what had to happen:
Trim out the windows
Caulk all trim around said windows
Paint the jambs and trim
Two coats of Benjamin Moore ‘Revere Pewter’ mixed in Behr Premium Plus, eggshell finish
Install baseboards and craftsman-style door casings
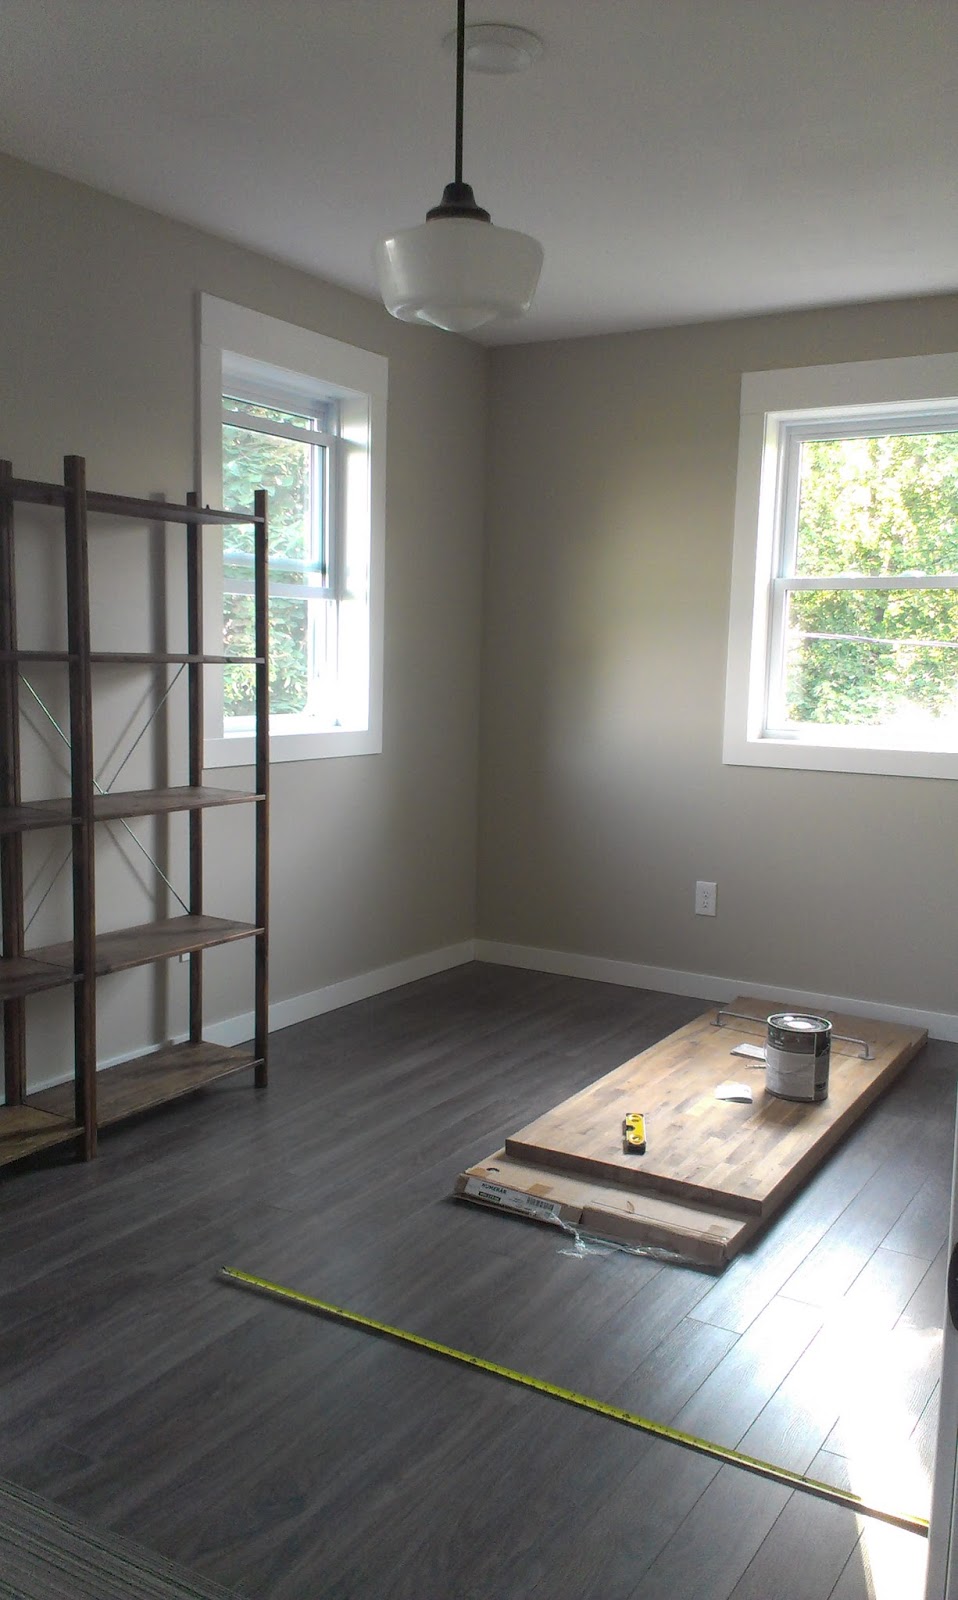
And that’s where I’m at. I have seven days before this puppy needs to be birthday-boy ready. Here’s what’s left:
Caulk and paint floor and door trim
Hang artwork
Decide on room layout
Bring in furniture (desk, shelves, night table, lamps, etc)
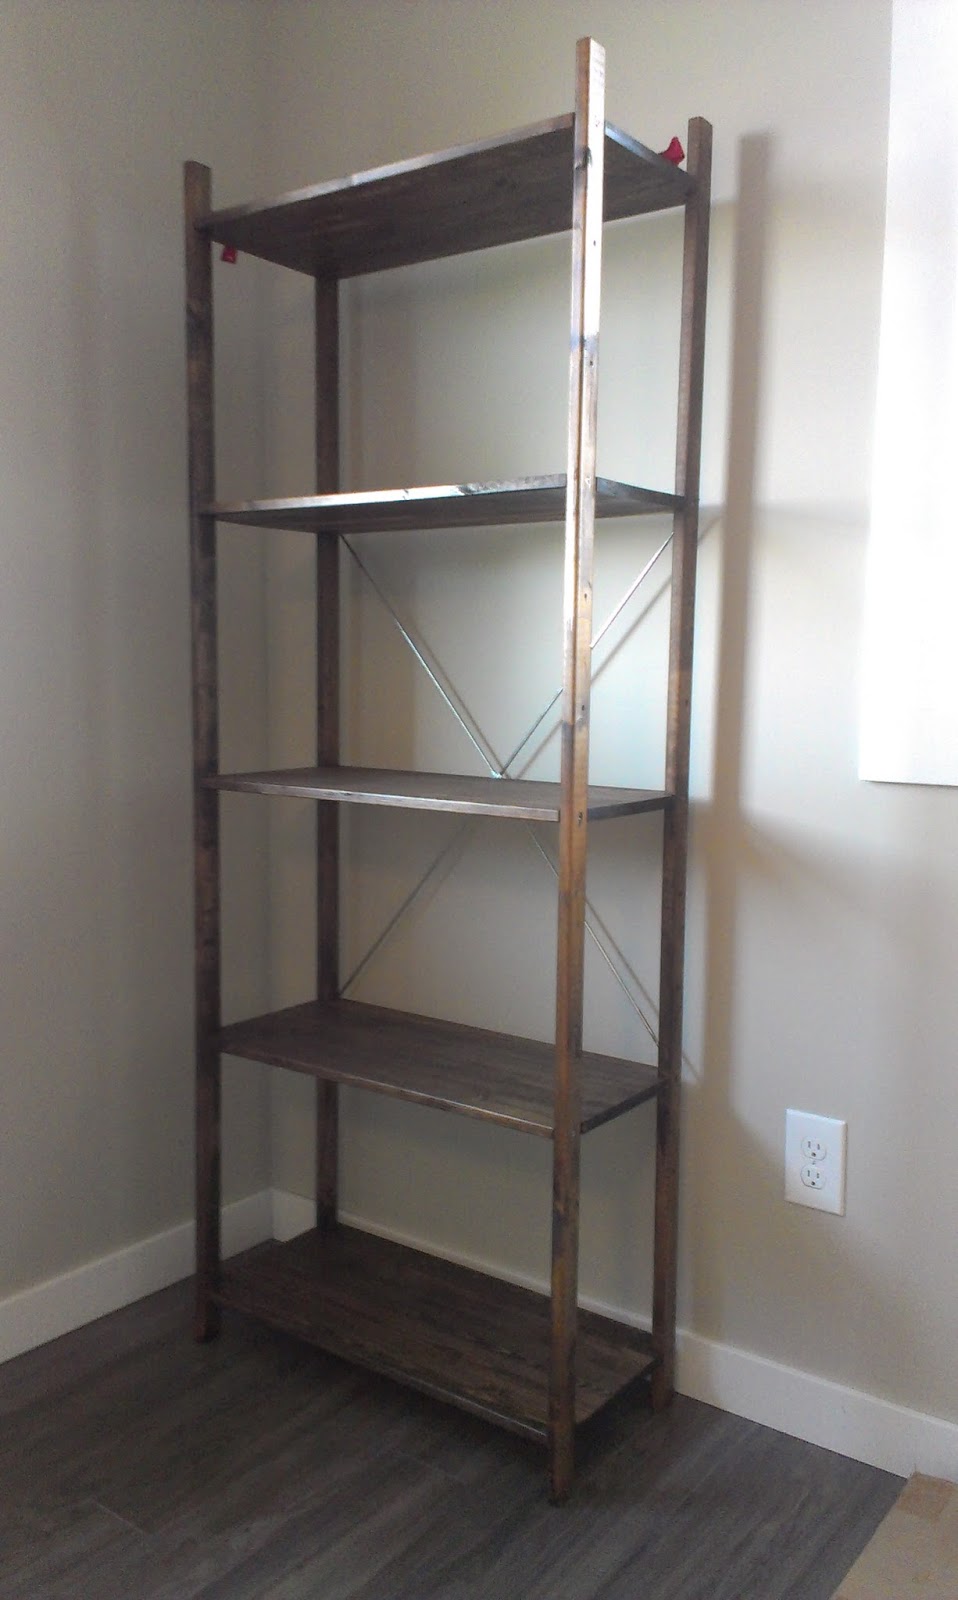
The shelving that you see in the room right now is simple, cost-effective (read: super-cheap) shelving from Ikea. Once assembled, it looks like this:
Once you spend an hour in the hot garage with a can of brain-cell diminishing dark walnut stain, it looks like this:
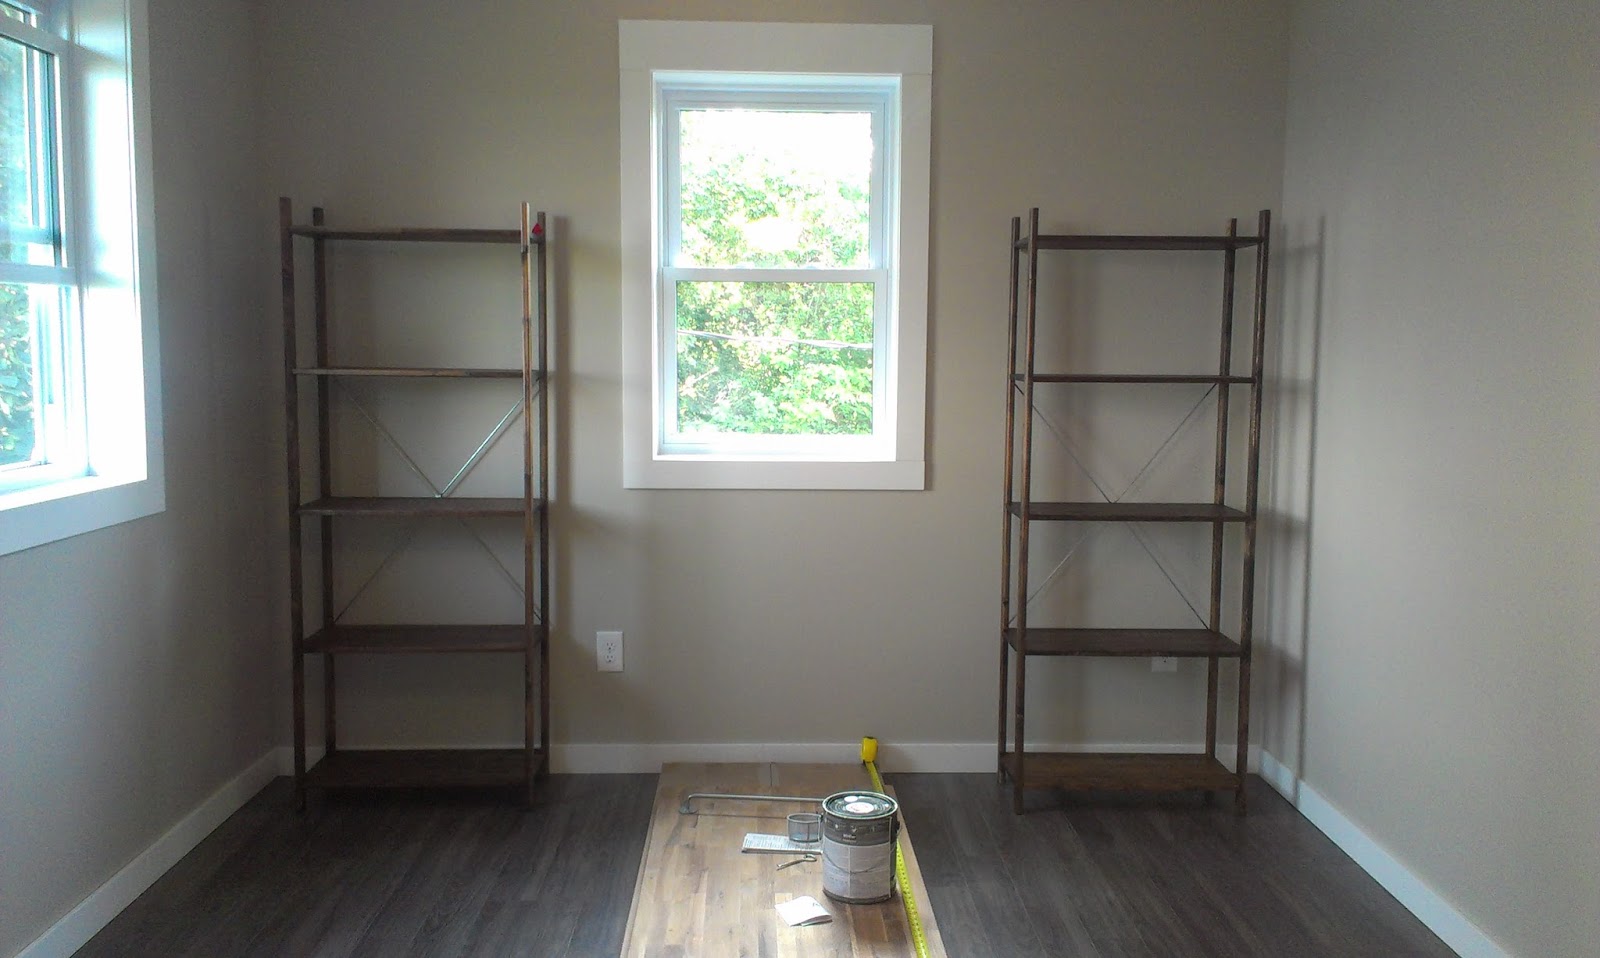
I have a couple options as far as placement of the shelves go— and I really don’t know which one I prefer. I can go one on either side of the window, like so:
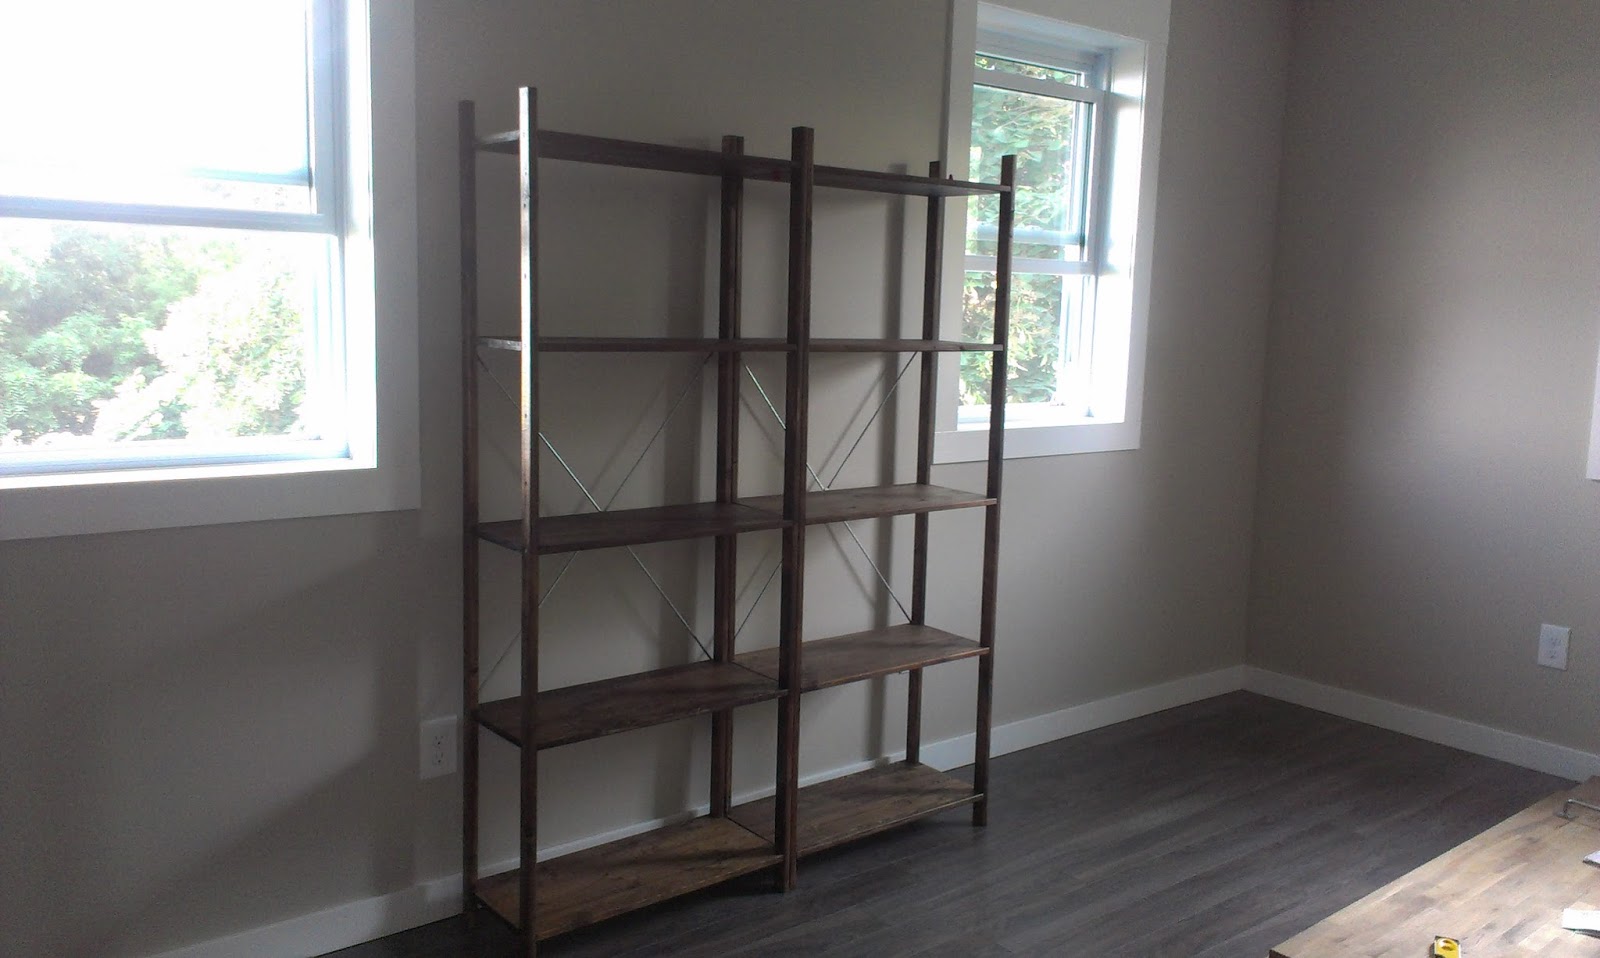
Or, I can gang them up between two windows and they would be the first thing you see when you walk up the stairs or past the door:
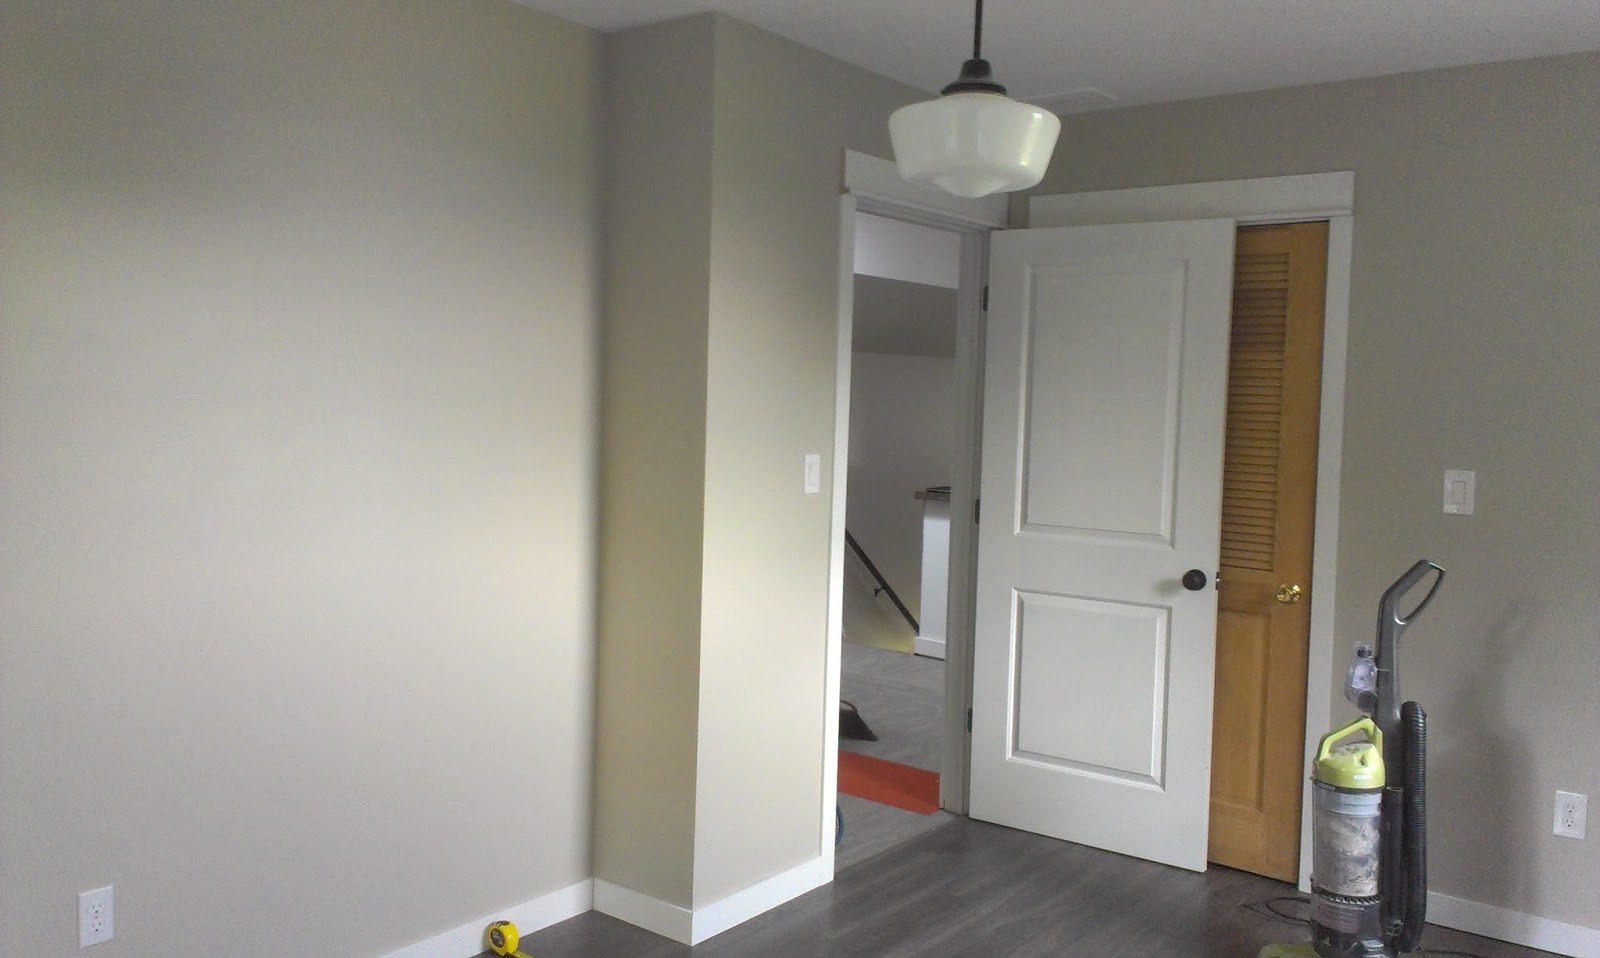
I think I kinda like them ganged together like this and I’m imagining white, soft, full curtains on either side of the windows to really lighten up this wall and create a welcoming effect. However, once you bring in the bed where I wanted it, it doesn’t leave much walking space:
The tape measure shows exactly how far the bed would extend.
The room has a funky, little bump-out that I was hoping to tuck the headboard into and extend into the room.
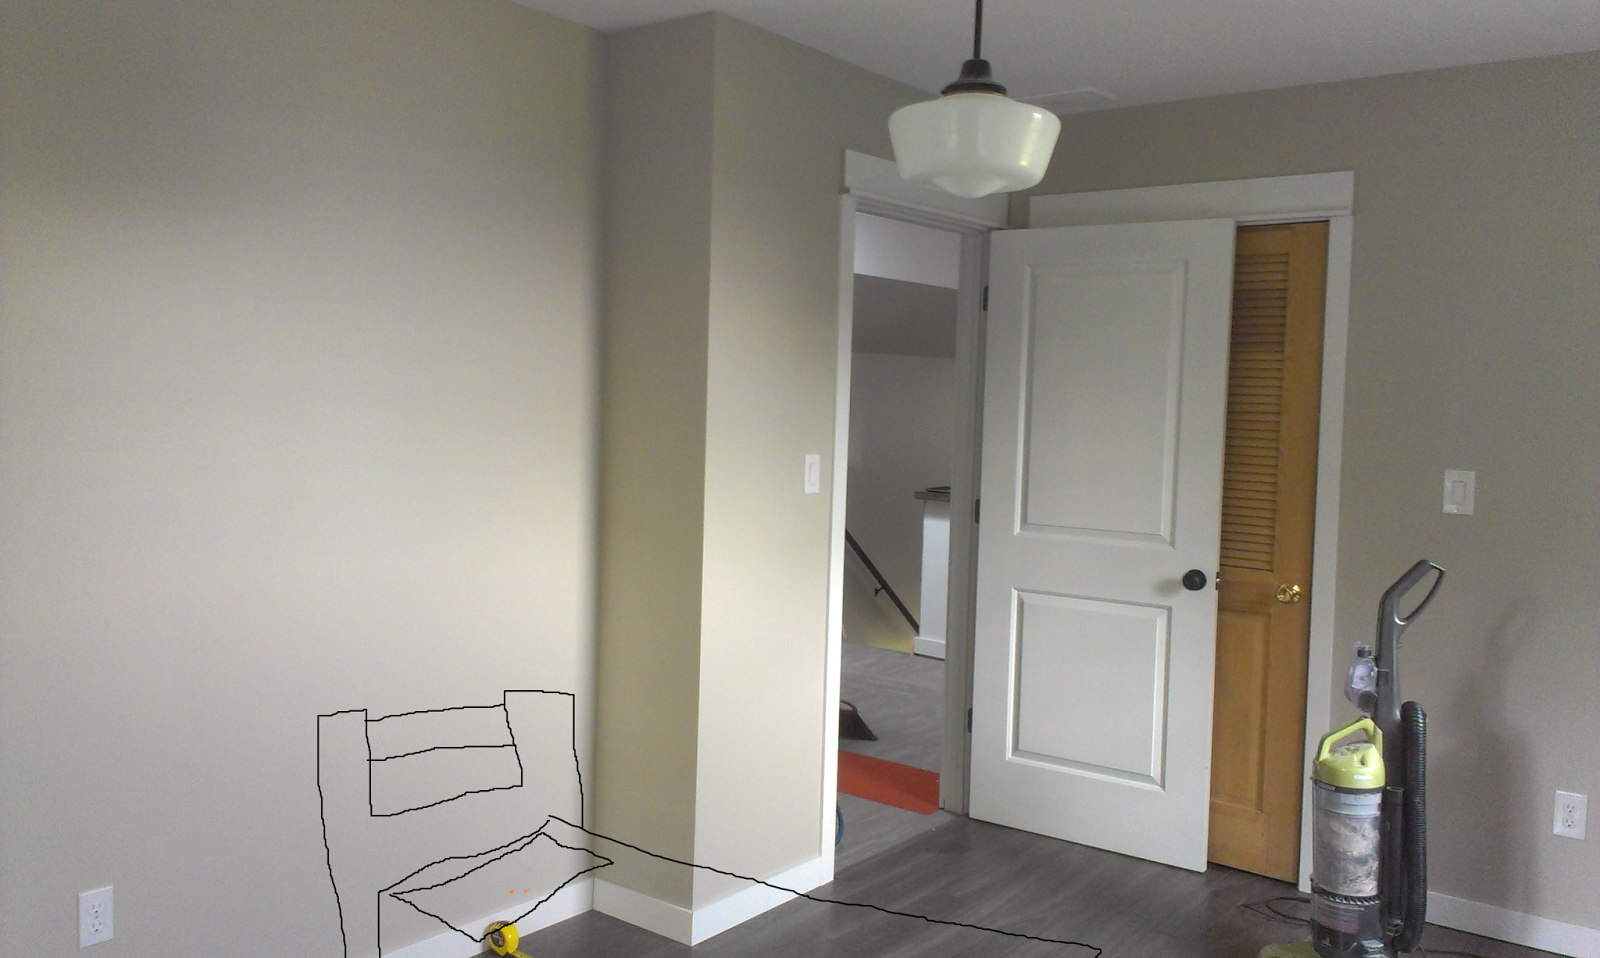
Now, excuse me while I dazzle you with my ARTISTIC rendering of Jack’s bed in this space just to help you understand what I mean:
You’re floored. I know. I gots mad Paint skillz. Don’t hate.
So that’s where we are right now. No decisions on room layout, but I’ll get that figured out in the next couple days. Any thoughts? Recommendations? Would you like me to offer tutorial classes on how to illustrate in MS Paint?
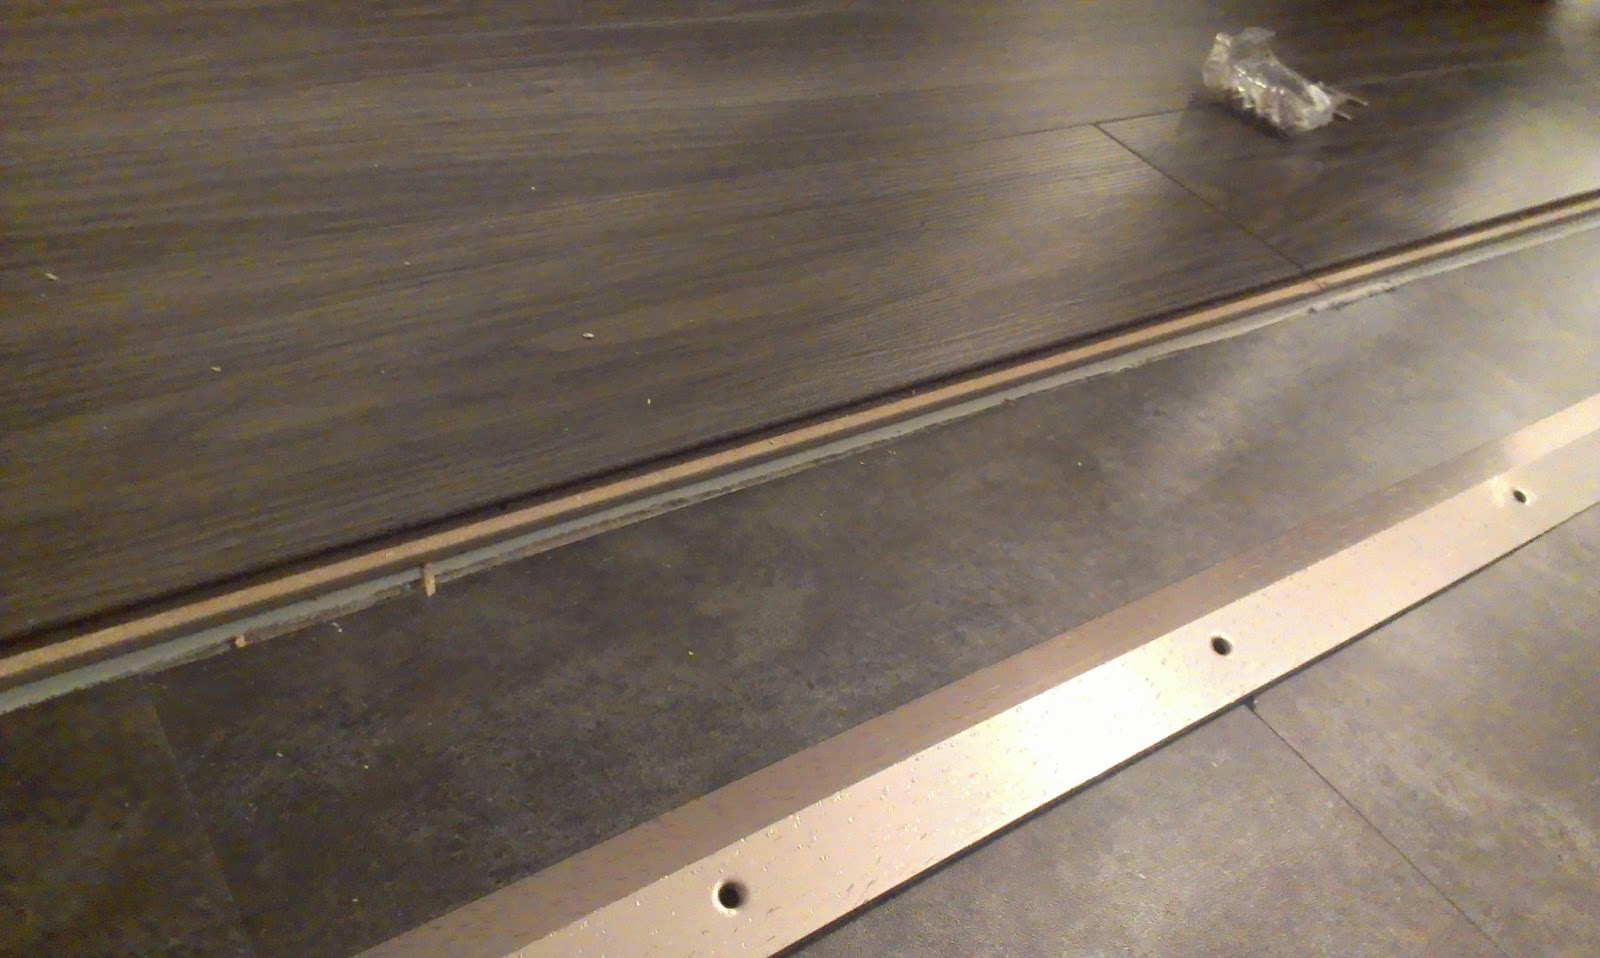
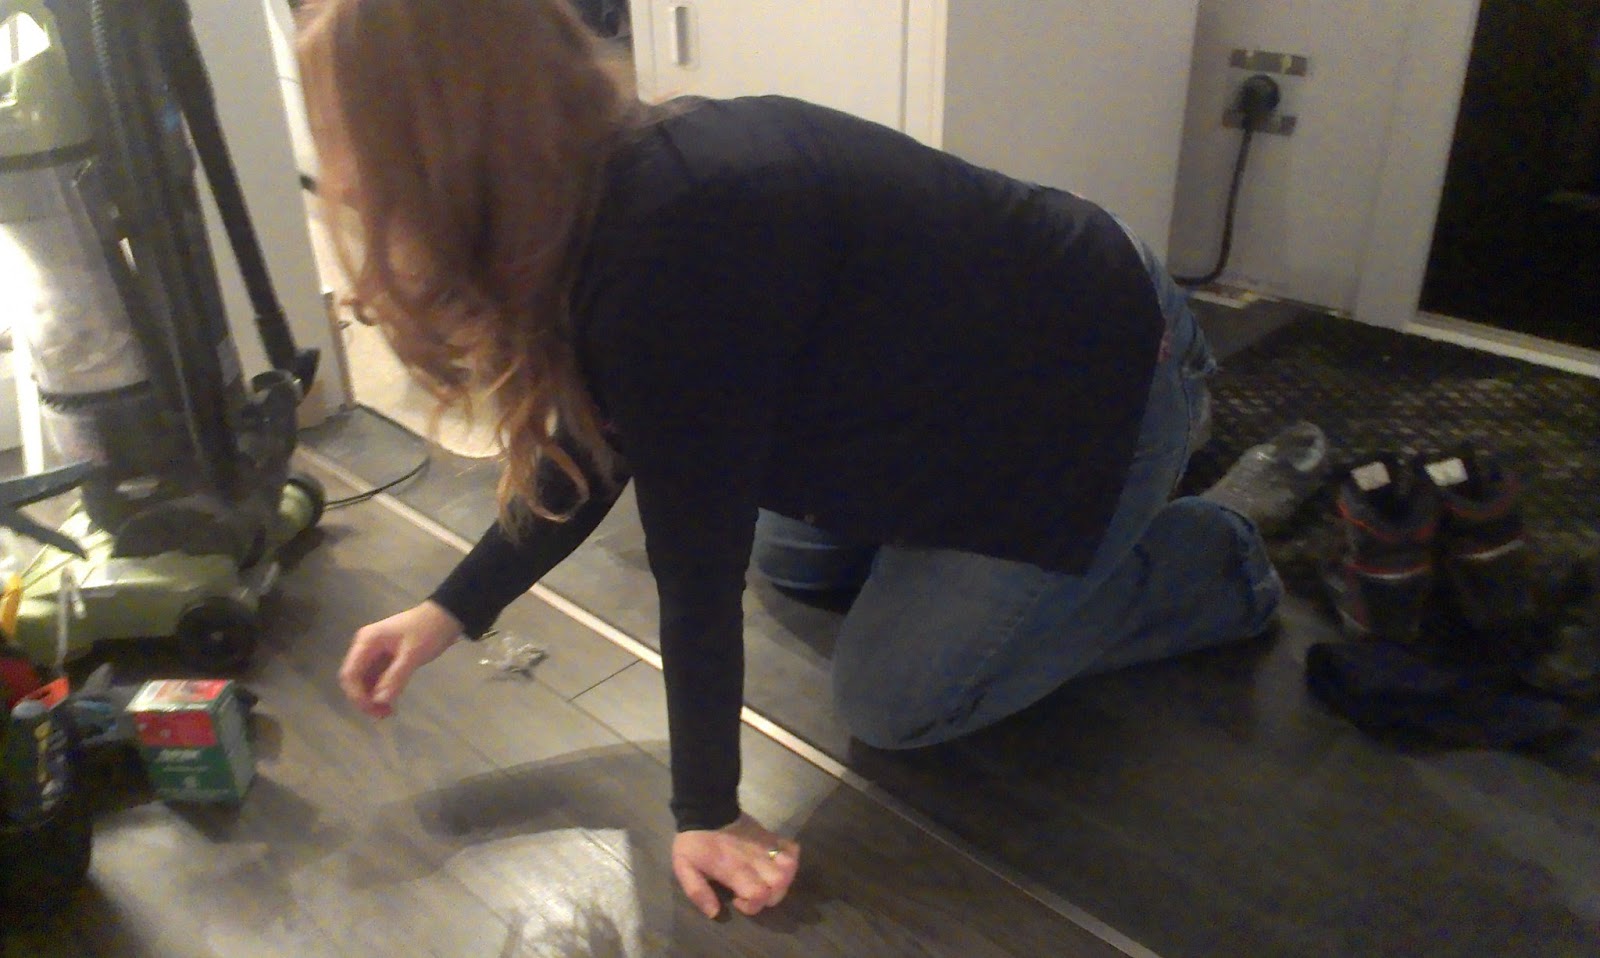
I have to be honest. There are SO many big projects going on around here – at the same time, mind you – that it feels good to check a few of the little boxes off the list. One thing that’s been totally cramping my style is the unfinished transition from the sunroom/family room/Florida room to the laundry room/mudroom/entry. Note to self: pick a name for these rooms, would ya? This is one of those little jobs that took only a little bit of a time commitment but cleared a nice chunk of mental space for me. Does that make sense?
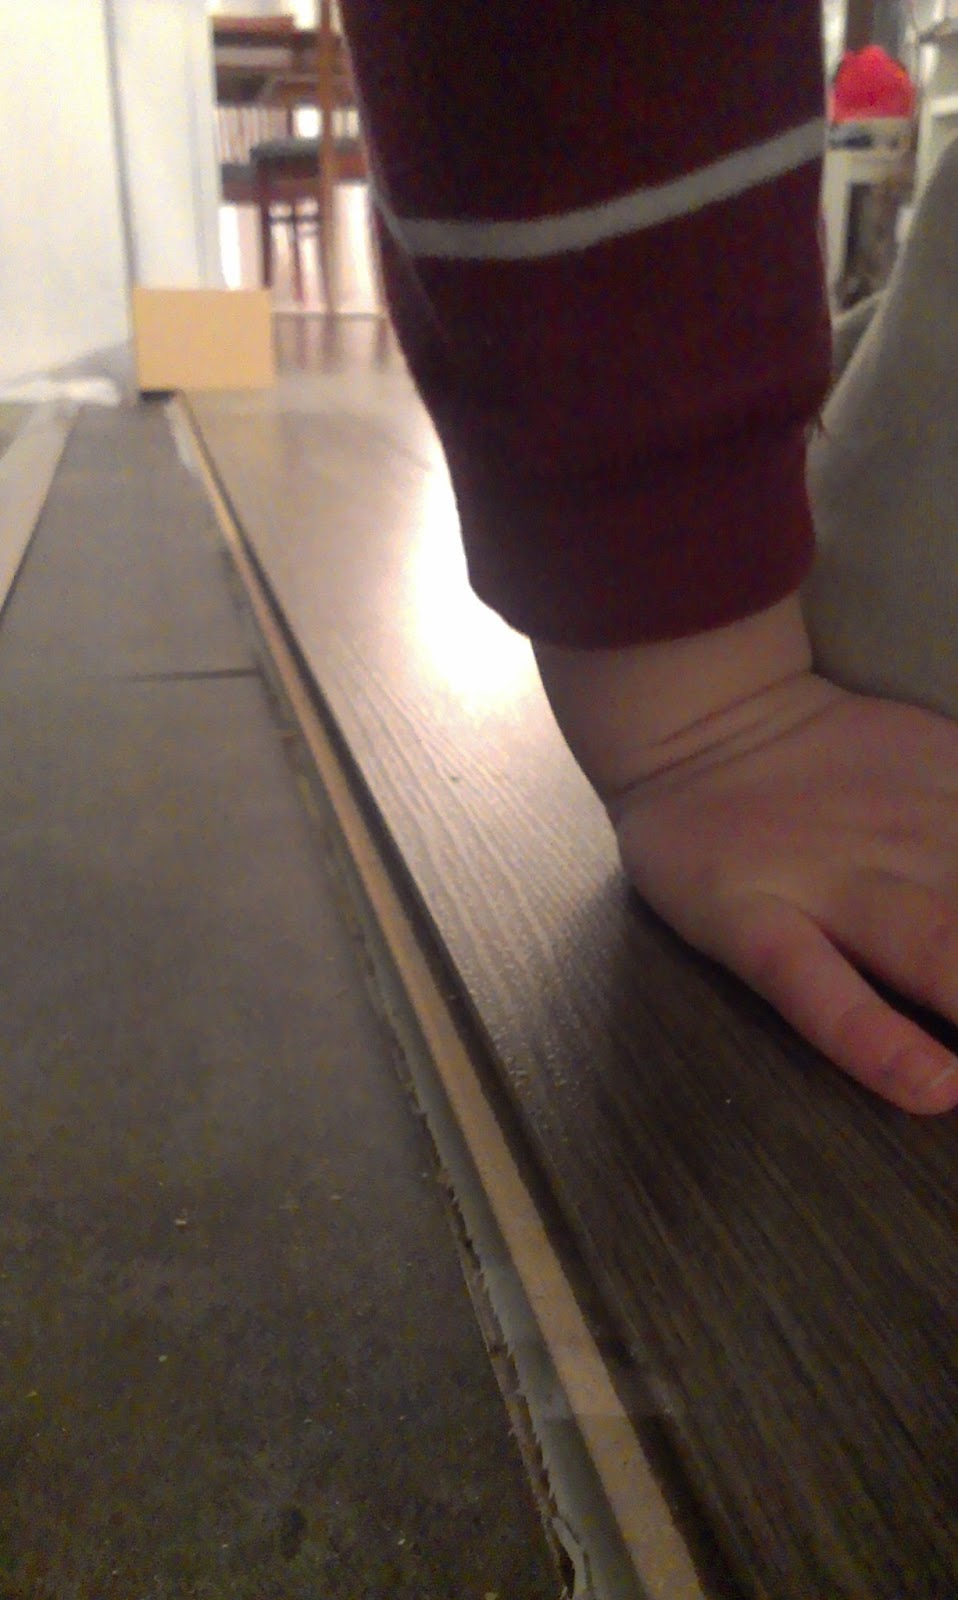
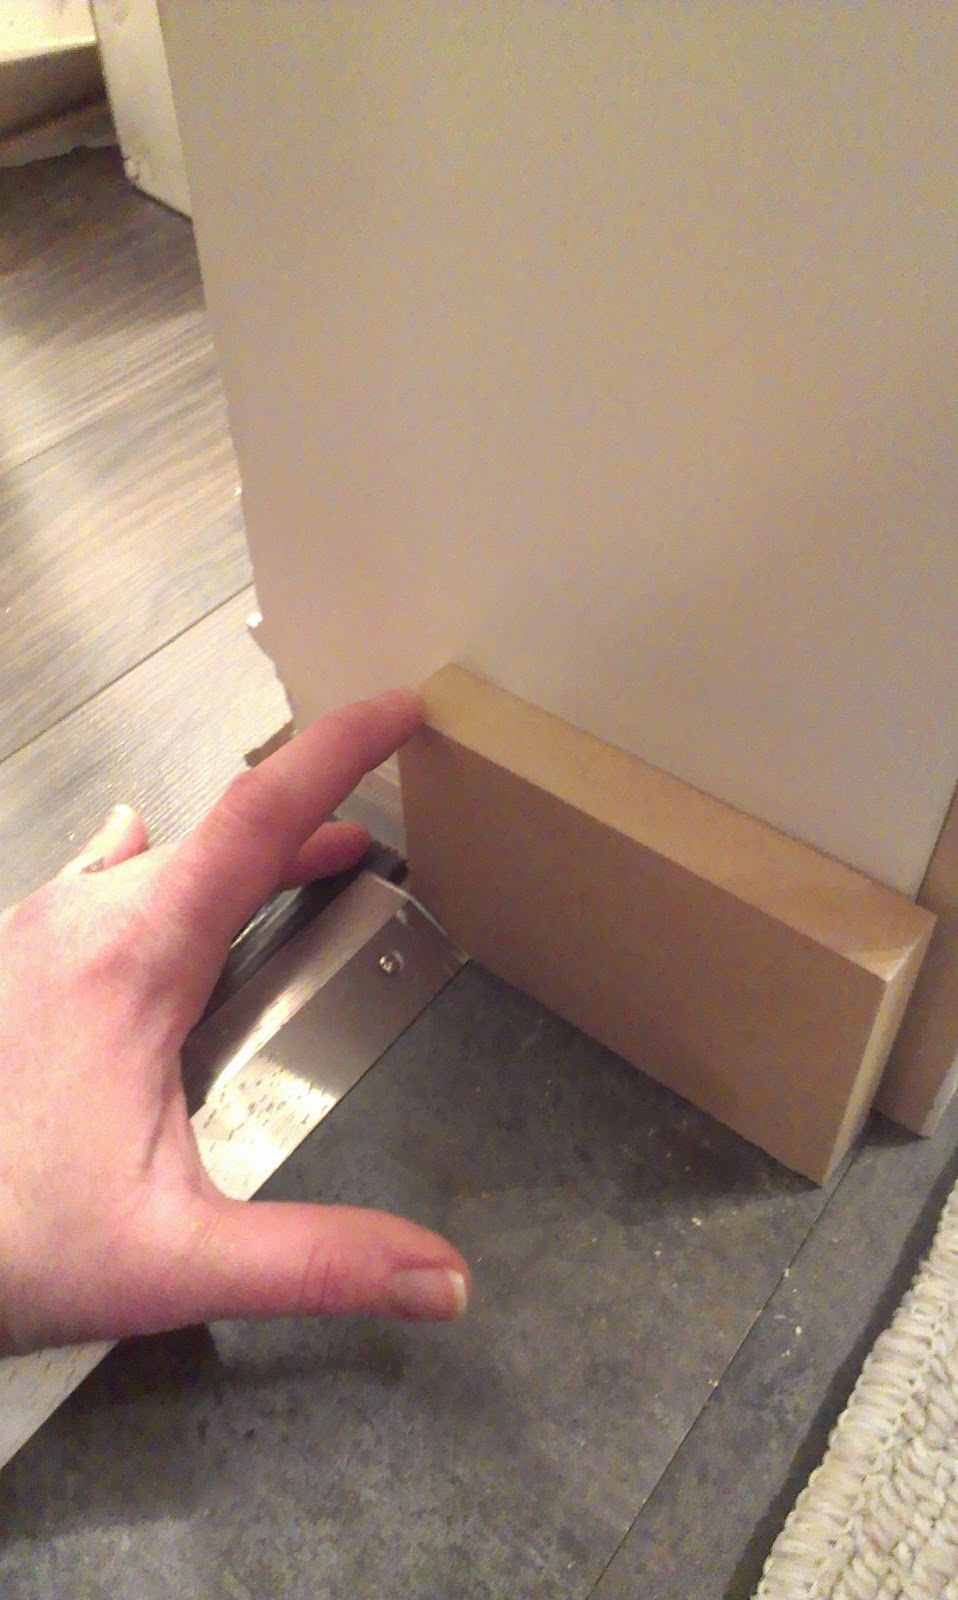
I was getting tired of tripping over that little edge of the flooring. It’s hard to tell, but it was about 3/8ths of an inch higher on one side. Oh, and see that little hand there?
That was my little helper for the job.
‘Helper’
I should mention that he was also the photographer for most of this project.
Yeah. Bear with me for this one.
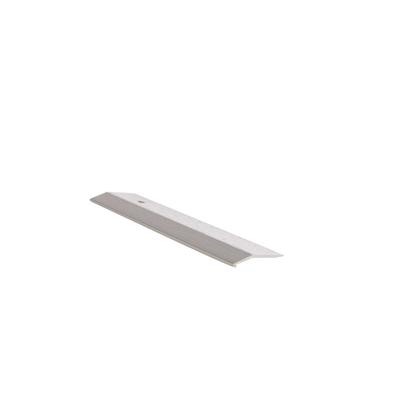
I started by buying a 12-foot equalizer strip in titanium from Home Depot for about $30.00.
(image from Home Depot.ca) (The 12-foot length doesn’t come with it’s own screws, so be prepared to shell out an additional $.93)
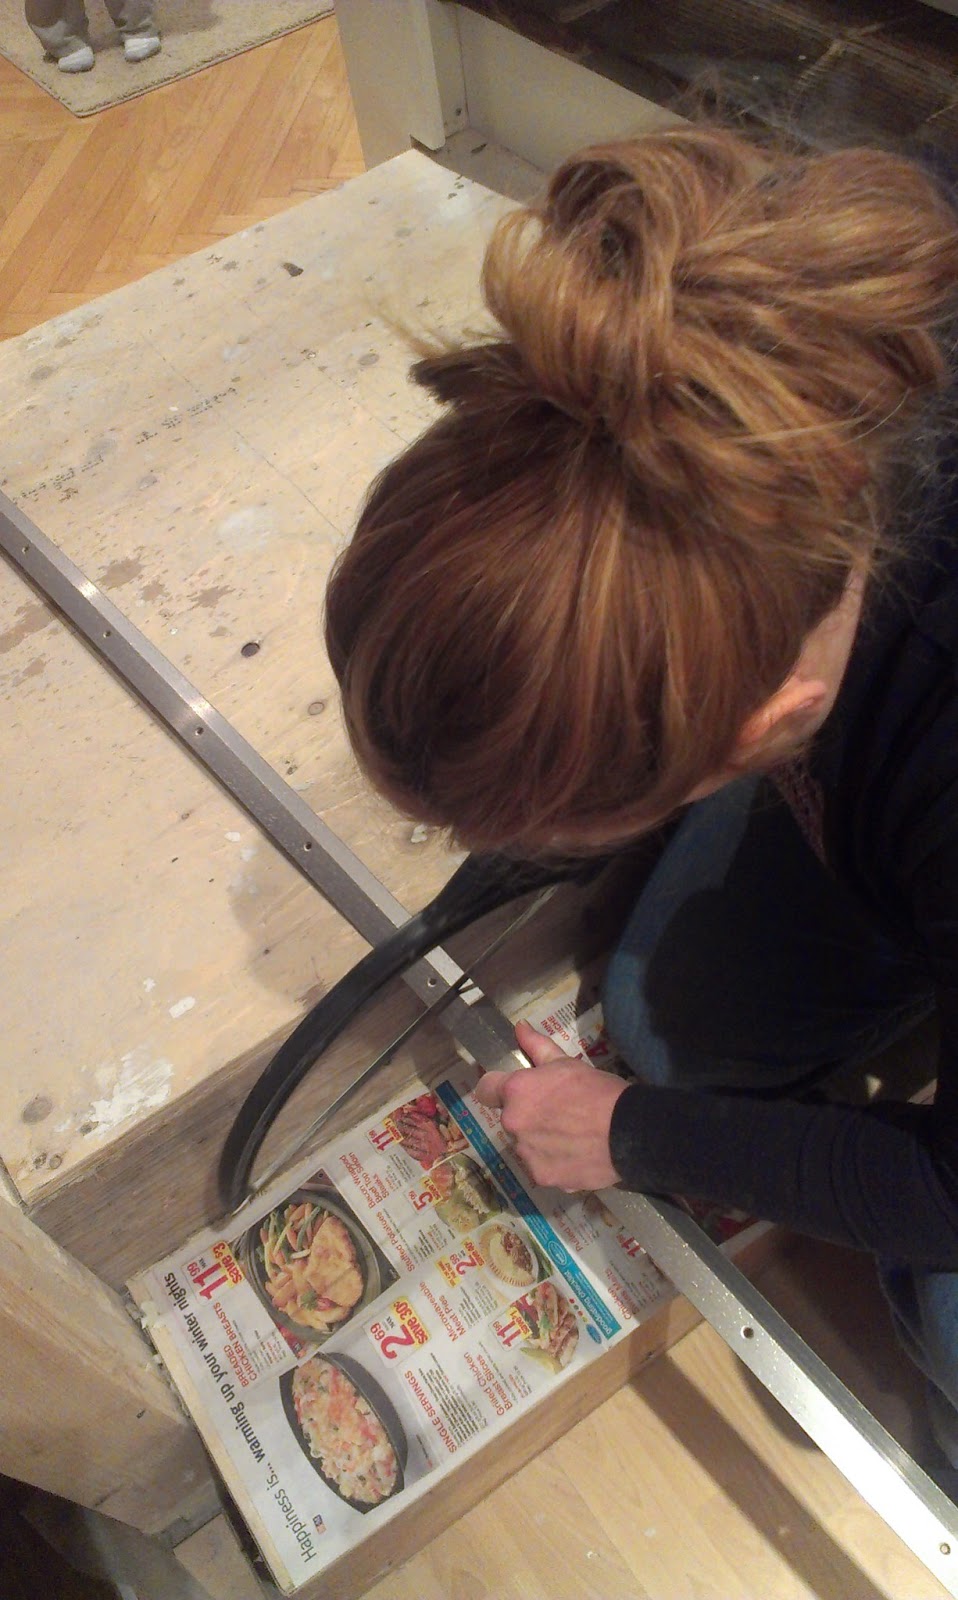
I needed to cut it to match the opening which was about 7.5 feet. John suggested I use his “fancy, fancy hacksaw.” His words. Not mine.
I started cutting.
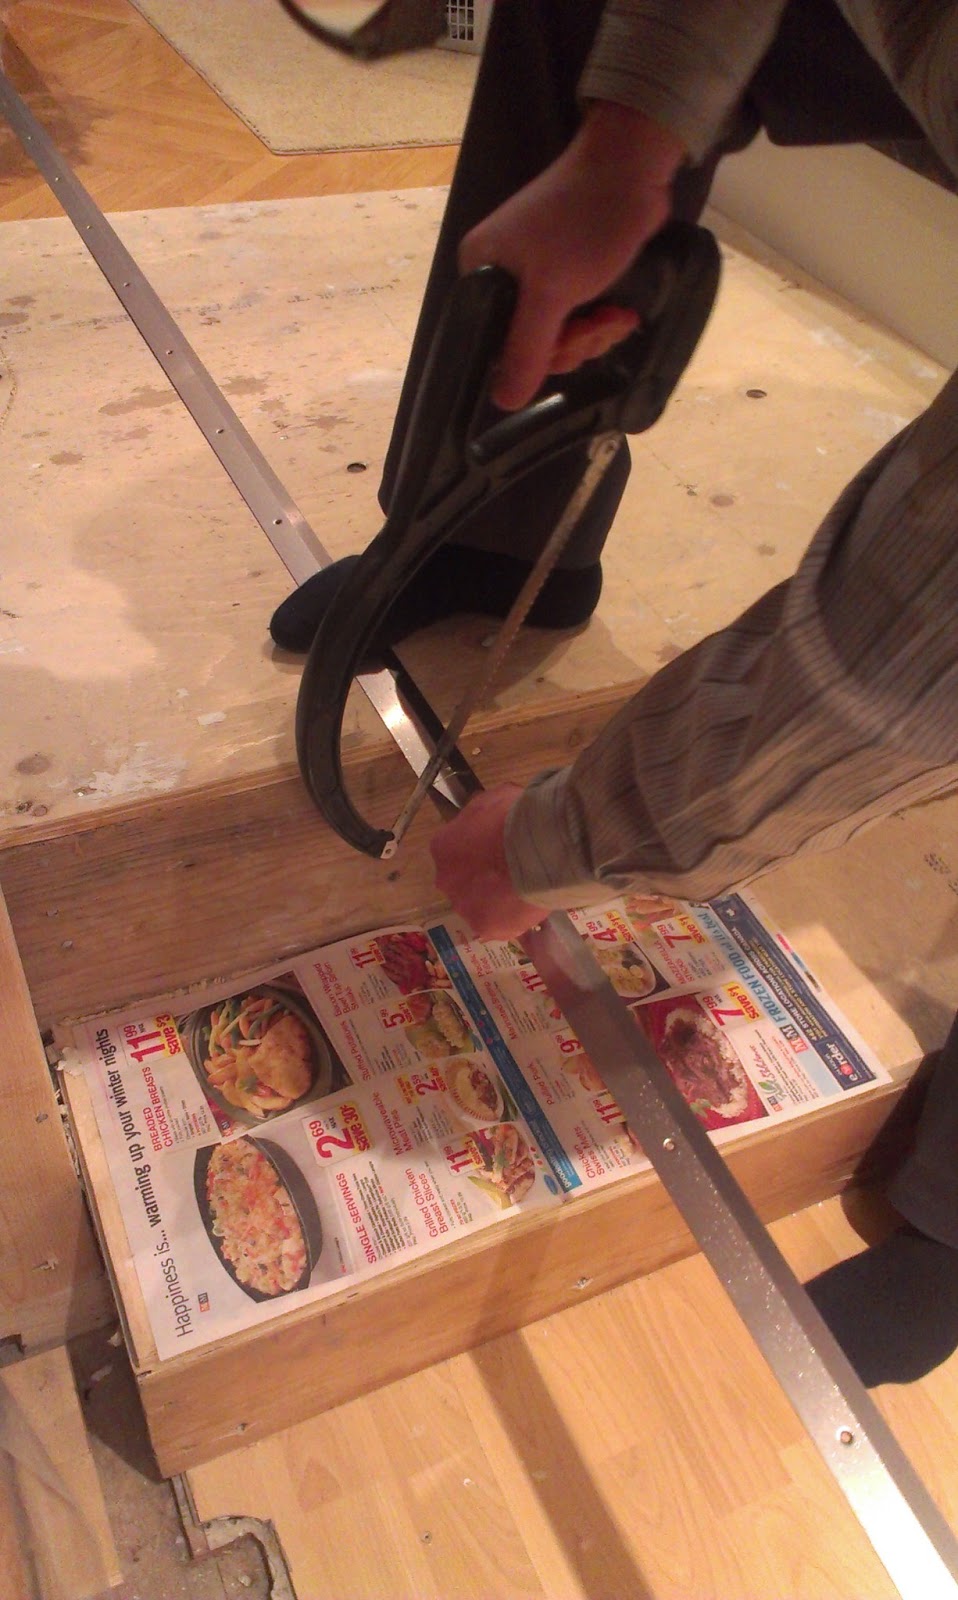
My positioning was all wrong and I kept scratching the strip – which was frustrating – so I asked the resident muscle man to step in and show me how it’s done.
And show me he did. Work that fancy hacksaw.
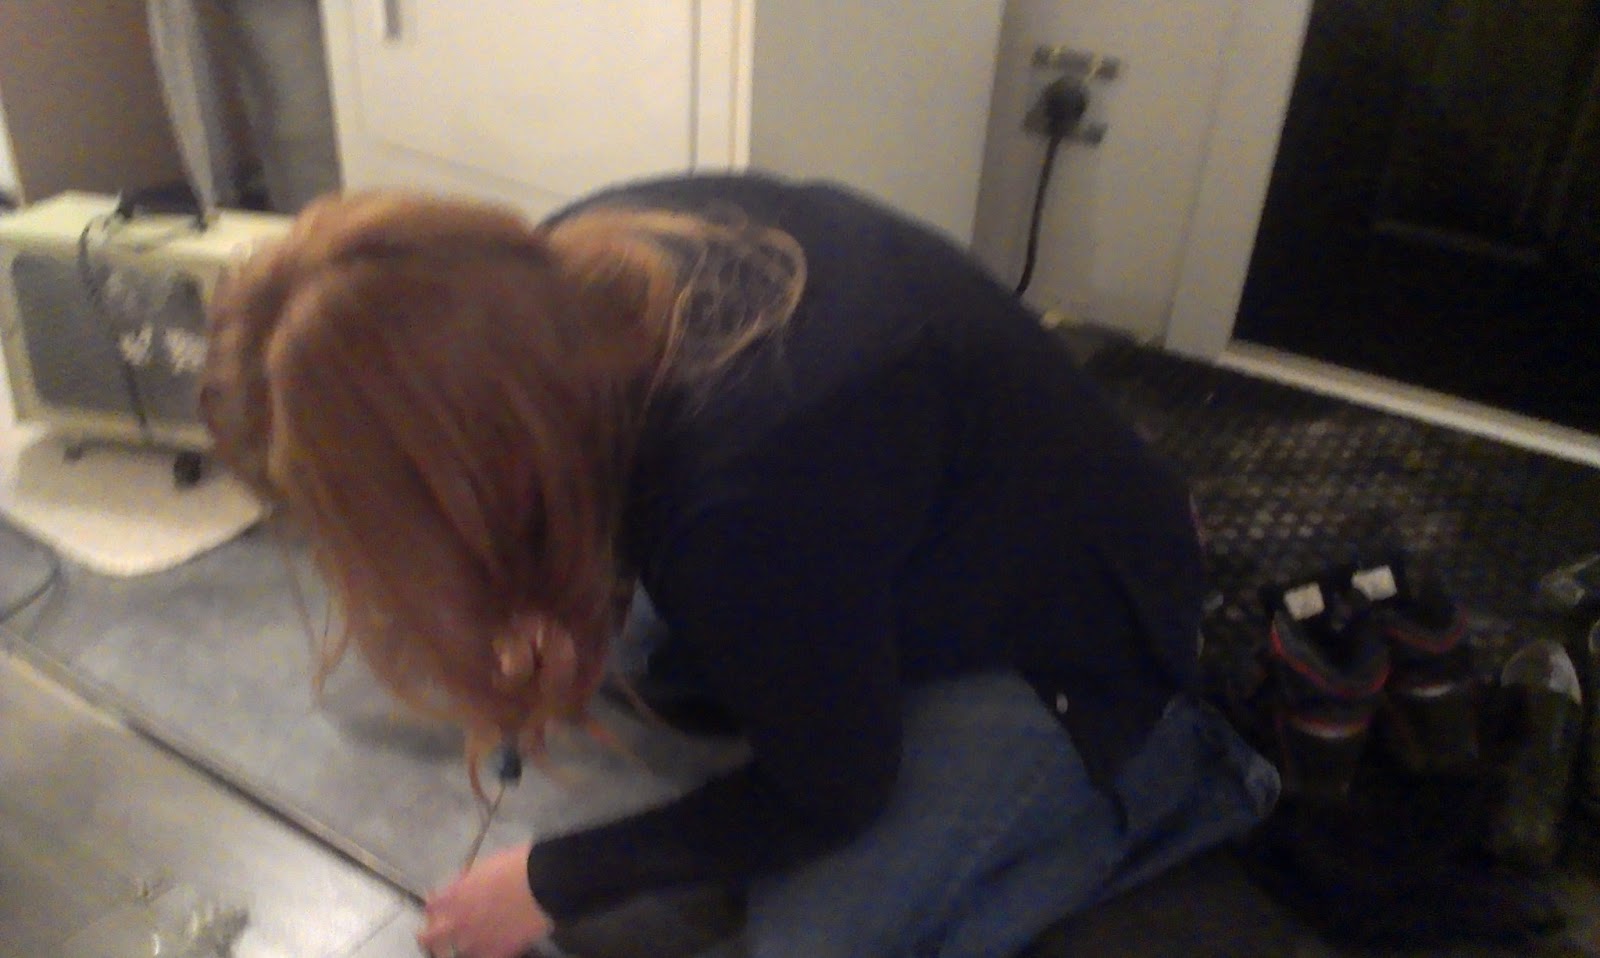
Once it was cut down, I brought it over to the uneven flooring fiasco and double-checked that it fit. Normally, you would put this puppy in after you’ve put in your doorjambs and floor trim. I don’t always necessarily do things in the order they were intended. I don’t care. Neither does honey badger.
Since I *was* putting it in before the floor trim, I wanted to make sure that I left room on each side for the baseboards. I just used a spacer block the same thickness as my floor trim to keep things on the up and up.
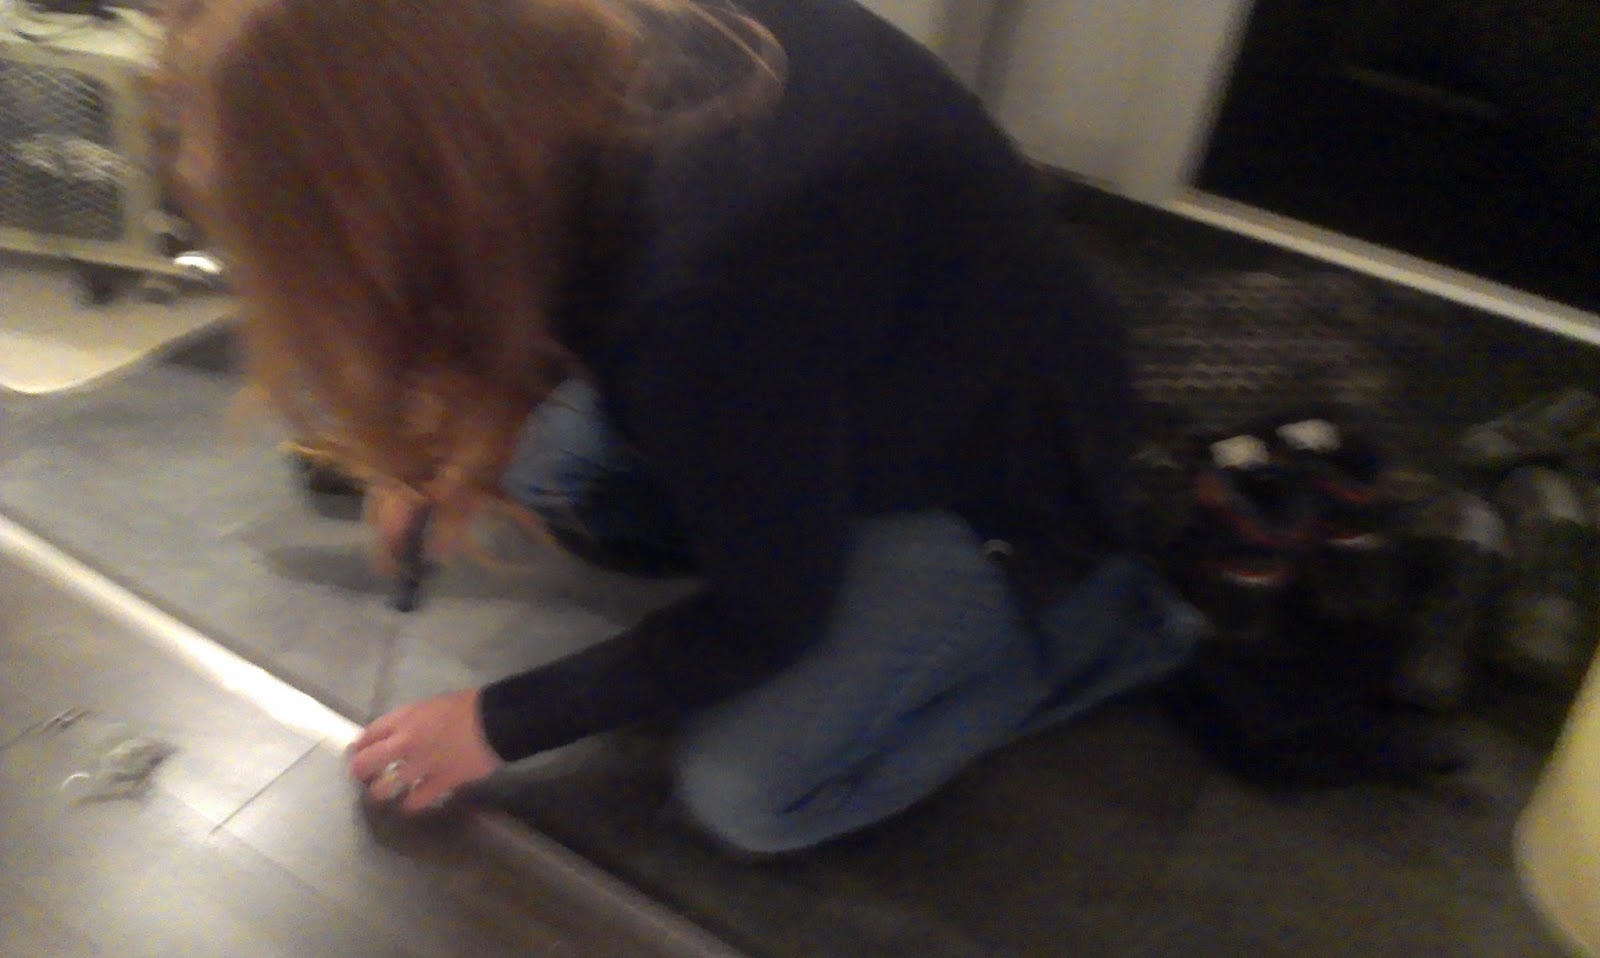
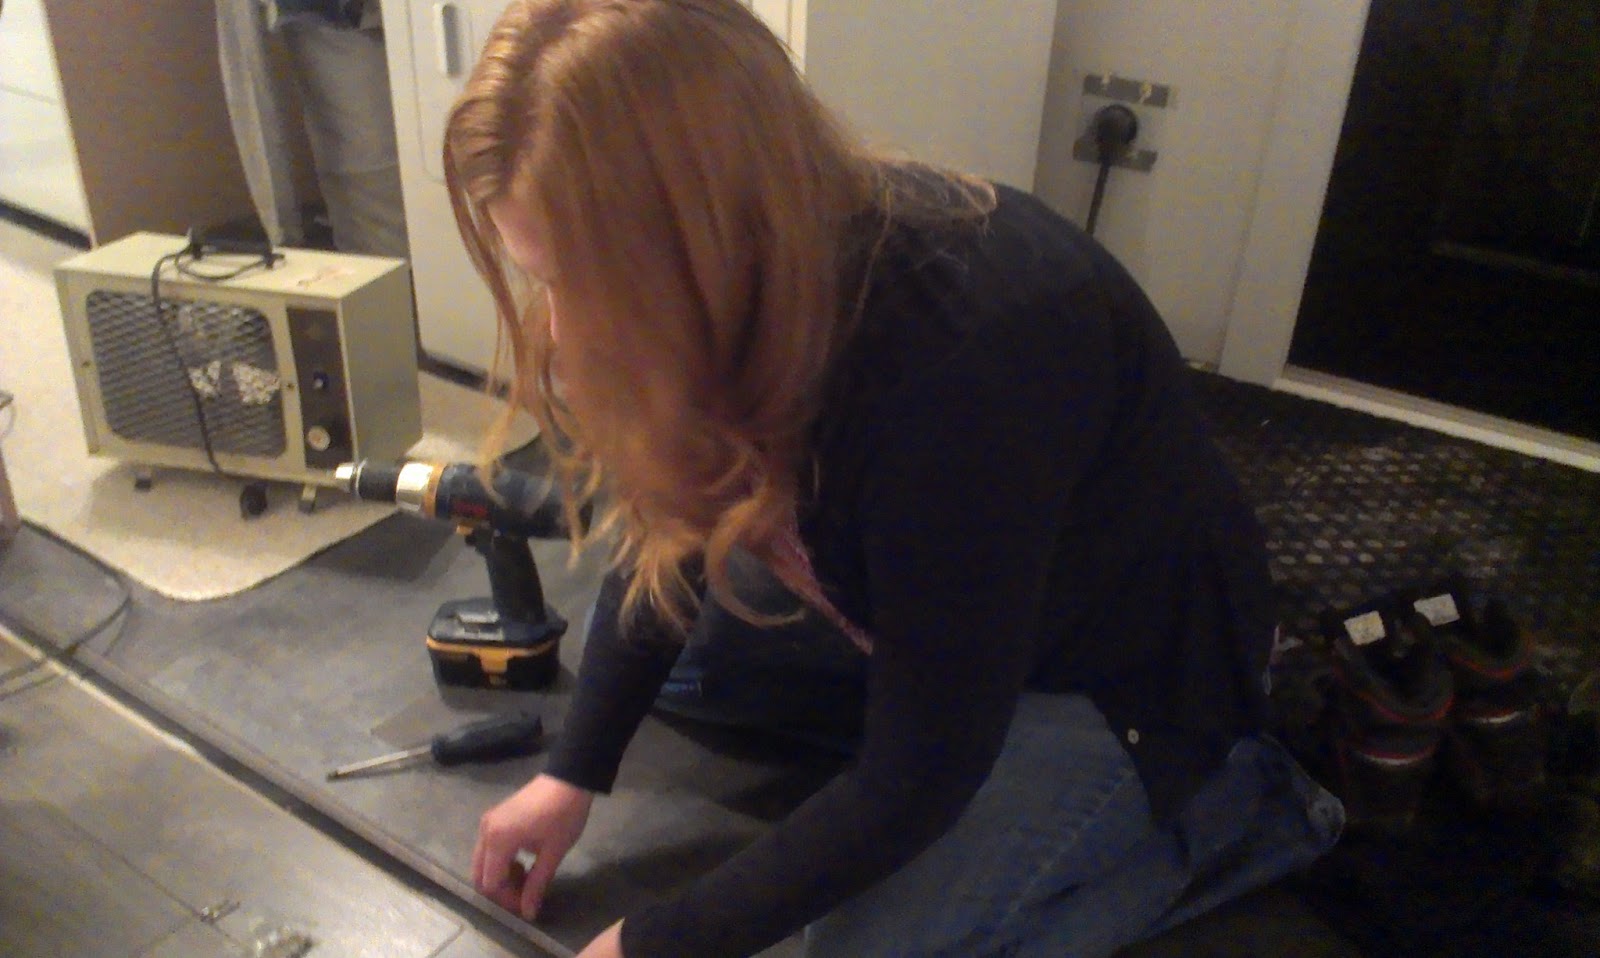
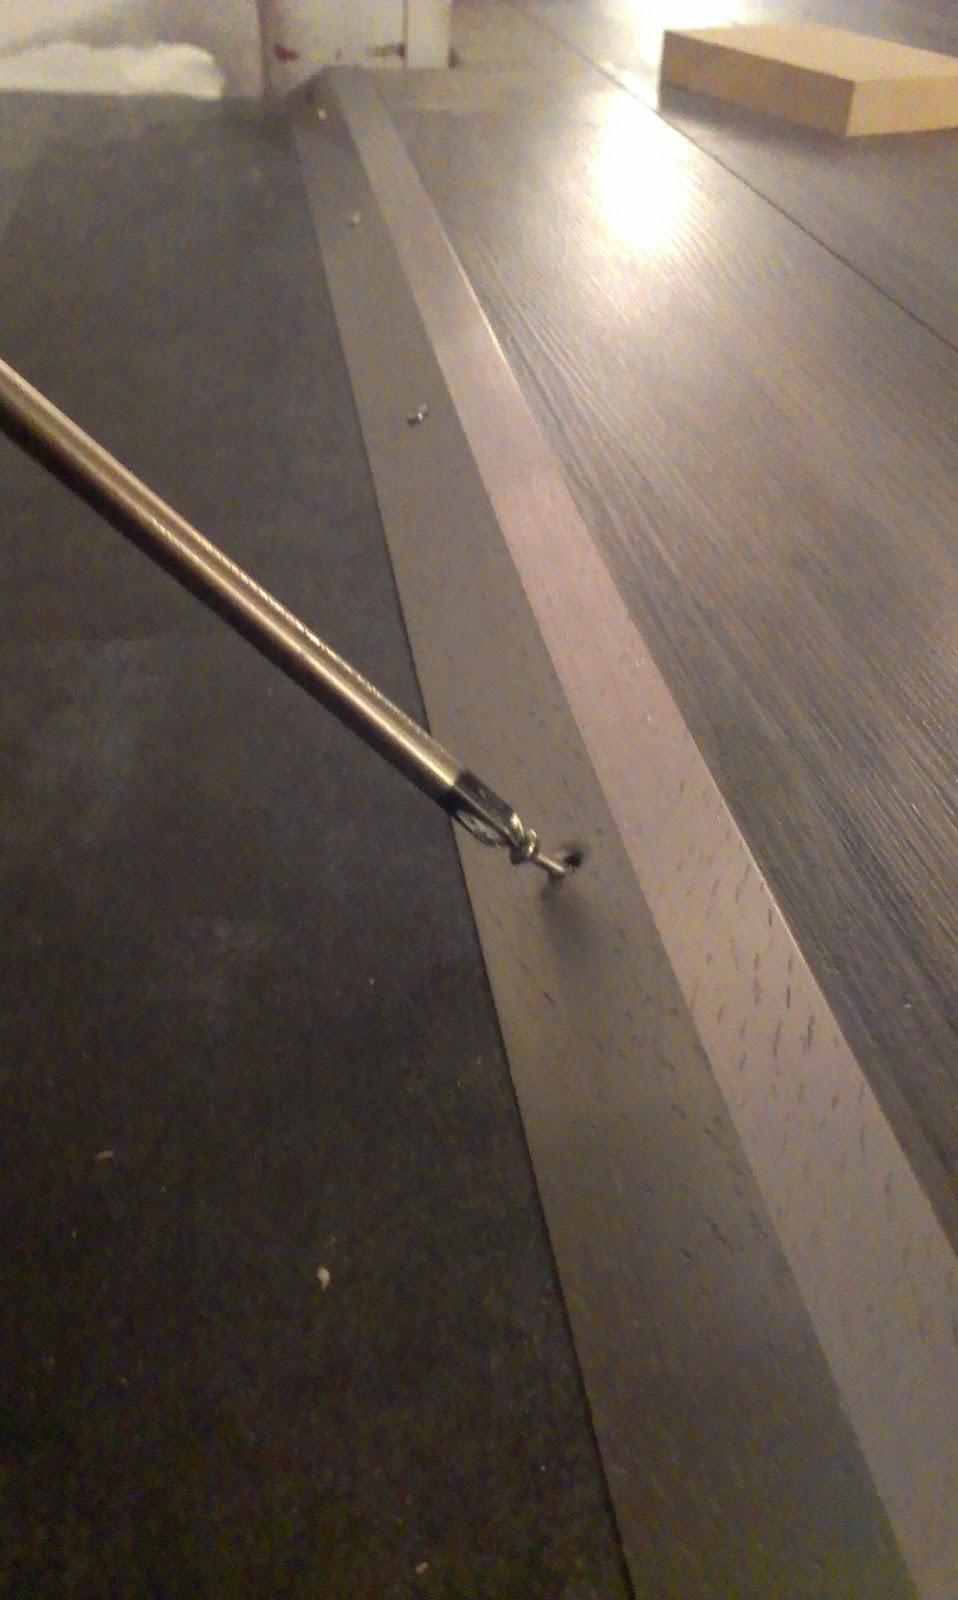
I lined the strip up so that when I drove the screws in, I still left some expansion room for the floor. I started out just trying to push the screws in with my screwdriver as I turned them. Not ideal. The screw kept slipping on the vinyl tile underneath and would end up pinching my fingers. Hard.
I figured it would work better if I predrilled a little pilot hole in each opening to give the teeny, tiny screws a some gentle encouragement to stay in one place and stop freaking hurting me.
But I couldn’t find my small drill bit.
Scratch that.
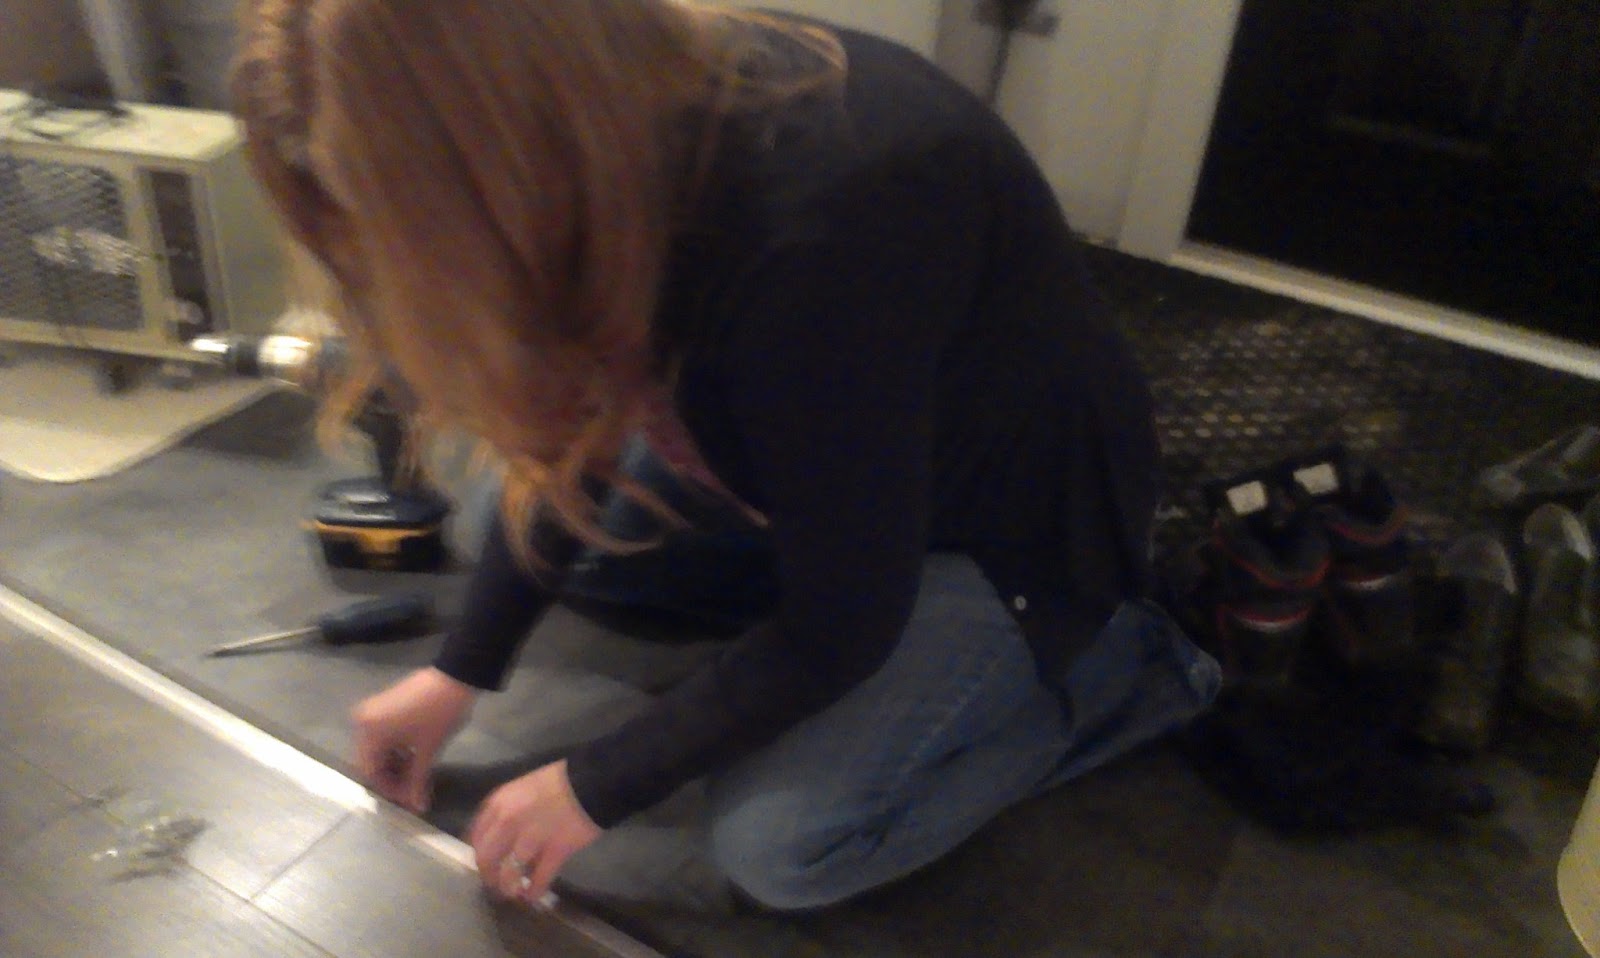
I couldn’t be bothered to go look for my small drill bit and I MacGyver’ed this mutha by finding a flat-head nail to use for my pilot hole.
Like. A. Charm.
I gave the nail a forceful lovetap (oxymoron, much?), removed it and screwed in the Lilliputian screws.
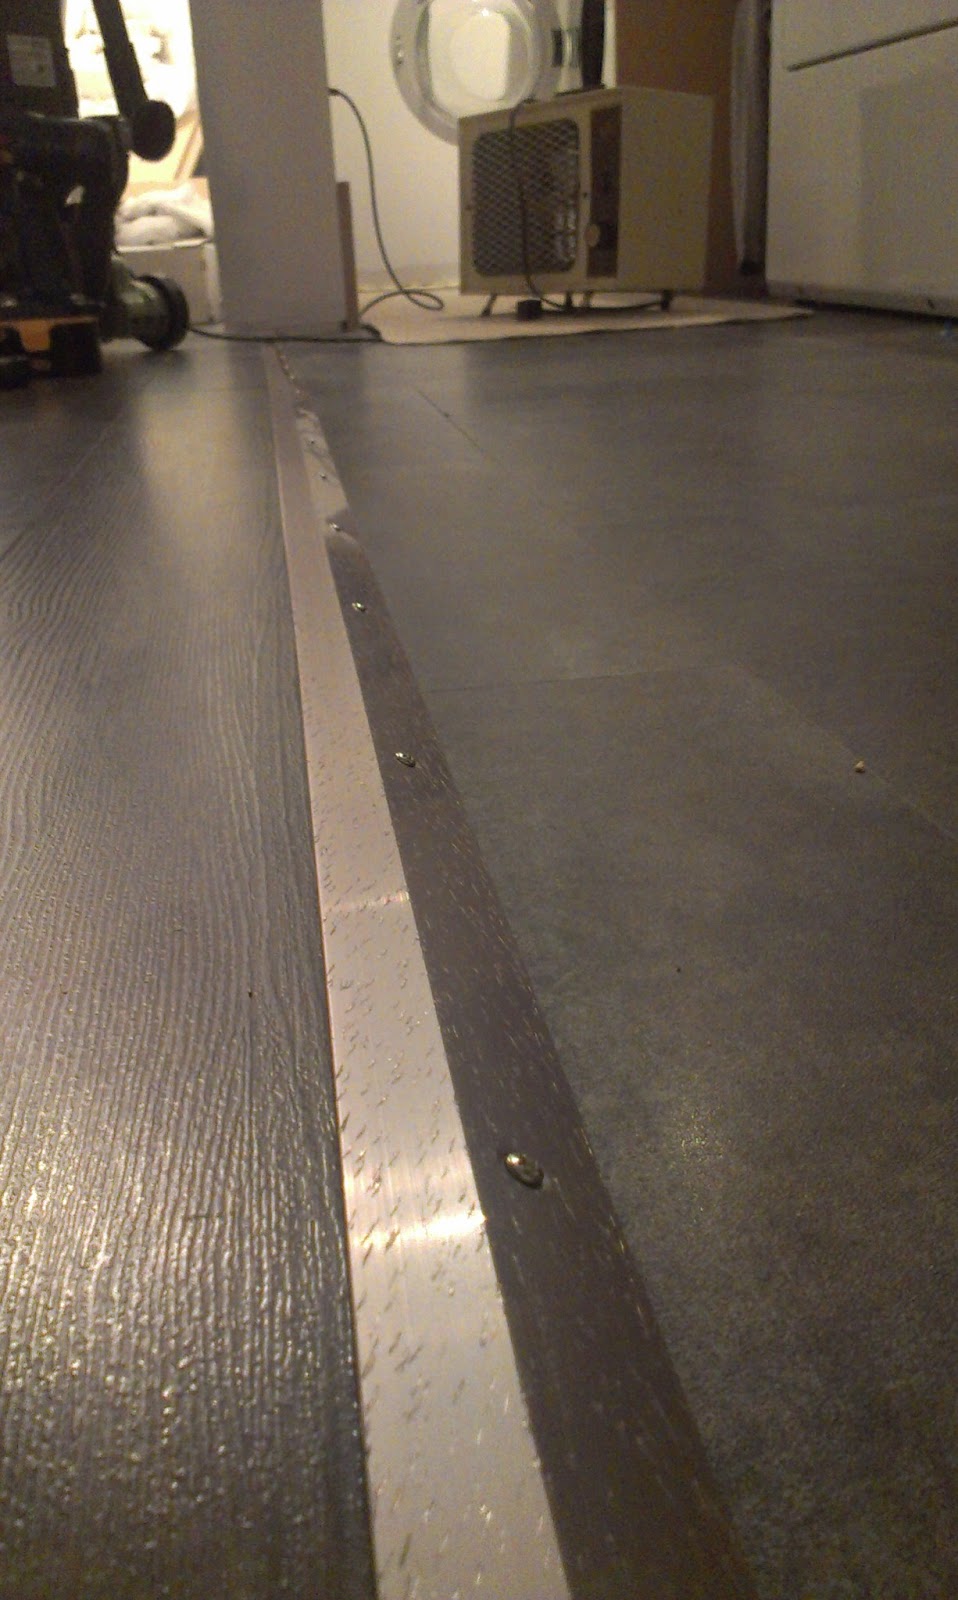
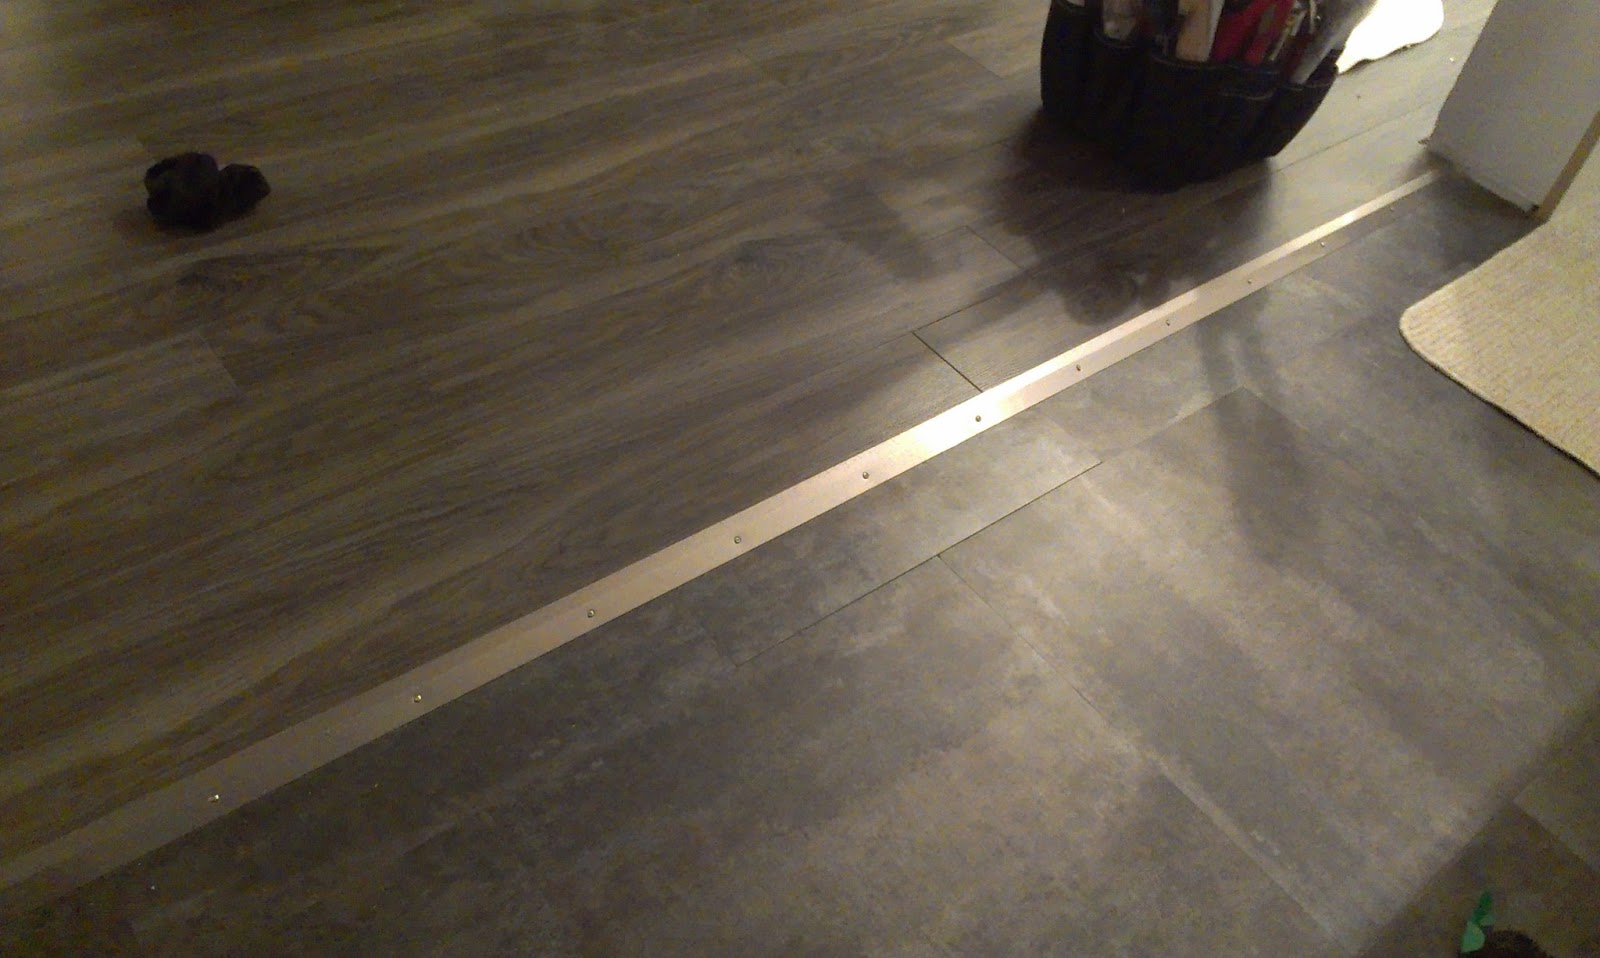
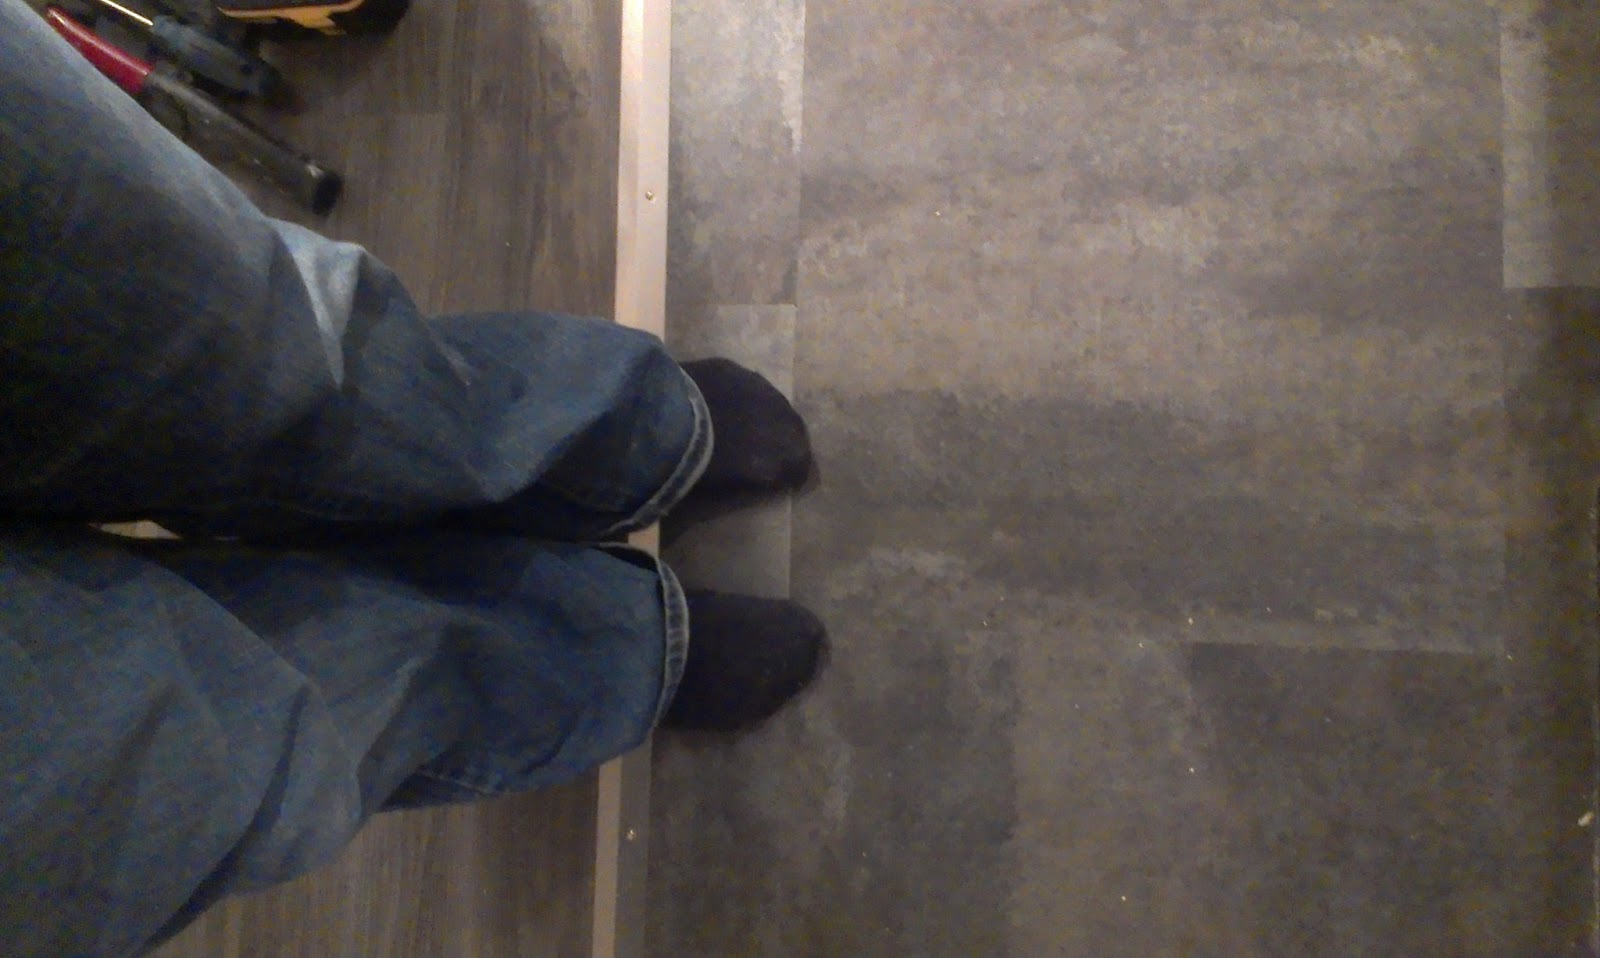
Rinse and repeat about 14 more times.
My feet are much happier. I’m not trippin’ any more, yo. Sometimes the little bites have the biggest impact on the every day.