How To Keep From Falling Down A Staircase

The alternate title for this post could have been ‘Building Another Bookcase’, but where’s the fun in that?

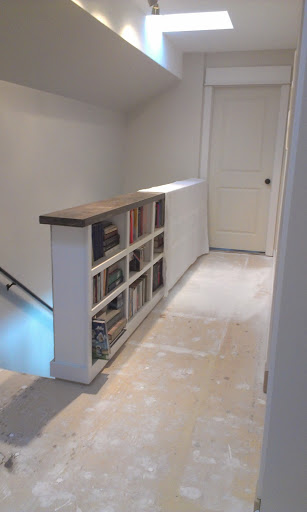
Let’s start with the finished product and get it out of the way.

When we first added the second floor, I was totally all about a long row of pretty, white pickets and a monstrously beautiful newel post at the top of the stairs.  But then a couple things popped into my brains:  1. I have a pretty good fear of heights and I just didn’t like seeing the drop all the way down to the first floor.  2. It wasn’t particularly original or practical to do the picket thing.  The beauty of choosing to do all of the interior trim work ourselves means we can do whatever the heck we want (within building code, of course).

John wanted to do a regular half-wall, but he knew I wasn’t going to be down with that.  It needed to be special and meaningful for our family and considering our massive book collection, the bookcase wall idea seemed like a total given.

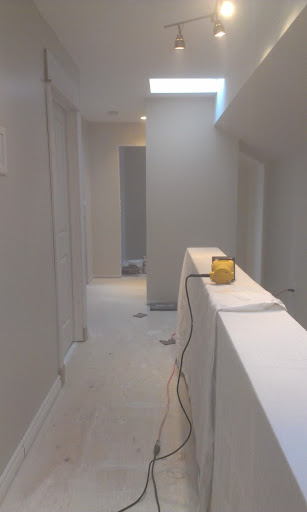
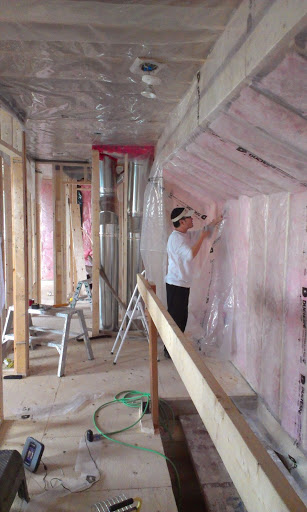
We did this particular project quite a while ago, so my photos are pretty sparse, but I did manage to get a few.  We began with a safety hazard.

That’s it.  Just a couple 2×10’s nailed up.  Scary.  The boys weren’t allowed to go up there without one of us, so I didn’t have to worry about one of them taking a nose dive.

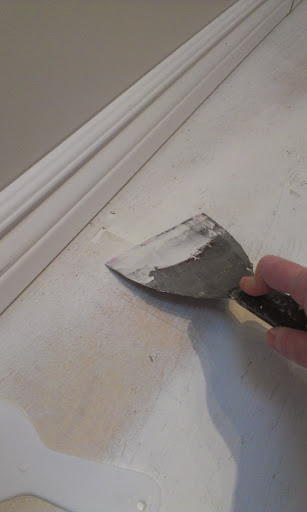
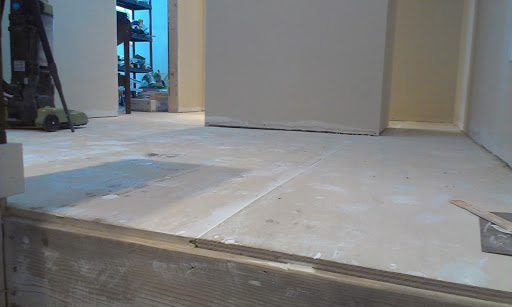
John then built some bases out of 2×4 lumber and screwed them into the floor.

And this is where the picture taking practically stopped.

Wop. Wop.

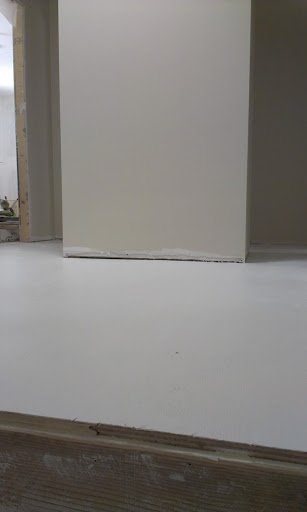
Just to give you an idea, we built the frame of the bookshelf and I made a counter-like top out of PureBond plywood, which sanded and stained beautifully.  I then put pine planks on the back of the unit and stained those, as well.

 Nevermind that side bit of trim, I was testing out ideas for finishing the sides.

The next step was building shelves and I did them exactly like the sunroom/family room unit.

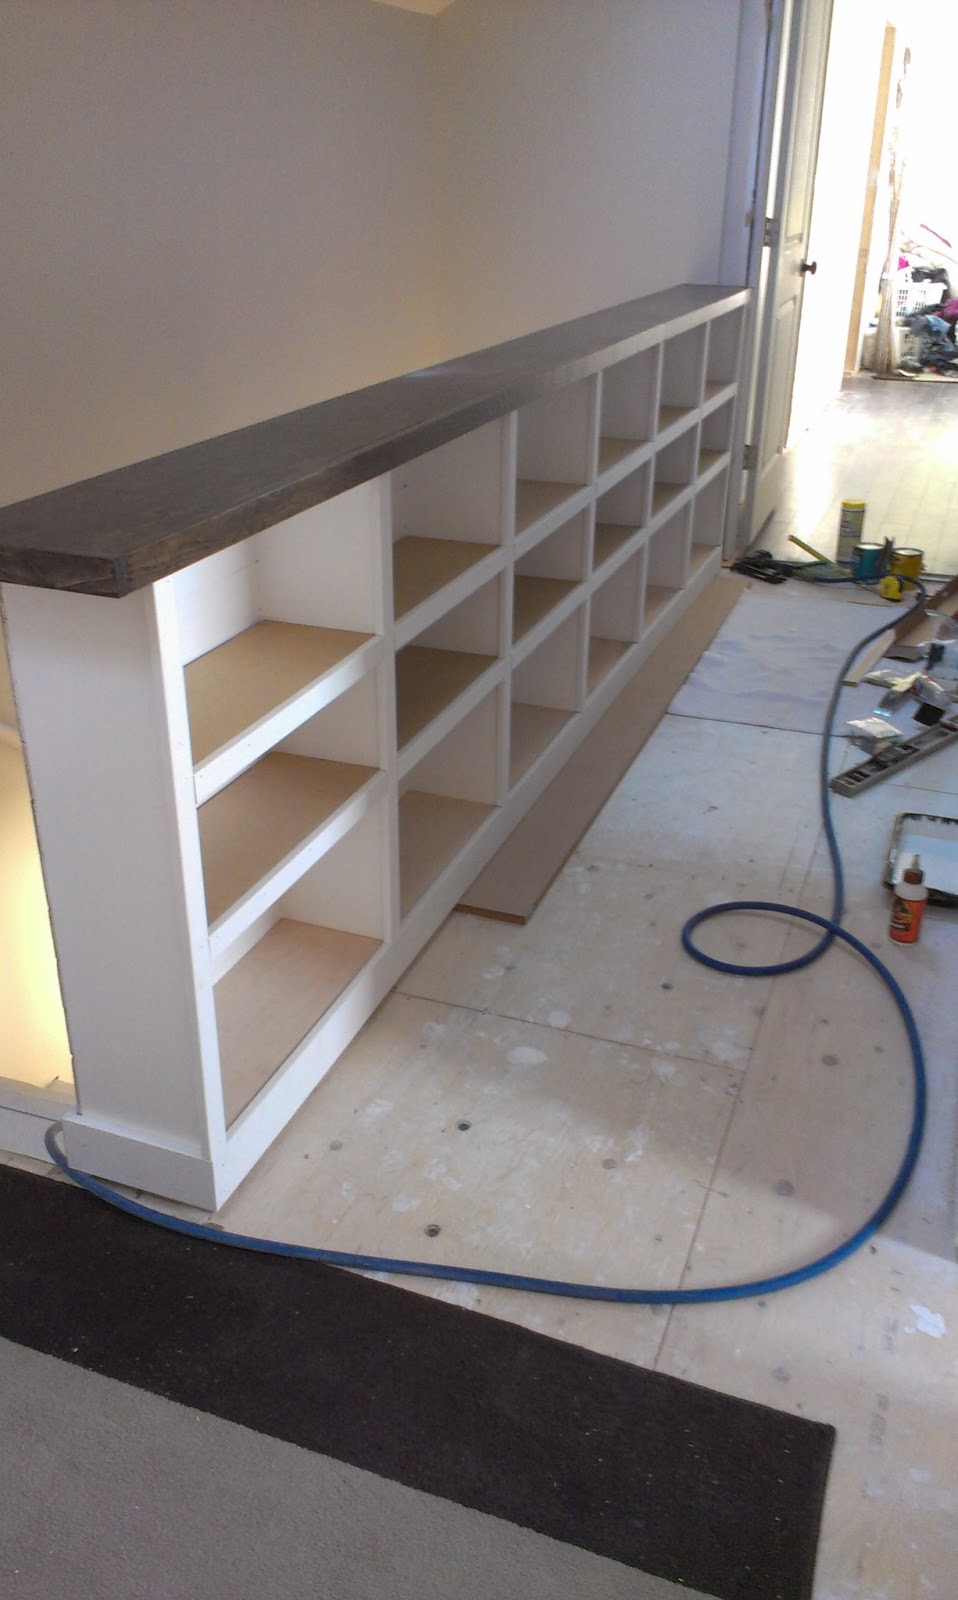
Finished with a couple coats of paint and a whole whack of caulk.

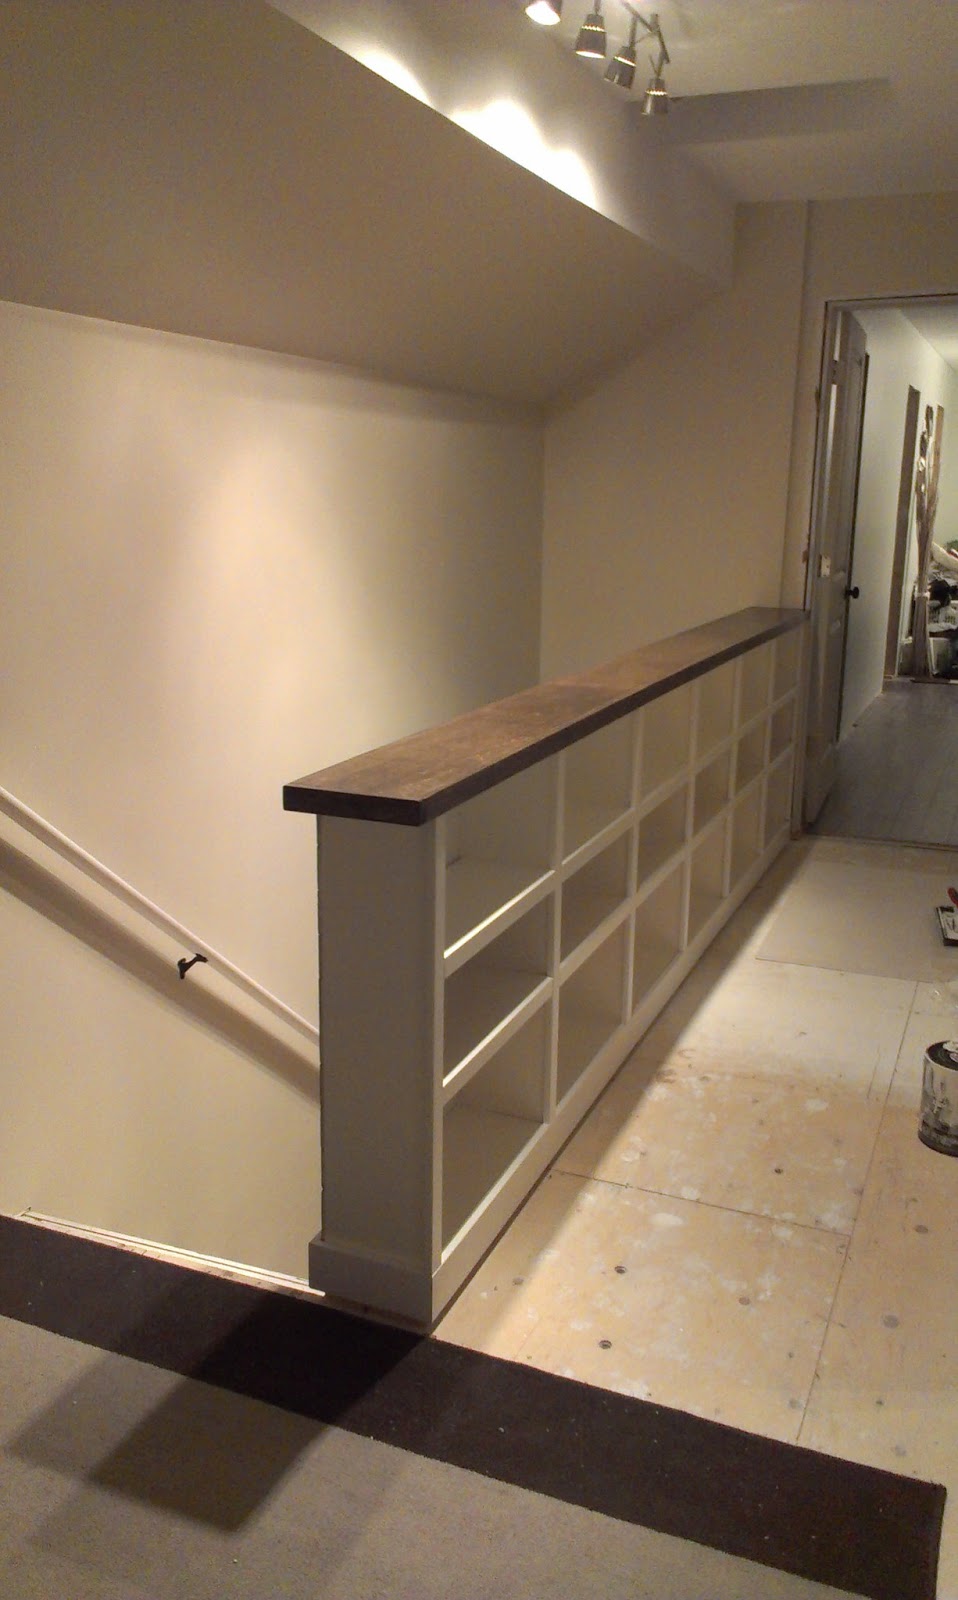
And this is what she looks like right this very moment.

Taken at night.
With a camera phone.

Yes, I know, I spoil you.

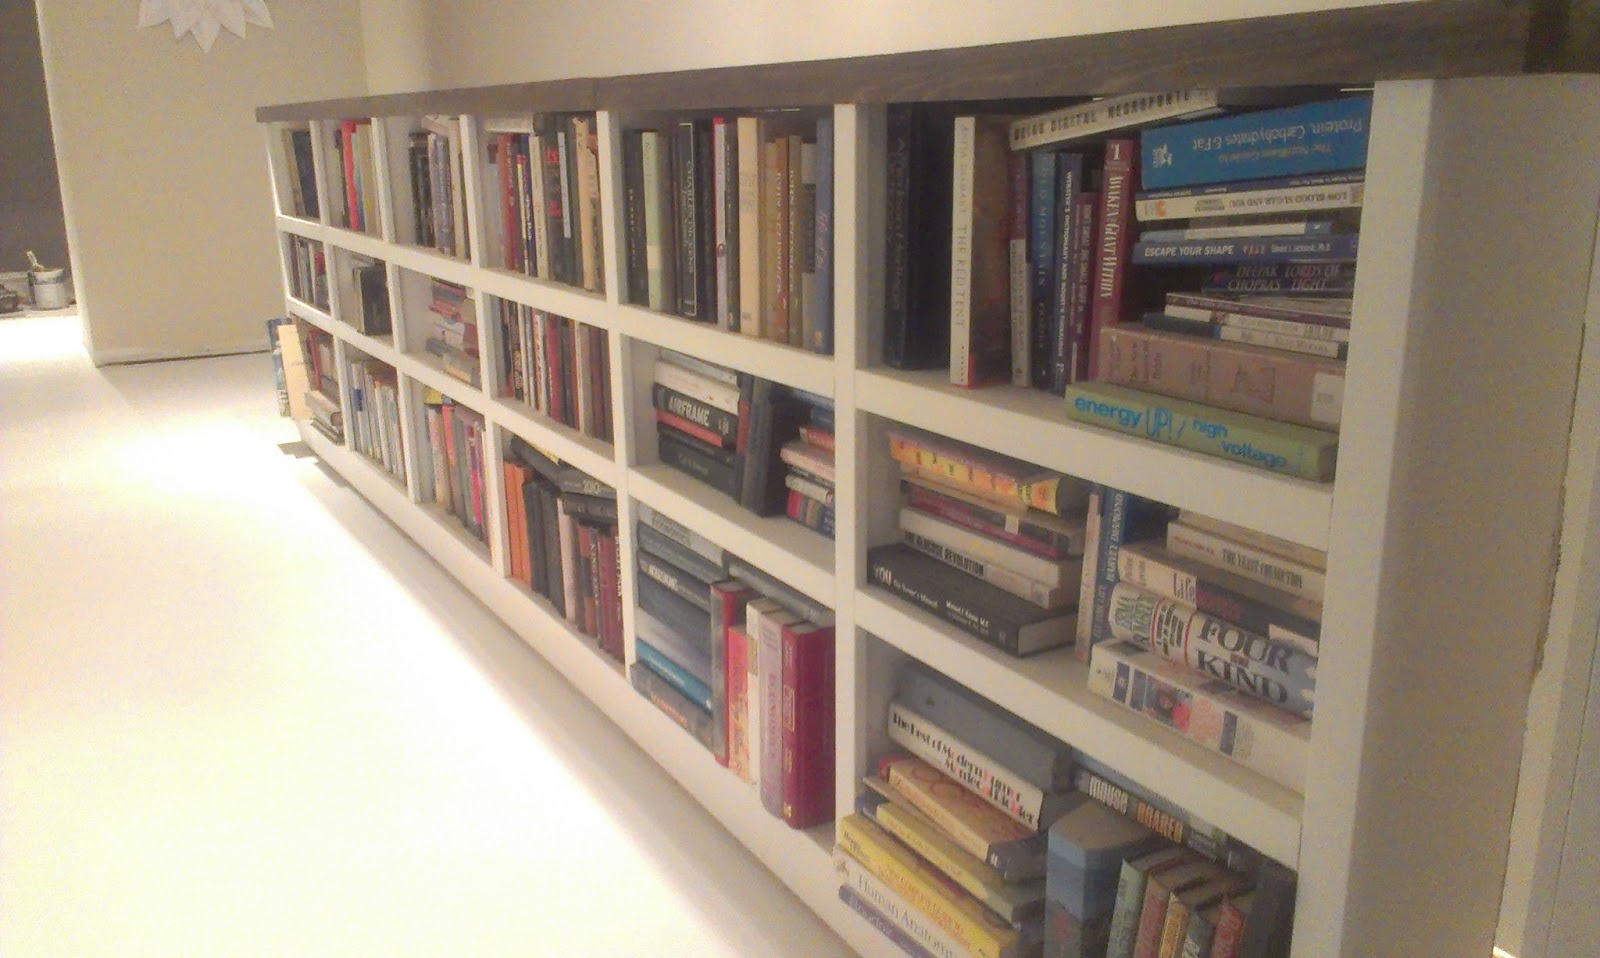
Apparently, I kinda gave up on styling the bookcase once I got to the end.  Looks like I was just shoving books in there.  Which is probably exactly what I was doing.  I love all of the color and texture that it lends to an otherwise neutral hallway and yes, books are decorations to me.

Another One Bites The Dust – Part I (Before And After)

The dust is still settling on my most recent project.

In an effort to officially occupy Wall Street my house, one of the town’s parameters is that my addition/renovation meet certain criteria.  One of those criteria is that the flooring be impermeable to water.  ‘Impermeable to water’ can count as carpet, tile, sealed wood flooring, paint, etc.  Pretty much any flooring you can think of is acceptable.

I’ve been staring at a carpeting swatch for the upstairs hallway for a couple (or maybe it’s been a few) months now knowing that we’ve budgeted to order it in the spring.

But I got a little antsy this morning.  Shocker.

It started with filling the gigantic cracks and knot holes with several types of filler.

Why several types?  Because I had an assortment available to me and I was just runnin’ through ’em.  I started with wood filler, moved on to a larger gap filler (keep your mind out of the gutter), then finished up with a plain old spackle compound.  My goal wasn’t to do a perfectbeautifulawesome job.  It was to cover the damn floor because guess what?  It sucks getting splinters in the middle of the night.  For realz.

And then, while I waited for the the fillers and spackles to dry, I did the unthinkable.

I went on Pinterest.

And searched ‘painted floor’.

The heavens opened up.  Unicorns sprung from rainbows.  Fairies sprinkled glitter all over the land.

Okay, can you believe the yellow and white flowers?  Seriously.  Seriously.

Remember how I said it wasn’t going to be perfectbeautifulawesome?  Oh, it was on now.

But, like all good things, everything has to happen in steps.  I’m learning every day that awesomeness comes in layers.  I immediately regretted my first two layers.  I wish I would have spent more time filling in all the gaps and cracks a little better,  But, I didn’t.  I wish I used a better first coat of paint.  But, I didn’t.

Moving on.

I took my trusty palm sander and 100 grit sandpaper and got to work.

I went over every inch of the hallway and the haze proves it.

I swept things up, ran the vacuum and got ready to be locked out of the hallway for a couple hours.

{Hey, don’t mind that bookcase.  Pretend you don’t see it.  I planned on writing about how we built it later this week.  Act surprised when I show you.}

After one coat of paint, this is what I have to work with:

I’m undecided with the design that I want to paint on the floor. It’s like a giant, blank canvas.  By town code, it officially satisfies the occupancy guidelines, but now it’s time to take it up a level. Thoughts?  What would you do?  It’s definitely an upgrade from it’s previous life:

What’s left to do in the hallway:

  • Hang guest bedroom door
  • Hang bathroom door
  • Paint all doors
  • Finish installing baseboards and trim
  • Paint a spectacular pattern on the floor
  • Hang additional artwork
  • Figure out what to do with the awkward nook on the other side of the column
What about you?  Have you ever painted a floor?  Any success or horror stories?