If You Build It, They Will Use It (Before and After)

Let’s talk about big bangs for your bucks today, shall we?  Would you believe me if I told you that this built-in bookcase cost less than $50 to build and only took me an afternoon?

Well, believe it!  Let me break it on down for you.  Here’s what I started with:

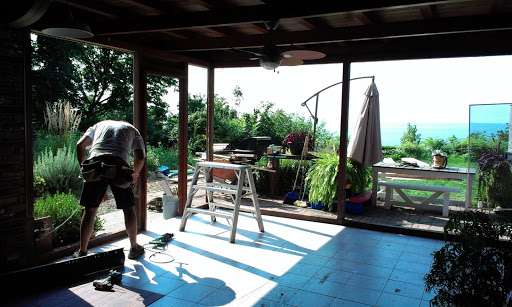
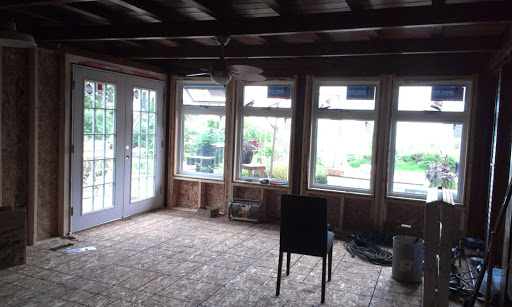
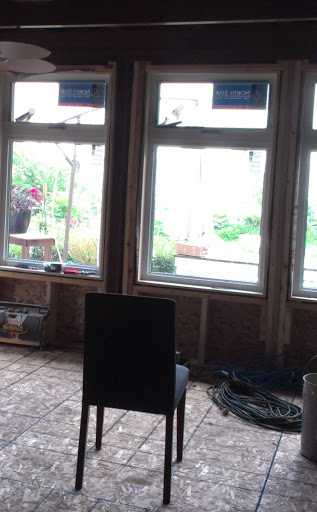
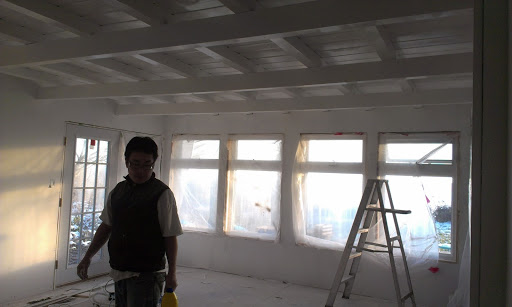
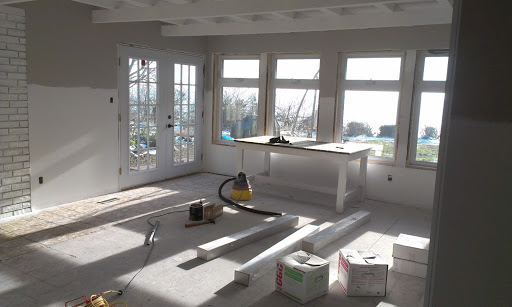
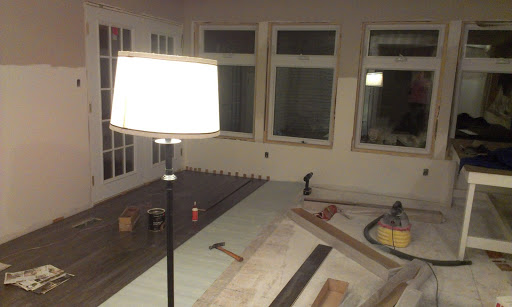
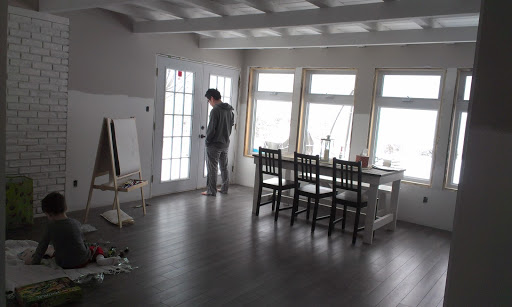
This is the wall separating the dining room from the Florida room sunroom family room.  Prior to demolition/renovation, there was a window on this wall.  In an attempt to open the spaces up a bit more, I chose to turn this wall into a half wall and planned on making a ledge or counter along the opening.  I liked the idea of a display space between the two rooms.

But it still felt a little too dinky as a ledge.  It needed more girth, I tell ya.  When you enter our house from the garage (which is the main way we enter), this wall is the first thing you see and I wanted it to be a little more inviting than just a half-wall with a 5-inch ledge perched on top.  And that’s how the bookcase idea was born.

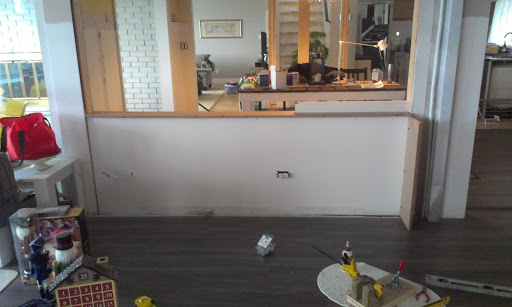
Using the existing wall as the back of my bookcase, I cut 5 boards and drilled three pocket holes in each with my Kreg Jig.  I also attached horizontal front stabilizers to support the vertical boards and keep them from moving around while building.  I left the pocket holes exposed on the front for two reasons: 1. It’s way easier to drill from the front 2. I was going to wrap the bottom in trim at the end and would be hiding this part anyway.

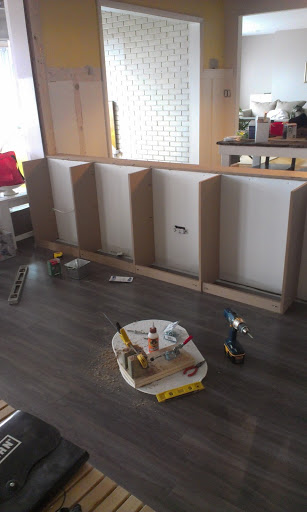
The wall that I was drilling them into was drywall affixed to a solid cedar wall, therefore, I didn’t have to look for studs when drilling.  Bonus.

I cut four boards and popped them into the bottoms of each shelf section using quarter round molding glued and nailed in place, then added the bottom skirt of trim around the entire unit.  Once I got the bottom shelves in place, I figured it would be a good time to paint the inside because man, I hate painting individual shelves.

Here’s where the picture-taking got a little sketchy.  Using a level and tape measure, I carefully marked off where to put the quarter-round molding pieces, added a bit of glue to each piece and nailed them on.  I didn’t want the shelves to be identical in height, but I knew that I wanted the bottom to be taller to accomodate larger items, baskets, books, etc.
Once all the boards were in place, I attached the 1×2 bullnose pieces to the front with the nailgun.  This creates a much thicker profile from the front with the added bonus of providing strength to the span of each shelf.

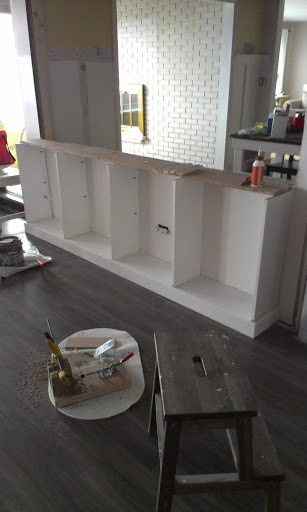
I added a coat of paint to each shelf (Behr’s Polar Bear in semi-gloss) and while that dried, I cut the top of my bookshelf in the garage.

I used a half-inch-thick piece of plywood (not sure if it’s birch or beech) that I already had on-hand.  I used clamps, a straightedge and a circular saw to cut the top.  Then, to add the notches at the corners, I measured and marked off my cut lines and went to work with the jigsaw.

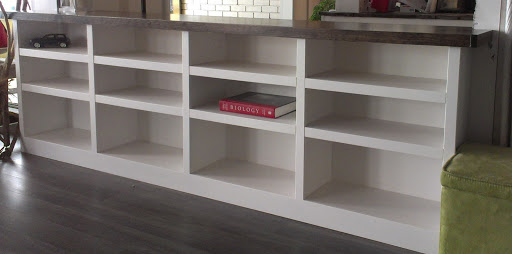
I added another bullnose around the perimeter of the counter, slapped on a coat of stain and about 5-6 coats of polycrylic later, I had a sleek countertop.

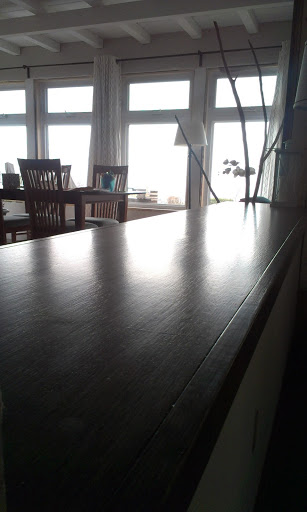
And that was it!  An afternoon of building and painting and I have a functional piece of built-in furniture.   The polycrylic applications were spread out over a couple days, but the building and painting only took a few hours.

Now I just have to fill it up with STUFF.  Once I get it styled all pretty, I’ll snap a couple more pics and share them.

What about you?  Ready to break out your toolbag and tackle a bookcase?  Or are you ready to hire someone to do it for you?

Advertisement

Welcome To Florida, Eh.

We live in Canada.

We have a Florida room.  
Well, I guess I should say that we *had* a Florida room.  I really don’t know what it’s called now.  Sunroom?  Family room?  All-purpose room?
Way back in July, we had a normal three-season Florida room.  It was cold as ice (ice cold!) in the winter and hothothot in the dead of summer, but spring and fall were pretty nice.  I had a really hard time with decor in that room.  The entire thing was clad in brown, stained cedar.  It was dark.  A little dungeon-y.
So I cracked that bad boy wide open.
Almost looks like it could be a tropical bistro.  Just set up a couple tables and add some handsome waiters.

I had the floor raised about 4 inches so that it would be the same height as the house, rebuilt the walls, put in new windows and a set of double french doors.

And then I realized that I made a mistake.
A *big* one.
Here’s the thing:  when I ordered my windows for the room, I wanted a crank-out, top-opening window so that the bottom part of the window would offer an unobstructed view of the water.  Sounds awesome, right? The cool thing about this meant that even during rain, I could keep the windows open without too much worry.  Easy, breezy, beautiful.
Then they got installed.
And I cried a little. (a lot)
I didn’t calculate that the floor was going to be raised 4 inches when I ordered the windows. Now, a couple of you might be saying, “Hey, silly girl, you could have asked them to install the windows a few inches higher.”  And to you, I say, “Nice try.”  The space at the top of the window is completely taken up as the header, so no dice on moving it.
When I stand in front of the window, the divider between the top and bottom part is right. smack. dab. in front of my eyes.
Sad face, y’all.  
But!  But!  But!  See that chair right there?  That was my saving grace.  It kept me sane.
If you sit in the chair, the view is p-e-r-f-e-c-t.  And, since this room is going to be the family room with a nice, relaxing seating area, you’ll almost always be sitting and enjoying the view.  BOOM.  
Whenever someone came over and walked through the sunroom family room Florida room, I ordered them to sit in the chair and tell me how great the view was.
But it was still dark, guys.  Still depressing.  Oppressive.
And so I took a little look-see at some of the photos of rooms that made me happy:

(via)

(via)
One thing connected them all.  Beautiful, painted wood ceilings.
So, we busted out the paint sprayer and got bizzy, yo.
It’s SOOOOO much easier to paint a room when you’re not freaking out about the floors.  I got started on the board and batten walls prior to laying the floor.
Getting better….

I did the top of the walls in the same color as the rest of the house.  This room can be viewed from just about every other room in the house and I wanted to keep a sense of continuity with the design and colors.

Then it was time to get down on bended knee and lay some flooring.

I’ll do a separate post on the flooring sometime soon.  I’ve got lots of opinions on this particular style of flooring and it’ll need its own soapbox.
Once the flooring was done, it was time to take a little break and celebrate for a minute.
I think the paint and flooring, even though it’s dark, really added a lightness to the room.  I love it.  Like, lovelovelove it. This photo was take just after Christmas.  I’ve since added the actual board and batten, my office, some built-ins, draperies, and a laundry room. I can’t wait to share the rest of the room’s details over the next week.  Tomorrow, we’ll talk about making easy built-in shelves.  Get your tools ready!